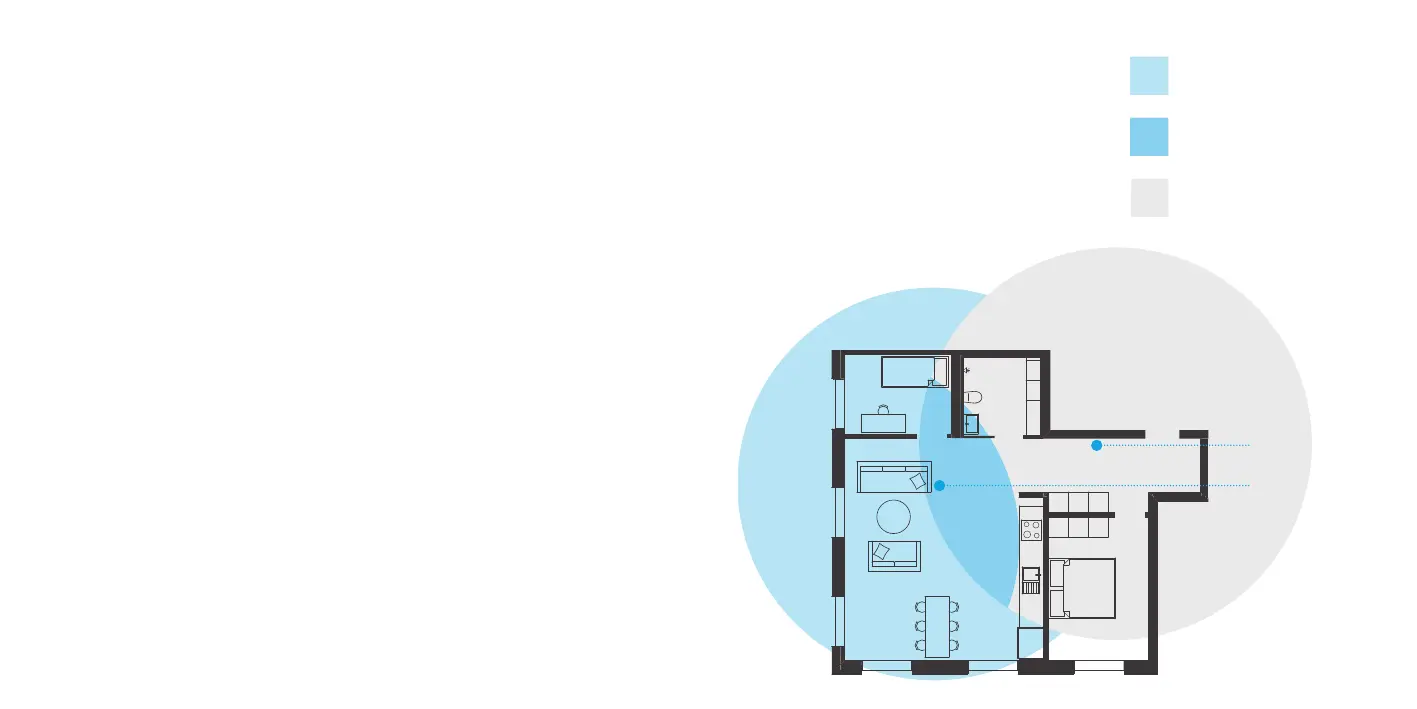
Extender placement
For optimal peformance of the
Pulse EX as extender; place the
Pulse EX halfway in beween
your router and the problem area (as
shown below). Make sure placement
is within WiFi range of your router. If
the extender is placed too far away, it
cannot connect to the router.
Pulse EX
Router
Problem area, improved
by Pulse EX
Area that is good for
placing Pulse EX
Area covered by your
router
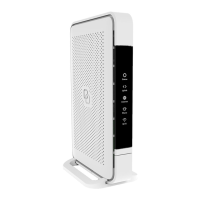
Installation of your Pulse device(s)
This installation guide is for installing
the Pulse EX as a router, as
explained on the right. In addition, an
extra Pulse EX can be installed as
a wireless or wired extender behind
the Pulse EX router.
If you already have a dierent router
(not a Pulse EX) and want to
install it as an extender, then look for
installation options: htps:genexis.
eupulse-installation-guide
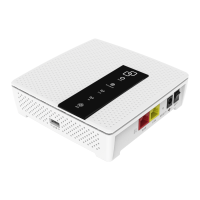
Router
If you do not have a router installed,
stat installing your Pulse EX here:
. Place your Pulse EX near your
broadband outlet.
. Connect a nework cable beween
your broadband outlet and the
Pulse EX WAN pot (red pot).
. Plug the power adapter into an
electrical socket and connect it to
the power pot at the back of
the Pulse EX.
. Flip the ONOFF switch at the
back of the device to turn it on.
. Wait until the Status LED stops
blinking and turns solid green.
Your Pulse EX is now setup as a
router. Your nework is now ready to
be extended with a wireless or
wired extender, as explained on the
next pages.
 Loading...