Unit 29 Navigation Drive, Hurst Business Park, Brierley Hill, West Midlands, DY5 1UT, United Kingdom
Tel: +44 (0)138 447 2900 Fax: +44 (0)138 447 2911 Email: sales@b-one.com Web: www.b-one.com
For Technical Support call the main number, fax or email: technical@b-one.com
Once connected, the cable should be mechanically secured to the wall using
proprietary cable clips.
CHANGING THE ELECTRICAL SUPPLY POWER CABLE
If the power cable is damaged, it must be replaced by the manufacturer or its
service agent or a similarly qualified person in order to avoid a hazard.
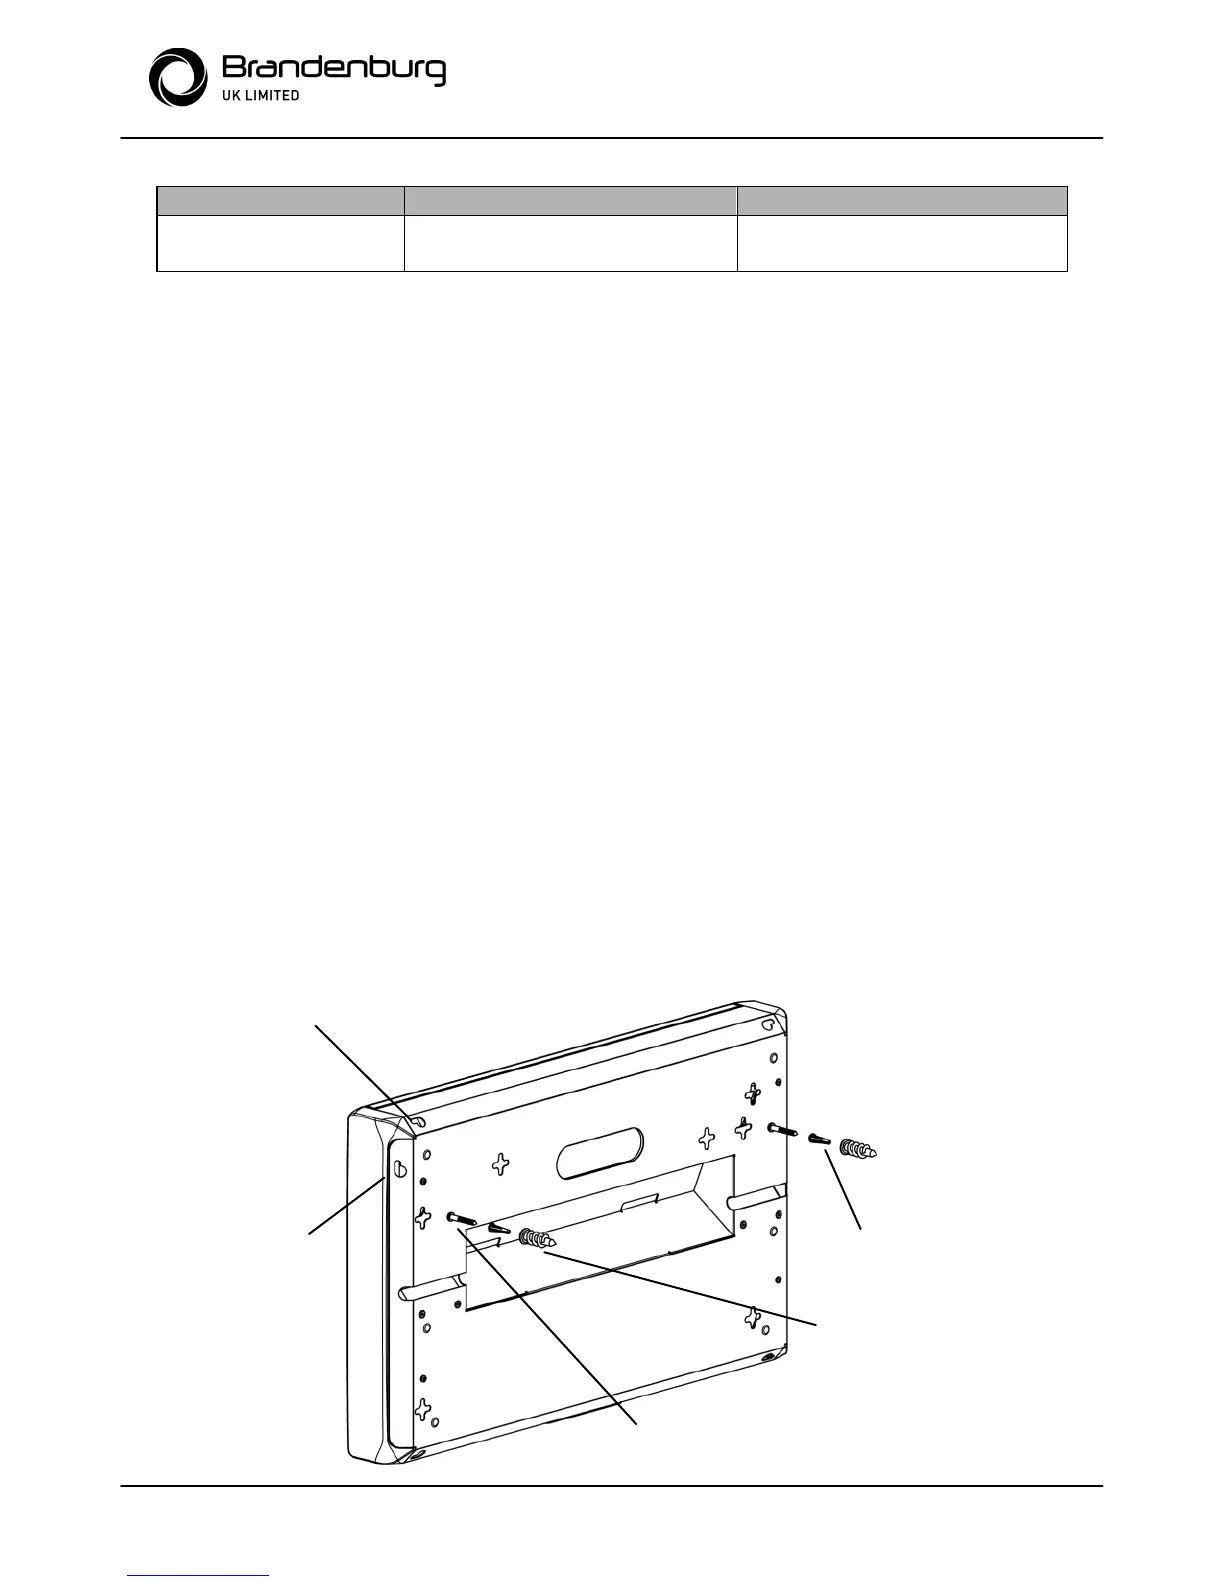
INSTALLATION & FIXING
The unit can be wall mounted horizontal, vertical and across corner.
1. Temporarily fix the paper template to the selected position on the wall.
Ensure the holes to be drilled are level. Mark holes through, then remove
template. For concrete walls, drill 3/16” (4.8mm) dia mounting holes.
Insert the four plastic anchors provided into holes and tap flush.
Insert the self tapping screws provided to within 1/8” (3.2mm) of the wall.
For plasterboard walls use the aluminium anchors and machine screws
provided. For wood panel walls, locate wall studs and use only the self
tapping screws provided.
2. Hang the unit on the keyhole slots in the wall plate.
3. The unit can be table mounted using the Swivel stand located on the base
NOTE: Ensure that unit can be both switched off and electrically isolated by
disconnection, for cleaning and maintenance.
 Loading...