P.6 P.7
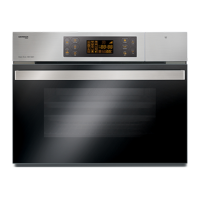
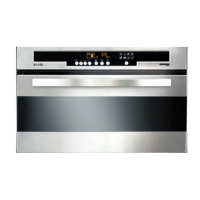
Installation Instructions
INSTALLATION REQUIREMENTS
1. In order to ensure that the product can be used safely for a long time, the product must be
installed on a perfectly sturdy surface, and the electronic components must be isolated to
prevent the possibility of contact with metal accessories.
2. The kitchen cabinet where the product is installed and all adhesives used must be able to
withstand a temperature of not less than 90°C to avoid deformation and paint cracking.
3. Before connecting to the power source, make sure:
• According to regulations, there should be an earthing system. The socket and circuit
connected to the power supply must be reliably grounded.
• After installation, the control buttons are easily accessible and operable.
• After the product is connected to the power source, please check whether the power
cord is in contact with heat-prone accessories. If there is contact, move it away to a safe
distance.
• Do not use reducers, shunts and adapters that can cause overheating or self-ignition.
The manufacturer is not responsible for any direct or indirect losses caused by incorrect
installation or connection of any electronic components. Therefore, all installation and
connection operations must be performed by qualified technicians following local regu-
lations.
• DO NOT connect the ground wire to gas pipes, water pipes, lightning rods and telephone
lines to avoid accidents caused by electric shock due to poor grounding. The socket
should not be installed in a place exposed to moisture, water or near a heat source.
4. When installing electrical appliances, be sure to wait until the installation is complete
before turning on the power source.
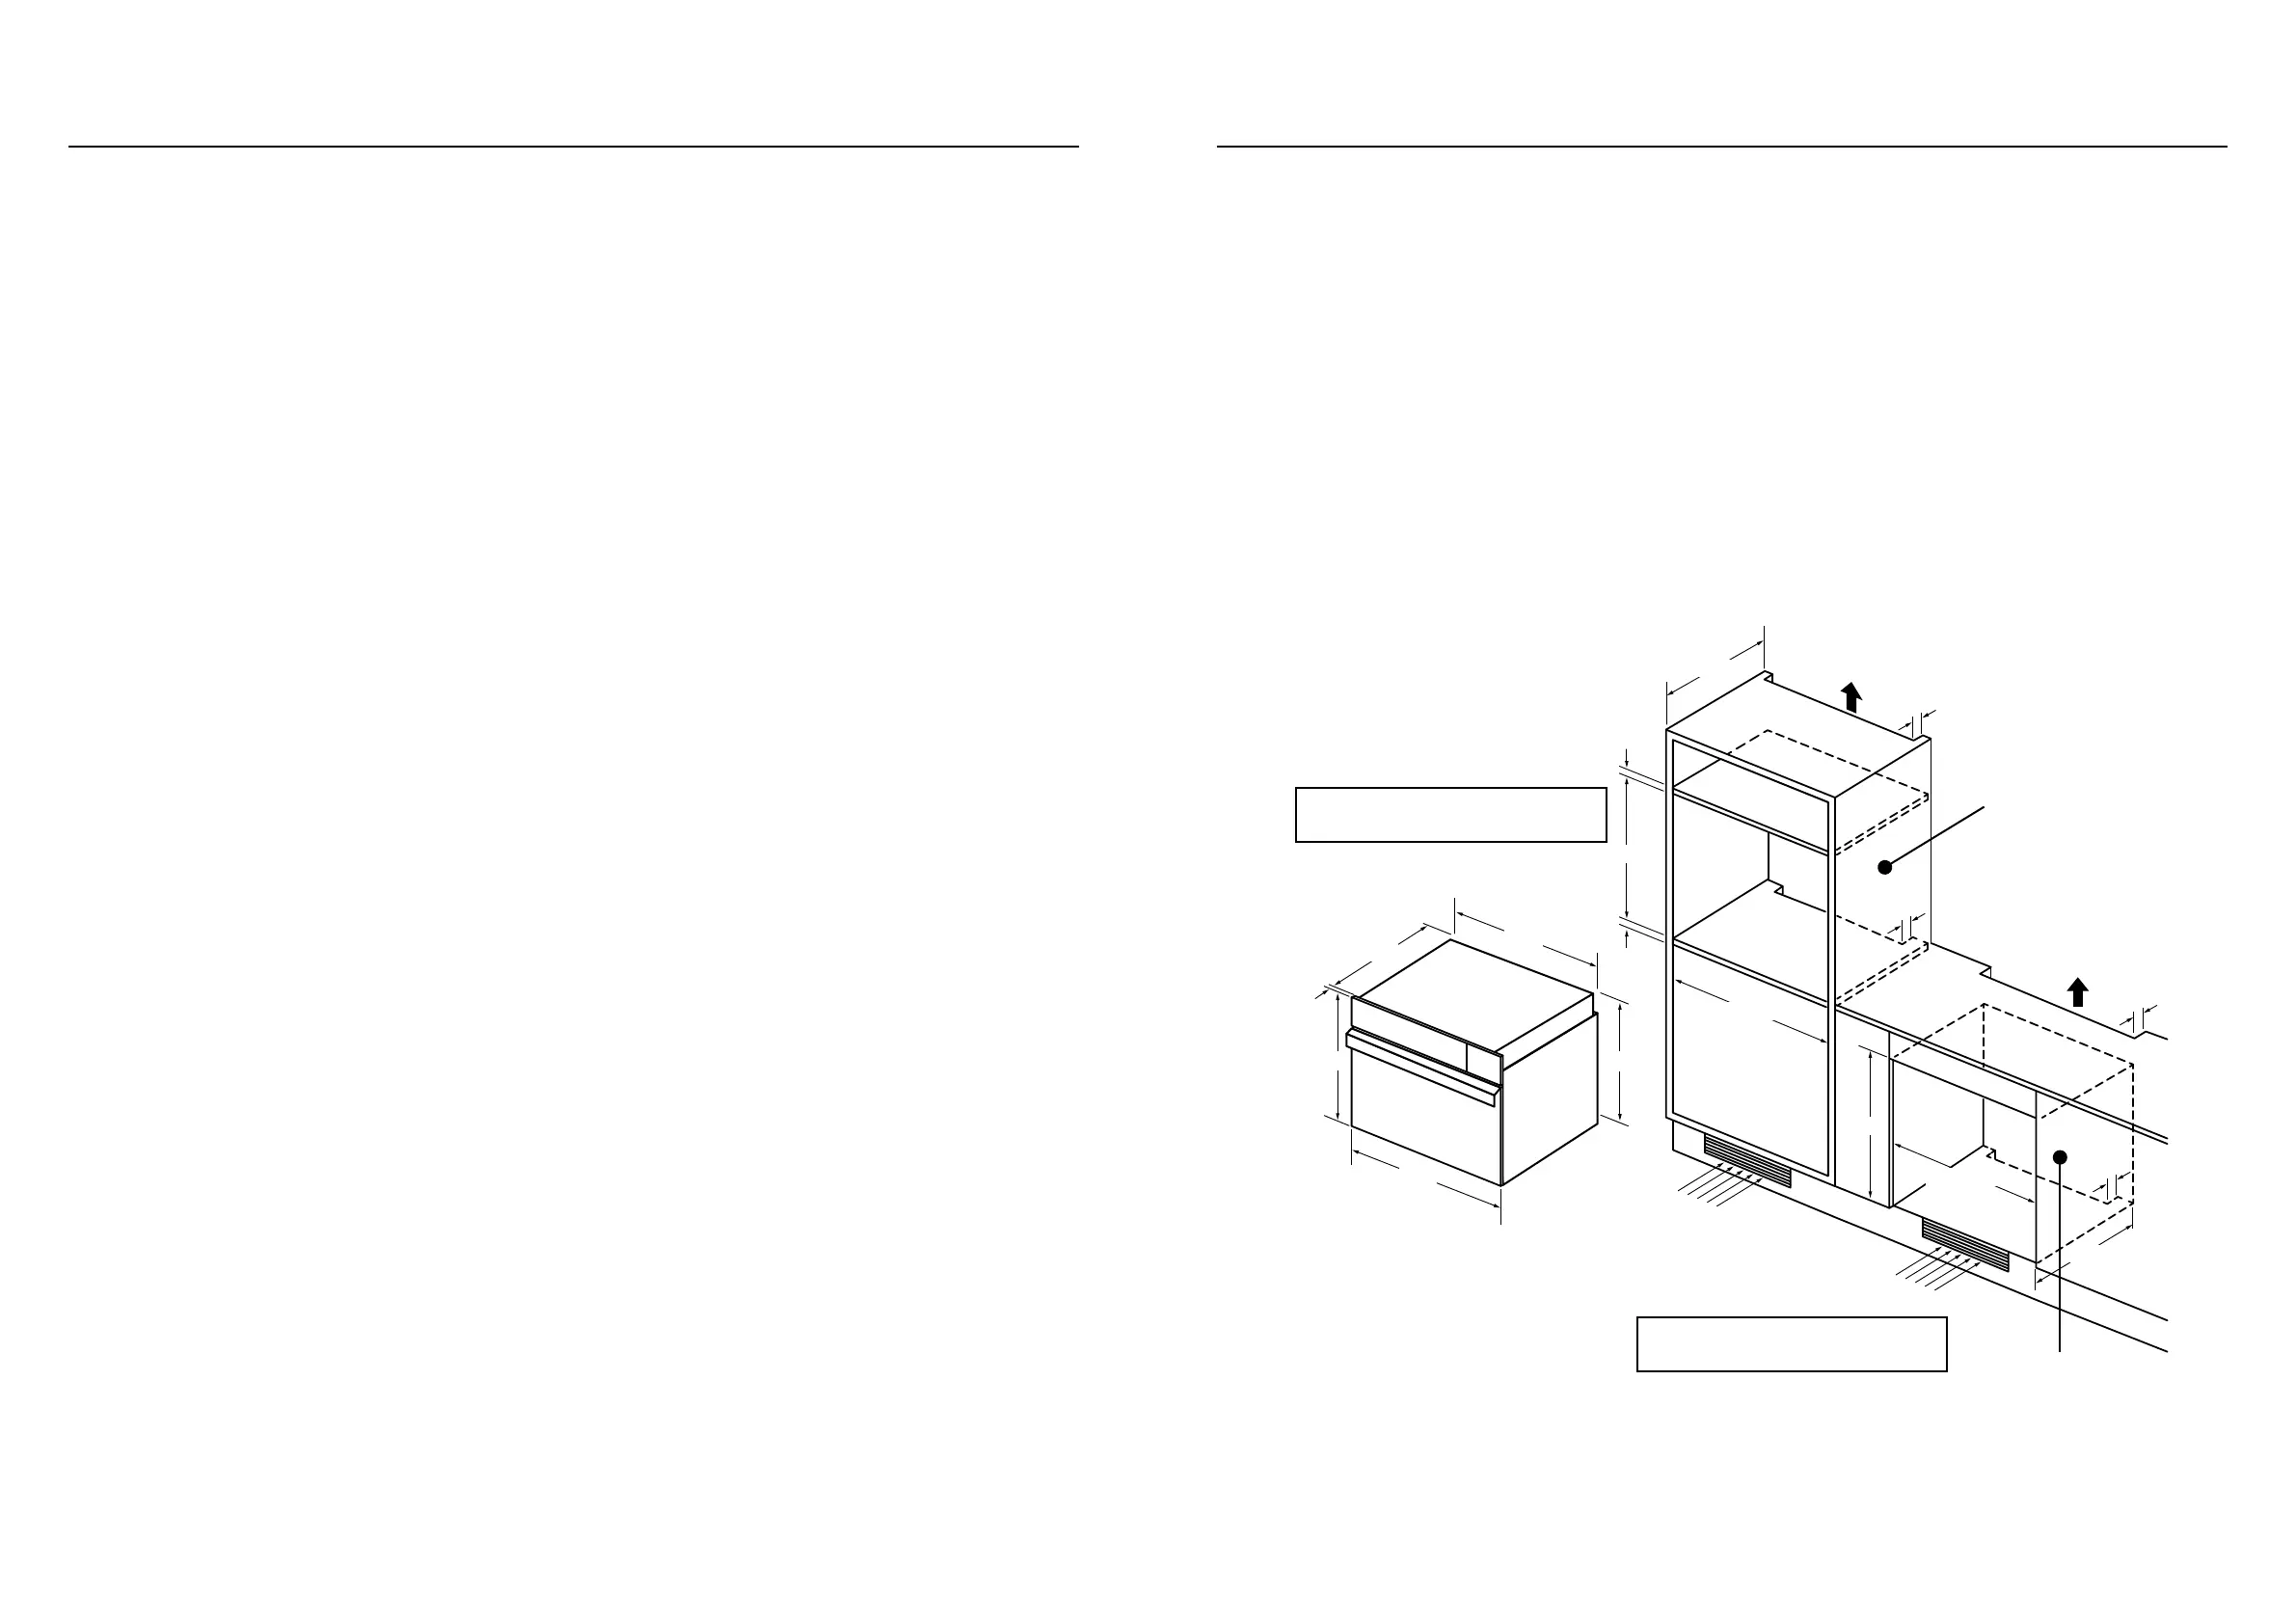
≥560
≥550
≥590
≥590
≥562
≥562
35
35
≥
20
≥
15
50
50
Air Inlet
Air Inlet
Exhaust vents
Exhaust vents
Tall cabinet installation
Remove back
panel for
ventilation
Remove back
panel for
ventilation
Low cabinet installation
558
595
584
595
543
20
543
482
543
≥572
20
20
h
Installation Top View Installation Side View
Socket placement
suggestion
Installation Instructions
PRODUCT DIMENSIONS
Cabinet Cutout Dimensions (in mm)
INSTALLATION PROCEDURE
1. Open the oven door and use the self-tapping screws to fix the product onto the kitchen
cabinet (there are self-tapping screw holes on both sides of the front panel of the product).
Make sure that the product is firmly fixed, so that the product will not slant forward and
damage the contents in the oven during use.
2. Please refer to the diagram below when installing the product. To ensure that the product
has enough installation space and adequate ventilation, user is recommended to remove
the kitchen cabinet back panel.