GIANT Road Pro Clipless Pedal User Manual
INSTRUCTIONS FOR SINGLE SIDE ROAD PEDAL
PLEASE READ INSTRUCTIONS CAREFULLY
GIANT recommends that a professional bicycle dealer install the pedals and fit the cleats
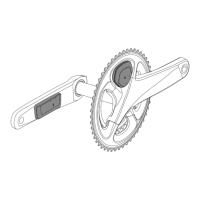
ASSEMBLY PEDALS TO CRANK ARMS
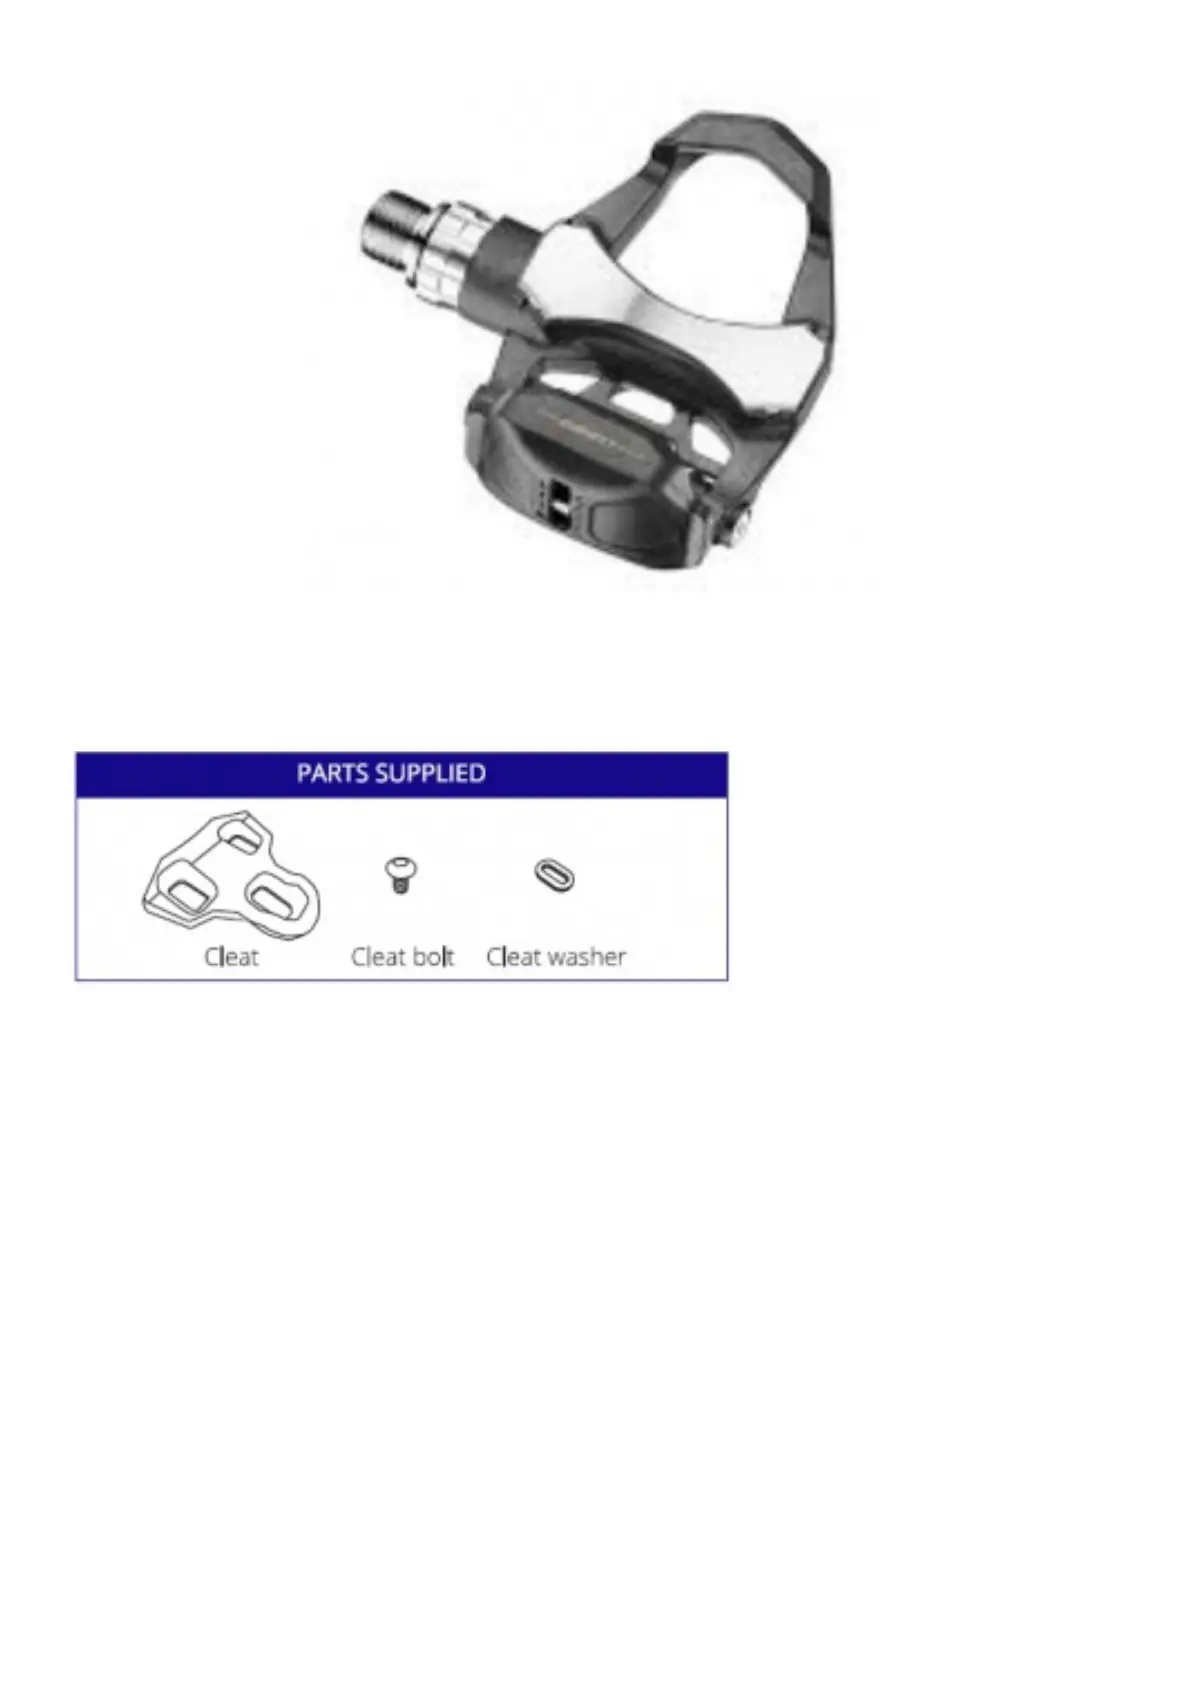
GIANT Road (lipless pedals have 9/16″ x 20T threaded spindles. The right pedal (marked R) is assembled in a
clockwise direction. The left pedal (marked L) is assembled
in a counter-clockwise direction.
1. Lubricate spindle thread prior to assembly.
2. Use a thin 15mm wrench or 6mm Allen key for assembly.
3. Tighten well but avoid excessive force. Recommended torque is 34Nm (340 kgf/cm)
ASSEMBLY OF CLEATS TO CYCLING SHOES
The hardware and cleats supplied are compatible with 3 hole or SPD/3 hole combination style road cycling shoes.
GIANT cleats, supplied with your pedals, allow 4.5° float. Left and right cleats are identical, the pointed end faces
shoe toe. Use a 4mm alien tool for assembly.
1. Using the bolts (lubricate prior to use), and washers supplied, attach the cleats tightly to the bolt receiver holes
in the shoes.
2. The lateral center line of the cleat should be aligned under the center of the ball of the foot. Adjust vertically via
slots in shoe sole. Adjust horizontally via play between cleat washer and cleat. Tighten cleats very firmly. See
fig. 1. Cleat position can be fine-tuned, according to personal preference after trail use. It may take some time
to find your optimum cleat set-up. Refer to shoe manufacturers, instructions for more shoe-specific information