This document is the user manual for the GIGABYTE P34 Notebook, version 4.0. It provides comprehensive information on the device's features, setup, and maintenance.
Function Description:
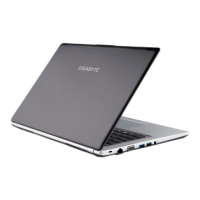
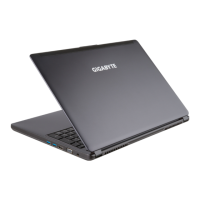
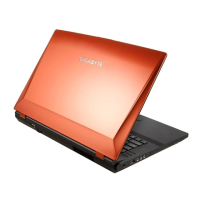
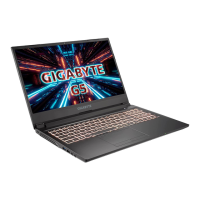
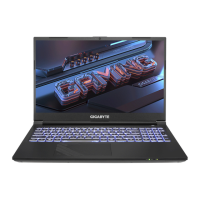
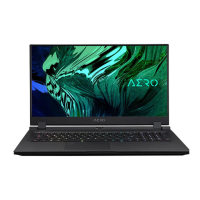
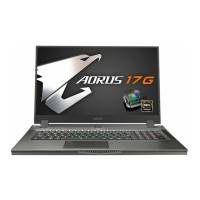
The GIGABYTE P34 is a notebook computer designed for general use, offering a range of functionalities from basic computing to more advanced tasks. It comes with a pre-installed operating system (Windows 7 or Windows 8/8.1, depending on the model and purchase date), allowing users to get started immediately. The notebook supports various connectivity options, including USB ports, Ethernet, HDMI, and Bluetooth, making it versatile for different user needs. It also features a webcam, microphone, and a touchpad for interactive use. The device is designed with a focus on user convenience, incorporating hotkeys for quick access to system controls and a dedicated Smart Manager software for intuitive system setup and utilities.
Important Technical Specifications:
- Processor: Not explicitly detailed, but the manual mentions Intel® Rapid Storage Technology, suggesting Intel processors.
- Storage: The notebook supports RAID 0/1 configurations, requiring two storage drives of the same specification and capacity for RAID 1, and two drives of the same specification (different capacities acceptable) for RAID 0. The recovery image requires at least a 20GB USB disk.
- Memory: Features a memory compartment, indicating upgradable RAM.
- Ports:
- Kensington Lock Slot (Left View)
- Ethernet Port (Left View)
- D-sub (VGA) Port (Left View)
- USB Port (Support USB Charge) (Left View)
- USB Port (Left View)
- Combo Audio Jack (Left View)
- USB Port x2 (Right View)
- SD Card Reader (Right View)
- HDMI Port (Right View)
- DC-in Jack (Right View)
- Display: Supports external monitor output via HDMI and D-sub (VGA) ports. Hotkeys allow toggling display output between the display screen, external monitor, and both.
- Wireless Connectivity: Includes Wireless LAN and Bluetooth capabilities, which can be enabled/disabled via hotkeys.
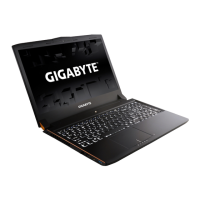
- Input Devices: Features a touchpad and a keyboard with backlight functionality.
- Audio: Equipped with a speaker and a combo audio jack. Volume control is available via hotkeys.
- Power: Uses an AC adapter for power and charging. Contains a built-in lithium battery.
- Sensors: Includes a light sensor and a webcam status LED indicator.
- Operating System: Pre-installed with either Windows 7, Windows 8, or Windows 8.1, depending on the model.
Usage Features:
- First-Time Setup: Users are guided to connect the power cord, AC adapter, and power outlet. The initial boot-up involves configuring the operating system (Windows Setup).
- Power Management: A power button is provided for switching the device on. Hotkeys allow putting the computer into Sleep mode.
- Hotkeys: A comprehensive set of hotkeys (Fn + F1 through Fn + F12, and Fn + Space) provides quick access to various functions:
- Fn+F1: Sleep mode
- Fn+F2: Wireless LAN toggle
- Fn+F3: Decrease screen brightness
- Fn+F4: Increase screen brightness
- Fn+F5: Display output toggle (screen, external monitor, both)
- Fn+F6: Screen display on/off toggle
- Fn+F7: Speaker on/off toggle
- Fn+F8: Decrease sound volume
- Fn+F9: Increase sound volume
- Fn+F10: Touchpad on/off toggle
- Fn+F11: Bluetooth on/off toggle
- Fn+F12: Webcam on/off toggle
- Fn+Space: Keyboard backlight on/off toggle
- Battery Indicator: A battery indicator button (right button of touchpad) allows checking the remaining battery power, even when the laptop is shut down, in stand-by, or hibernation. LED indicators provide visual cues for Bluetooth, Wireless LAN, HDD, Battery, and Power status.
- GIGABYTE Smart Manager: This icon-based control interface provides intuitive access to common system setups and GIGABYTE exclusive utilities. Its interface and features may vary by model.
- RAID Configuration: The manual provides detailed steps for setting up RAID 0/1 using the BIOS setup utility and Intel® Rapid Storage Technology program, allowing users to optimize disk performance or ensure data protection.
- Smart USB Backup: A utility to create a recovery USB disk with the original recovery image. This is crucial for system restoration in case of device damage or storage system replacement. The process requires a USB disk of at least 20GB.
Maintenance Features:
- System Recovery: The notebook includes a hidden partition with a full backup image of the operating system, allowing users to restore the system to factory default settings. This feature is available only on devices with pre-installed operating systems.
- Windows 7 Recovery: Involves restarting the laptop and pressing F9 during boot-up to launch the recovery tool. Users can then select "Recovery" to start the process. A warning is given that personal data and files will be deleted.
- Windows 8/8.1 Recovery: Similar to Windows 7, users restart the laptop and press F9. They then choose their keyboard layout and select "Troubleshoot" to access recovery settings. Options include "Refresh your PC" (retains files, restores settings) and "Reset your PC" (removes all files, restores settings). Advanced options like System Restore, System Image Recovery, Automatic Repair, Command Prompt, and UEFI Firmware Settings are also available.
- Battery Care: A warning is provided not to remove the built-in lithium battery. For any service needs, users are directed to contact a local GIGABYTE Authorized Service Center.
- Backup Recommendations: Users are advised to back up their data before building and running RAID 0/1 and before restoring the system through the recovery USB disk.
- Support and FAQ: The manual directs users to the GIGABYTE website for warranty, service, and frequently asked questions, providing specific URLs for technical support and FAQ pages.