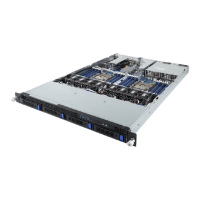
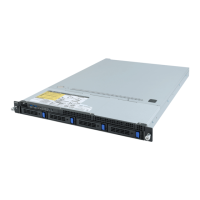
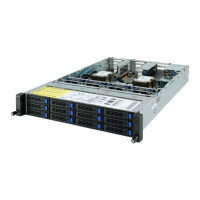
SystemHardwareInstallation - 24 -
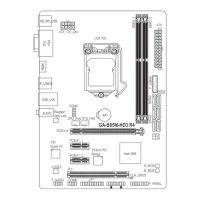
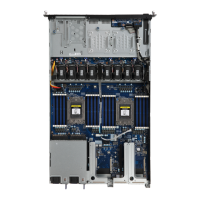
3-3 Installing the CPU and Heat Sink
Read the following guidelines before you begin to install the CPU:
•MakesurethatthemotherboardsupportstheCPU.
•Alwaysturnoffthecomputerandunplugthepowercordfromthepoweroutletbeforeinstalling
the CPU to prevent hardware damage.
•Unplugallcablesfromthepoweroutlets.
•Disconnectalltelecommunicationcablesfromtheirports.
•Placethesystemunitonaatandstablesurface.
•Openthesystemaccordingtotheinstructions.
WARNING!
Failure to properly turn off the server before you start installing components may cause serious
damage.Donotattempttheproceduresdescribedinthefollowingsectionsunlessyouarea
qualiedservicetechnician.
Follow these instructions to install the CPU:
1. Align and installthe processoronthe carrier,making suretoline upthetriangle markersonthe
corner of the CPU to the triangle mark on the corner of the CPU carrier.
2. Slide the carrier assembly into the channels of the carrier bracket
3. ClosethecarrierbracketsothatitrmlylatchesontotheCPUsocket.
4. Close the CPU socket cover.
5. Tighten and secure the CPU socket cover screws in the following order (3
g
2
g
1).
NOTE:
WhenremovingtheCPUsocketcover,loosenthescrewsinreverseorder(1
g
2
g
3).
NOTE:
ApplythermalcompoundevenlyonthetopoftheCPU.Removetheprotectivecoverfrom
the underside of the heat sink.
6. AlignandplacetheheatsinkontothetopoftheCPUsocket.
7. Tosecuretheheatsink,tightenthefourscrewstotheCPUsocket.
8. Repeat steps 1-7 for the second CPU and heatsink.
9. ToremovetheheatsinksandCPUs,followsteps1-7inreverseorder.
3
1
2
1
2
3
 Loading...