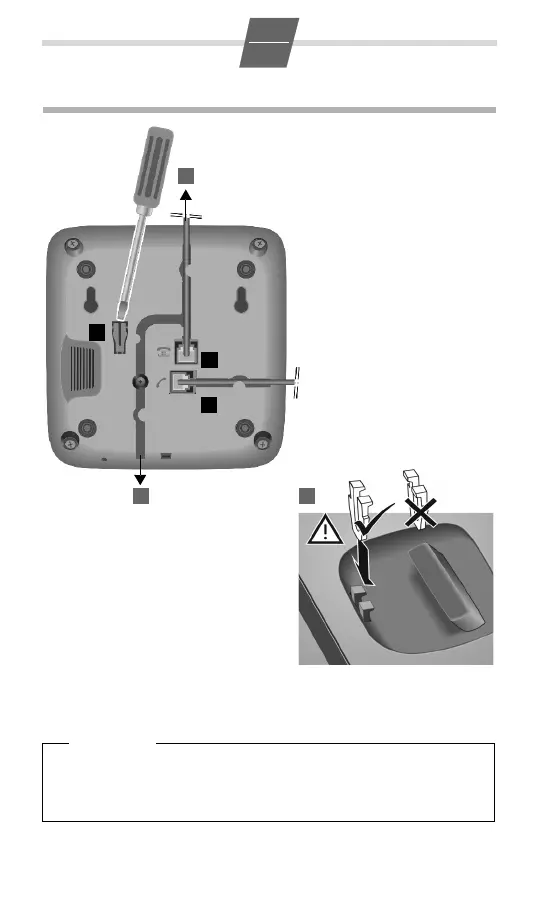
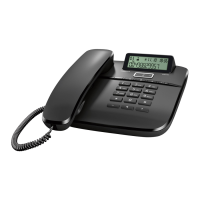
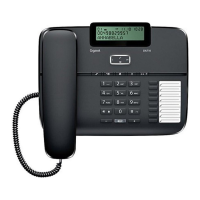
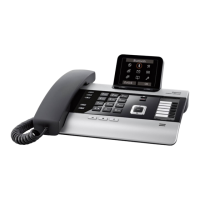
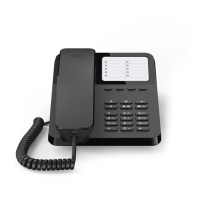
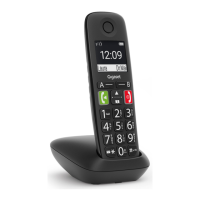
Wall mounting
¤ Drill two dowel holes into the wall
at a distance of 99.4 mm and fix
two screws.
¤ Lift out the handset bracket (5)
with a screwdriver and clip it into
the handset cradle (6).
¤ Hang the telephone on the pro-
jecting screw heads.
¤ Connect the handset to the
telephone using the coiled
cable (4).
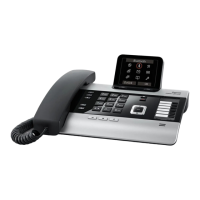
4
1
5
2
3
¤ Connect the telephone connector (1) to
the main phone socket using the sup-
plied telephone cable.
¤ Guide the cable through the
cable channel of the hand-
set cradle: upwards for
operating the phone on the
table (2); downwards when
mounting the phone on the
wall (3).
6