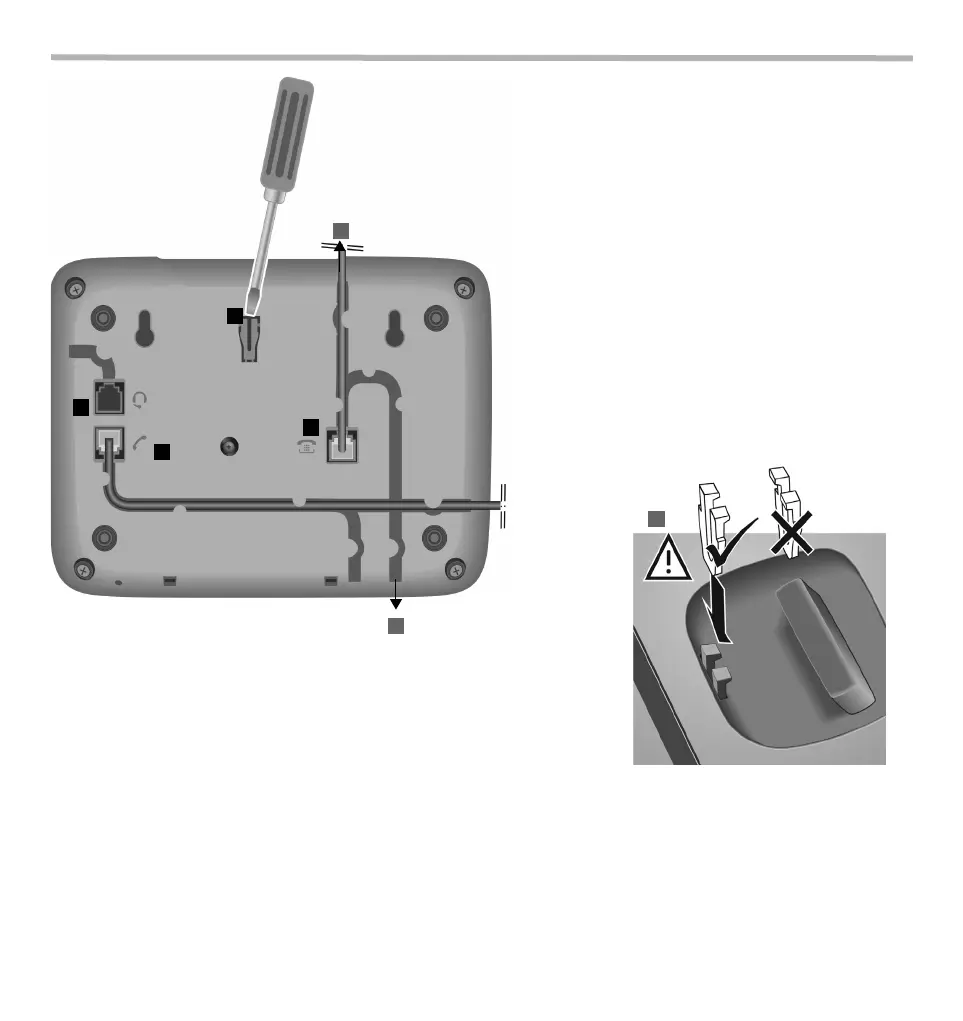
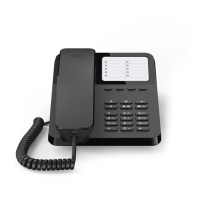
¤ Connect the telephone connector (1) to the main telephone socket. Use the telephone
cable supplied.
You may need a phone adapter depending on your country. This is provided in most
cases.
Connecting the headset
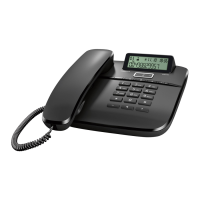
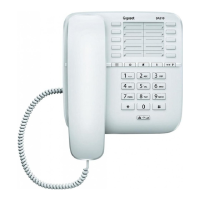
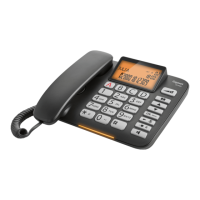
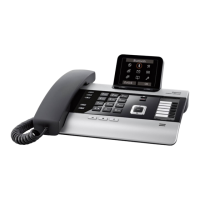
¤ Plug in (5) a headset using an RJ9 plug, e.g. a Gigaset ZX410.
Wall mounting
¤ Drill two holes into the wall at a distance of 12.4 cm and fix two screws.
¤ Lift out the handset bracket (6) with a screwdriver and clip it into the handset cradle (7).
¤ Hang the telephone on the projecting screw heads.
4
1
6
7
2
3
¤ Guide the cable through the cable channel: upwards for
operating the phone on the table (2); downwards when
mounting the telephone on the wall (3).
¤ Connect the handset to the telephone using the
coiled cable (4).
5
First use
1 Lift the handset for 5 seconds and place it back in the cradle.
2 Lift the handset again. You will hear the free tone and the device is now ready to be used.
The phone is connected to the power source via the phone line. In case of a power cut (e.g. if the PABX is switched off at night), the above men-
tioned steps need to be repeated.