17
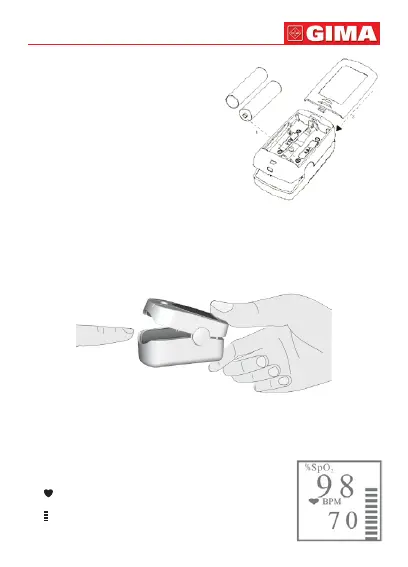
5.2 Battery
Refer to the gure, and insert the two AAA
size batteries properly in the right direc-
tion. Replace the cover
- Please take care when you insert the
batteries for the improper insertion may
damage the device.
5.3 Mounting the Hanging
Cord
Step 1. Put the end of the cord through
the hole.
Step 2. Put another end of the cord
through the rst one and then tighten it.
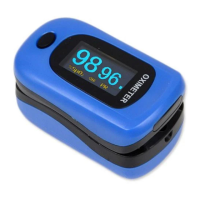
6. OPERATING GUIDE
A. Open the clip as shown in gure.
B. Let the patient’s nger put into the rubber cushions of the clip (make sure the
nger is in the right position), and then clip the nger.
C. The device will power on automatically in 2 seconds, and start to measure.
D. Do not shake the nger and keep the patient at ease during the process.
E. Do not put wet nger directly into sensor.
F. Measurement result will be displayed on the screen (as
shown in gure). User can read SpO2 and HR values
from display screen.
“%SpO2”: SpO2 symbol
“ ”: Pulse rate symbol; “BPM”: the unit of pulse rate
(beats per minute);
“ ”: Pulse intensity histogram.
When the display screen is shown as gure, press Dis-
ENGLISH