Gima S.p.A.
Via Marconi, 1 - 20060 Gessate (MI) Italy
gima@gimaitaly.com - export@gimaitaly.com
www.gimaitaly.com
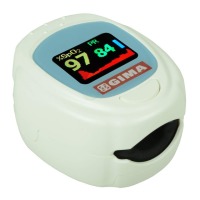
PULSOXIMETRO OXY-5
OXIMETER OXY-5
OXYMÈTRE DE POULS OXY-5
PULOXIMETER OXY-5
PULSIOXÍMETRO OXY-5
MEDIDOR DE OXI-PULSAÇÕES OXY-5
ΚΟΡΕΣΤΟΜΕΤΡΟ OXY-5
OKSYMETR OXY-5
OXY-5
M34282-M-Rev.6-03.19
ATTENZIONE: Gli operatori devono leggere e capire completamente questo manuale prima
di utilizzare il prodotto.
ATTENTION: The operators must carefully read and completely understand the present manual
before using the product.
AVIS: Les opérateurs doivent lire et bien comprendre ce manuel avant d’utiliser le produit.
ACHTUNG: Diese Anleitung muss vor dem Einsatz des Produkts aufmerksam gelesen und
vollständig verstanden werden.
ATENCIÓN: Los operadores tienen que leer y entender completamente este manual antes
de utilizar el producto.
ATENÇÃO: Os operadores devem ler e entender completamente este manual antes de usar
o produto.
ΠΡΟΣΟΧΗ: Οι χειριστές αυτού του προϊόντος πρέπει να διαβάσουν και να καταλάβουν
πλήρως τις οδηγίες του εγχειριδίου πριν από την χρήση του.
UWAGA: Użytkownik powinien uważnie zapoznać się z tym podręcznikiem przed jego użyciem.
Manuale d’uso e manutenzione
Use and maintenance book
Instructions de foncionnement et entretien
Betriebs und wartungs anweisungen
Manual de uso y mantenimiento
Manual de uso e manutenção
Εγχειριδιο χρησης και συντηρησης
Podręcznik eksploatacji i konserwacji
Gima S.p.A.
Via Marconi, 1 - 20060
Gessate (MI) - Italy
Made in China
34282 - 34265
0476
PROFESSIONAL MEDICAL PRODUCTS