Do you have a question about the Glacier bay 67385-0004 and is the answer not in the manual?
Understand all parts before beginning installation. Check for missing or damaged items.
List of necessary tools for faucet installation, including wrench, goggles, screwdriver, silicone, and supply lines.
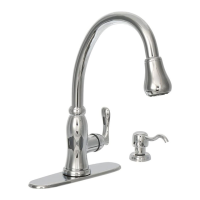
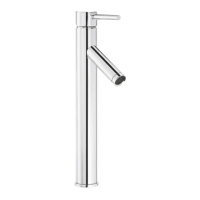
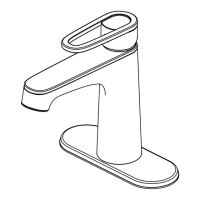
Diagram and list of all faucet components with part numbers and quantities for assembly.
Ensure water is shut off and relieve pressure. Remove quick connector and unscrew mounting nut and washer.
Place flange, retract hose, and insert faucet body through sink hole, ensuring hose fitting is flush.
Place escutcheon and gasket, retract hose, and insert faucet body through escutcheon into sink.
Install washer and nut onto mounting shank. Tighten nut using screws, avoiding overtightening.
Reattach quick connector to hose end clockwise. Hand tighten only after inserting hose through sink surface.
Push quick connector firmly upward to receiving block. Pull down to ensure connection. Install weights on hose.
Connect 1/2 in. IPS faucet connections or supply line coupling nuts with 3/8 in. OD riser. Prevent twisting.
To disconnect, squeeze tabs on quick connector and pull down. Ensure water supply is off before removal.
Turn on water, remove spray head, flush lines for one minute, and check all connections for leaks.
Preserve finish with non-abrasive wax. Rinse immediately after using non-abrasive cleaners. Avoid abrasives.
Diagram showing all faucet parts with corresponding part numbers, descriptions, and finish specifications.
| Brand | Glacier bay |
|---|---|
| Model | 67385-0004 |
| Category | Plumbing Product |
| Language | English |