Do you have a question about the Glacier bay 67070-0801 and is the answer not in the manual?
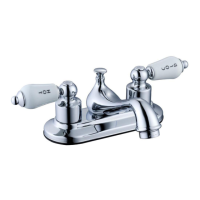
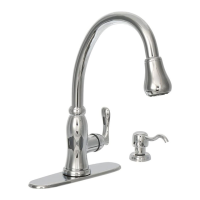
Ensure all parts are present and compare them with the Package Contents section before installation.
Lists all parts included in the package with their descriptions and quantities for verification before installation.
Turn off water supply, unscrew existing nut and remove washers before beginning faucet installation.
Place flange on the bottom of the faucet assembly and insert the faucet body through the hole in the sink.
Install faucet assembly through the escutcheon, screw bolts, and tighten mounting nuts from underneath the sink.
Install washers, thread nut onto mounting shank, and tighten screws to secure the faucet assembly.
Remove cap, push quick connector upward to attach to receiving block, and install weights on the hose.
Insert dispenser body through sink hole, secure with nut, screw bottle, and insert pump into body assembly.
Use 1/2 in. I.P.S. connections or coupling nuts with a riser. Apply a second wrench to prevent twisting.
Squeeze tabs on the quick connector and pull down to disconnect the hose from the receiving block.
Turn on water, flush lines for one minute to clear debris, and check all connections for leaks.
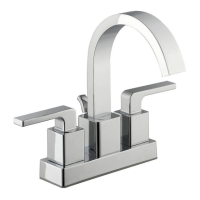
| Handle Style | Lever |
|---|---|
| Mounting Type | Deck Mount |
| Flow Rate (GPM) | 1.2 |
| Material | Metal |
| Valve Type | Ceramic Disc |
| Product Type | Faucet |