
J
John MerrittAug 4, 2025
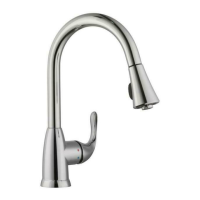
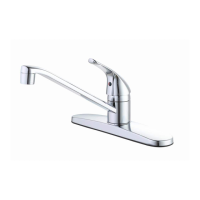
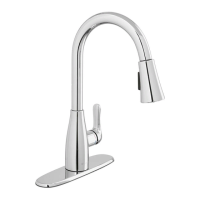
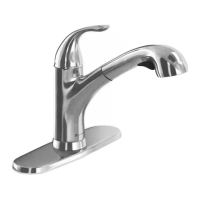
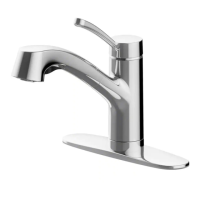
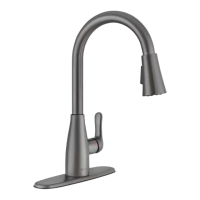
What to do if my Glacier Bay Plumbing Product water will not shut off completely?
- LlgoodmanAug 4, 2025
If the water will not shut off completely, the rubber seat and spring under the handle cartridge may be dirty or broken. To resolve this: remove the handle, then remove the cartridge to check the rubber seat and spring. Clean or replace these parts. When reinstalling the cartridges, ensure the rubber seats and springs are below the cartridge, with the spring installed first into the slot and then the rubber seat. Install the cartridge with the molded stops facing inward.