
C
Christian MillerAug 4, 2025
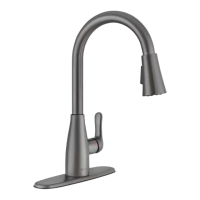
Why is the water pressure low in my Glacier bay HD67726W-1208D2?
- CCassandra FordAug 4, 2025
Low water pressure in your Glacier bay Kitchen & Bath Fixtures can occur if the connector underneath the deck or the aerator is clogged with debris. To resolve this, turn off the water supply and disconnect the connector/aerator. Unscrew the connector/aerator and clean under running water, then screw them back on. Test the water flow. If the water pressure remains low, consider replacing the connector/aerator.