7
PRO TIP
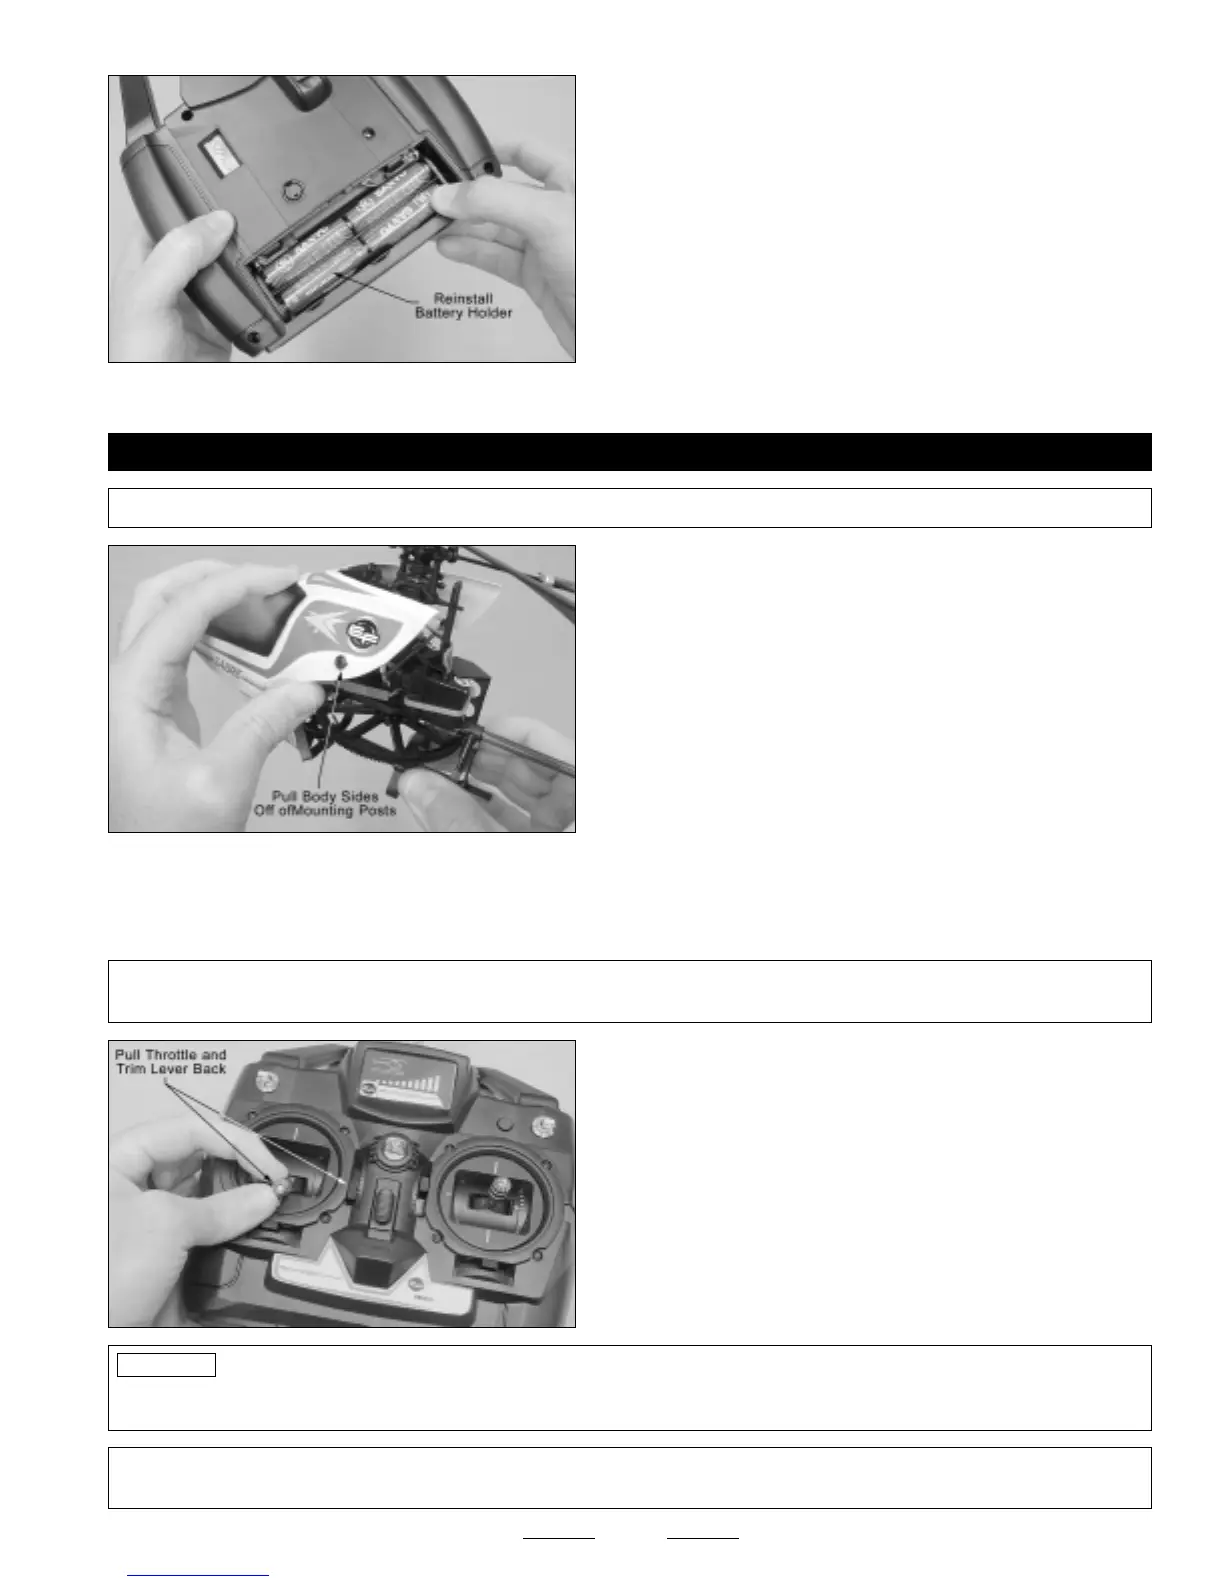
❑ Plug the red connector on the battery holder into the transmitter
(the connector will fit only one way), then reinstall the battery holder.
❑ Reinstall the battery cover, making sure it's firmly seated into place.
INSTALLING THE FLIGHT BATTERY
BEFORE INSTALLING THE FLIGHT BATTERY, YOU'LL NEED TO MAKE SURE THAT THE TRANSMITTER IS
TURNED ON AND THAT THE THROTTLE CONTROL STICK AND THE THROTTLE TRIM LEVER ARE PULLED
ALL THE WAY BACK. IF THEY AREN'T, THE MOTOR COULD TURN ON AND THE ROTOR BLADES WILL SPIN AT
A HIGH RATE OF SPEED WHEN YOU PLUG THE FLIGHT BATTERY IN.
✦✦
✦✦
✦WARNING
✦✦
✦✦
✦ Before turning on the transmitter, always check to make sure that nobody else is flying on the same frequency as
you. This is especially important if you're flying at a designated R/C flying site.
❑ Remove the fuselage body from the mainframe by first gently
pulling the back sides of the fuselage body off of the mounting posts.
Now pull the body forward off of the mainframe.
Always make sure you turn on the transmitter first, before plugging in the flight battery. After you're done
flying, unplug the flight battery first, then turn off the transmitter. This will prevent unexpected radio signals from interfering
with the radio control system.
✦✦
✦✦
✦WARNING
✦✦
✦✦
✦ The helicopter does not have an on/off switch. When you plug in the flight battery, the receiver and servos will
be powered up and the motor will be armed. Do not move the throttle control stick forward.
❑ Turn on the transmitter. The LEDs should light up in the green
"safe" area. If they don't, replace the batteries with a fresh set.
❑ Make sure that the throttle control stick and the throttle trim lever
are pulled all the way back. This will ensure that the motor won't turn
on when you plug in the flight battery.
Continued On Next Page
☛☛
☛☛
☛
✦✦
✦✦
✦WARNING
✦✦
✦✦
✦ Do not charge the flight battery before installing it. Charging will be done later.


 To Next Page