Enable the Glowforge Air Filter in the Glowforge UI
1) Go to https://app.glowforge.com and log in, if necessary
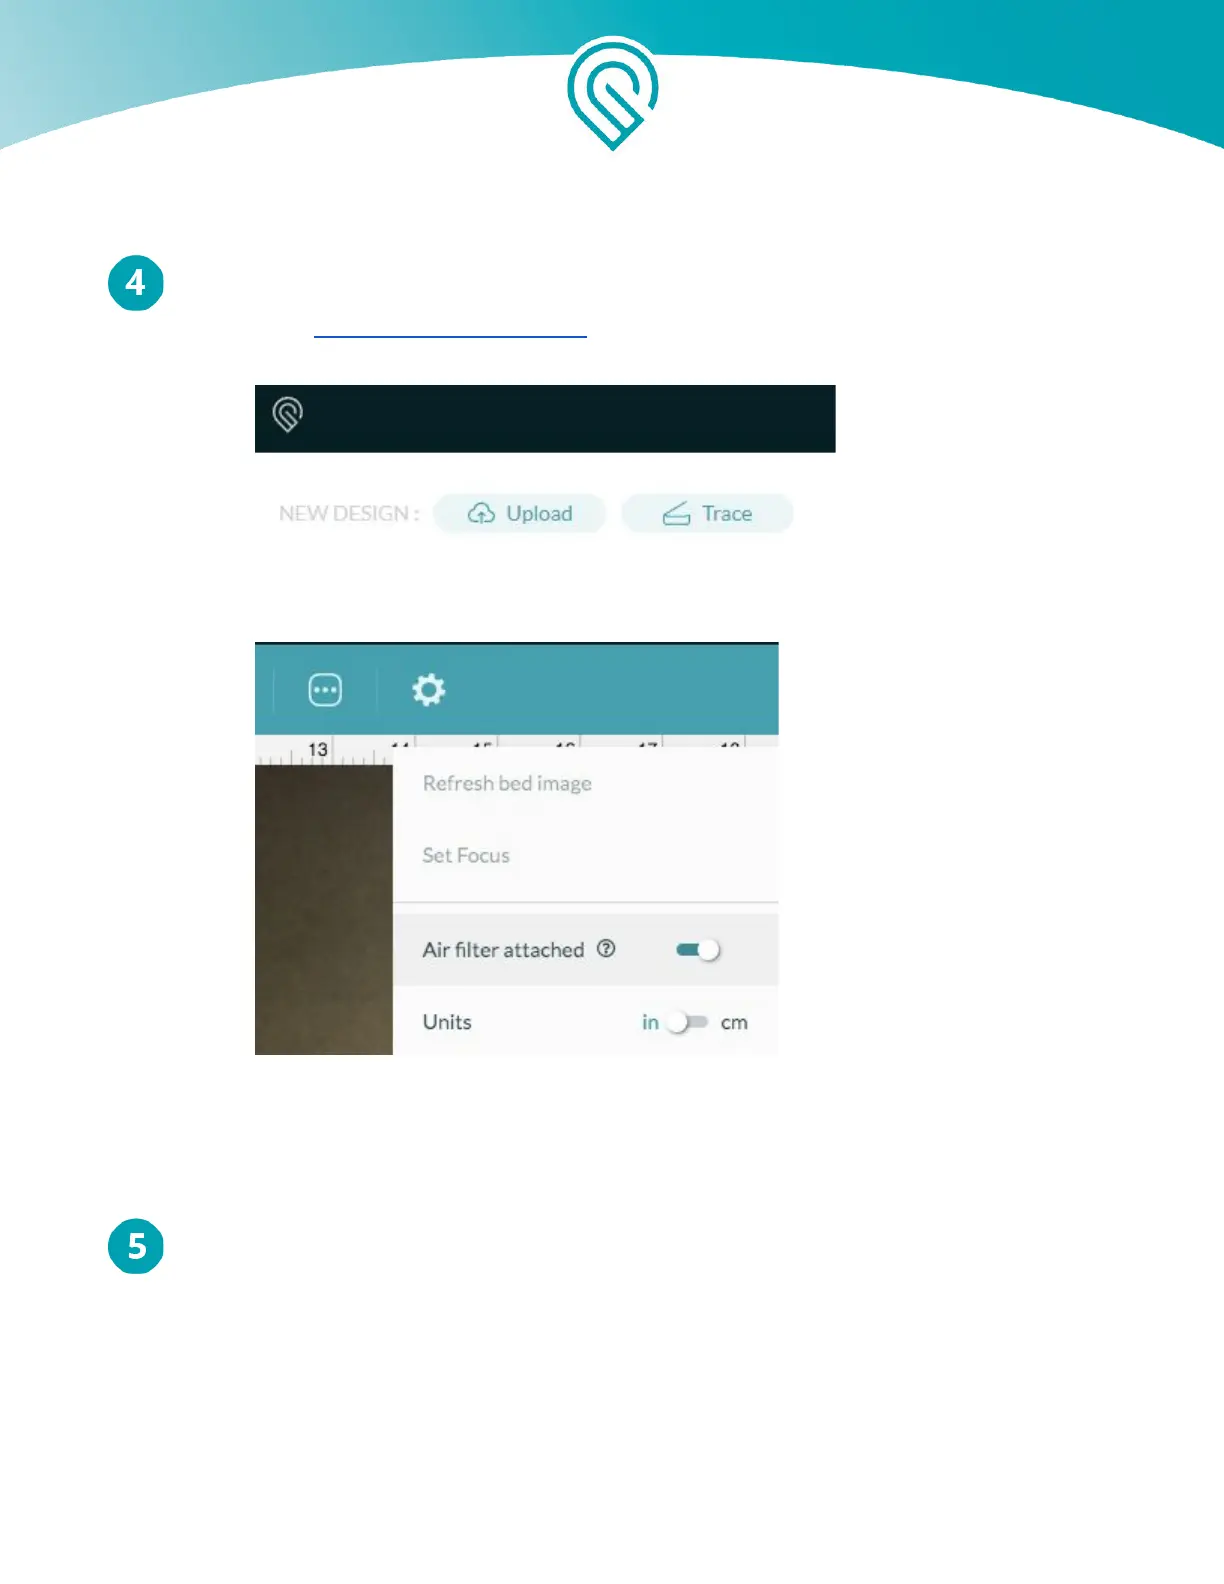
2) Click the “Trace” button
3) Click the gear icon, and then click the switch next to “Air filter attached”. When you
are done, the circle should be on the right, and the switch should turn teal.
The fans will now run at a lower speed during every print on this machine, to match the
Glowforge Air Filter’s internal fans.
Turn your Glowforge Air Filter knob to the right setting.
The knob on the Glowforge Air Filter controls the power to the fan. When it is too high or
too low, your Glowforge Air Filter will not work properly.
When you first use your Glowforge Air Filter, turn it to “New”. The fan will use its lowest
power setting, which is the best setting for a new filter. Do not use a higher setting, as more
power will move air too quickly, and smoke and fumes may not be completely removed.
After you have used the filter for a while, the filter cartridge will start to fill. More power
will be required to move the air through the Glowforge Air Filter, and the “New” setting will no
Copyright Glowforge, Inc. 2020 15