R 22MAR23
PART No.
SHEET
ALL INFORMATION WITHIN ABOVE
BORDER TO BE PRINTED EXACTLY
AS SHOWN ON 8.5 x 11 WHITE 16
POUND
NON-BOND RECYCLABLE
PAPER.
PRINT ON BOTH SIDES,
EXCLUDING TEMPLATES. TO BE
UNITED IN ACCORDANCE
WITH
GMCCA SPECIFICATIONS.
Date Revision Auth DR
Title
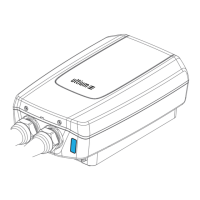
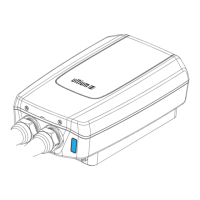
Ultium PowerUP Charge Station
User Manual
13DEC22 Fourth Re l SAR
MB
22MAR23
Fifth Re l
SAR
MB
84922762
29NOV22
Third Re l
SAR
AH
9
EN
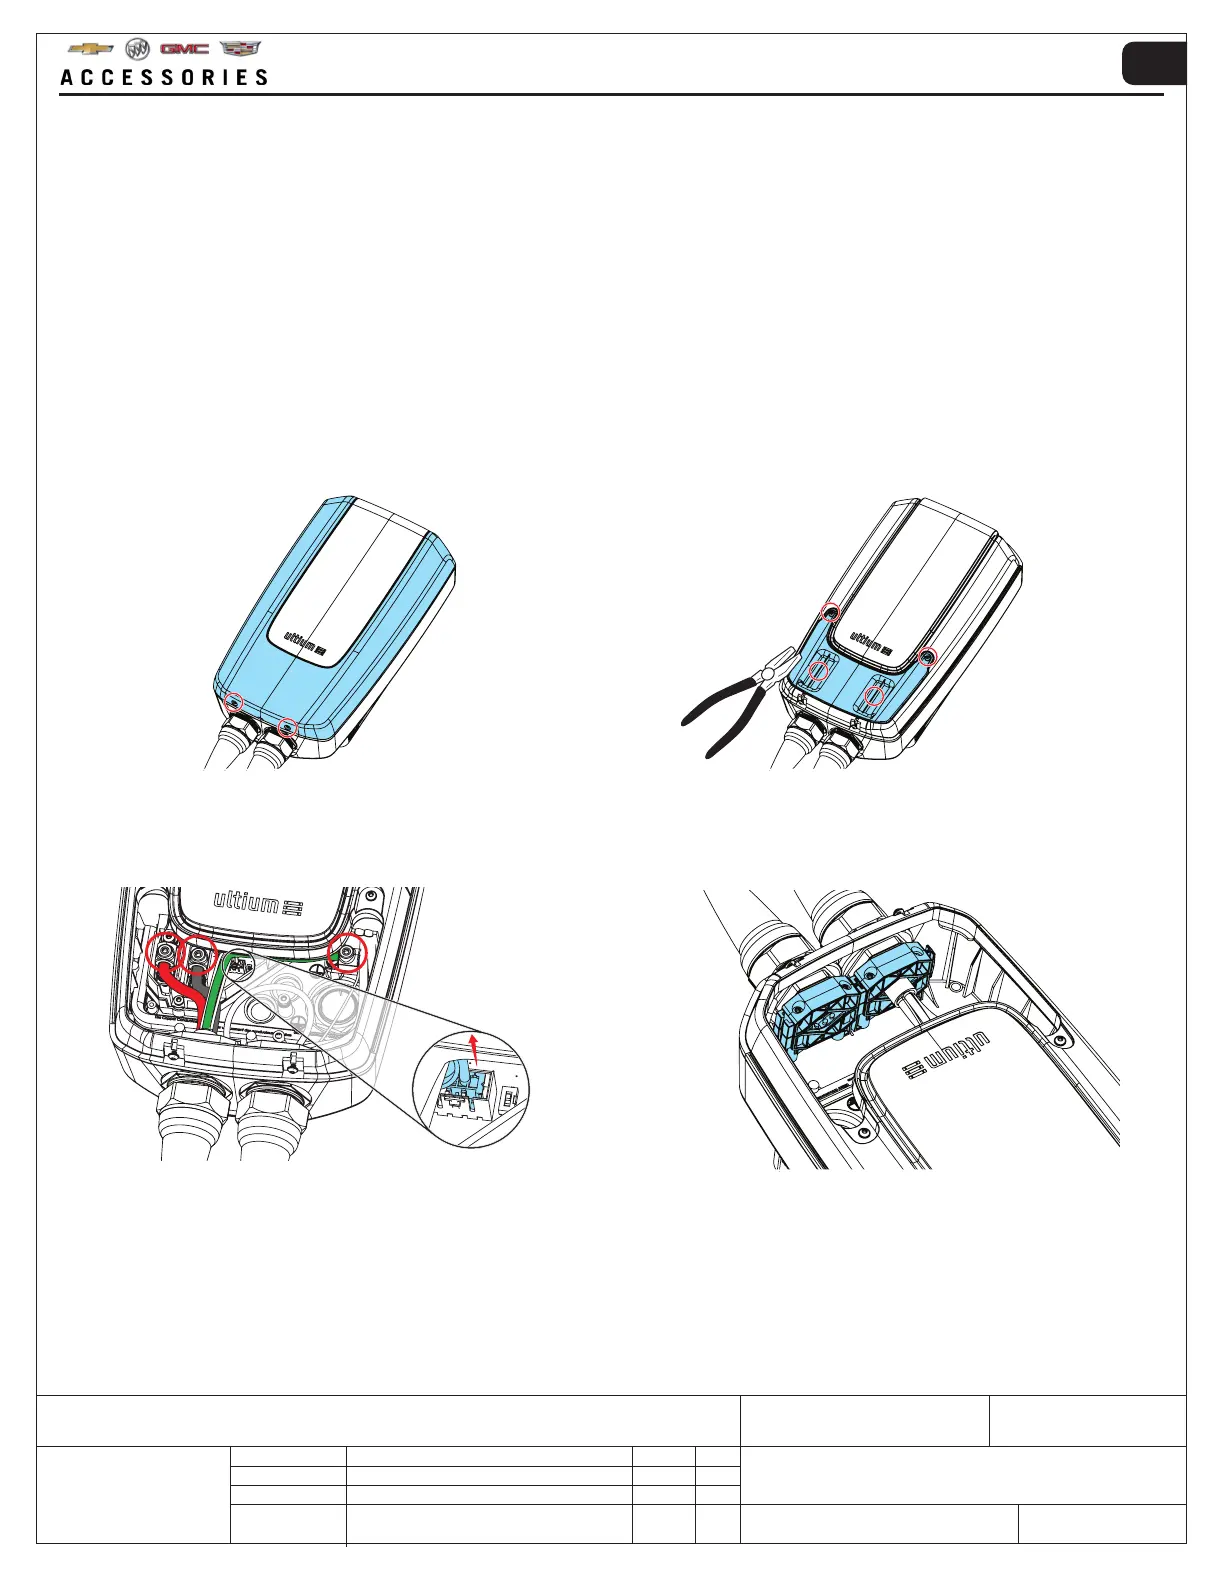
1. Remove the two screws located at the end of the
front cover (keep the screws for reassembly) →
Remove the front cover.
3.2 HARDWIRE INSTALLATION
3. Loosen the highlighted cables from the terminals →
Unclip the temperature sensor cable from the white
snap in connector.
2. Remove the two service lid screws (keep the screws
for reassembly) → Remove the service lid using
pliers and pull on the tabs as shown.
4. Remove the four screws and washers that secure
the cable clamp → Remove the cable clamp (keep
screws, washers and cable clamp for reassembly).
!WARNING: IMPORTANT - Hardwire installation can be performed by certified electricians ONLY.
!CAUTION: Use 6 AWG, 75°C copper wire for field wiring installation.
A hardwire installation requires removing the NEMA 14-50 plug, in order to permanently wire the Ultium PowerUP
Charge Station to the main incoming supply.
The hardwire installion of the Ultium PowerUP Charge Station can be reversed and the NEMA 14-50 plug refitted.
NOTE: Components may have been removed for image clarity. NOTE: Components may have been removed for image clarity.