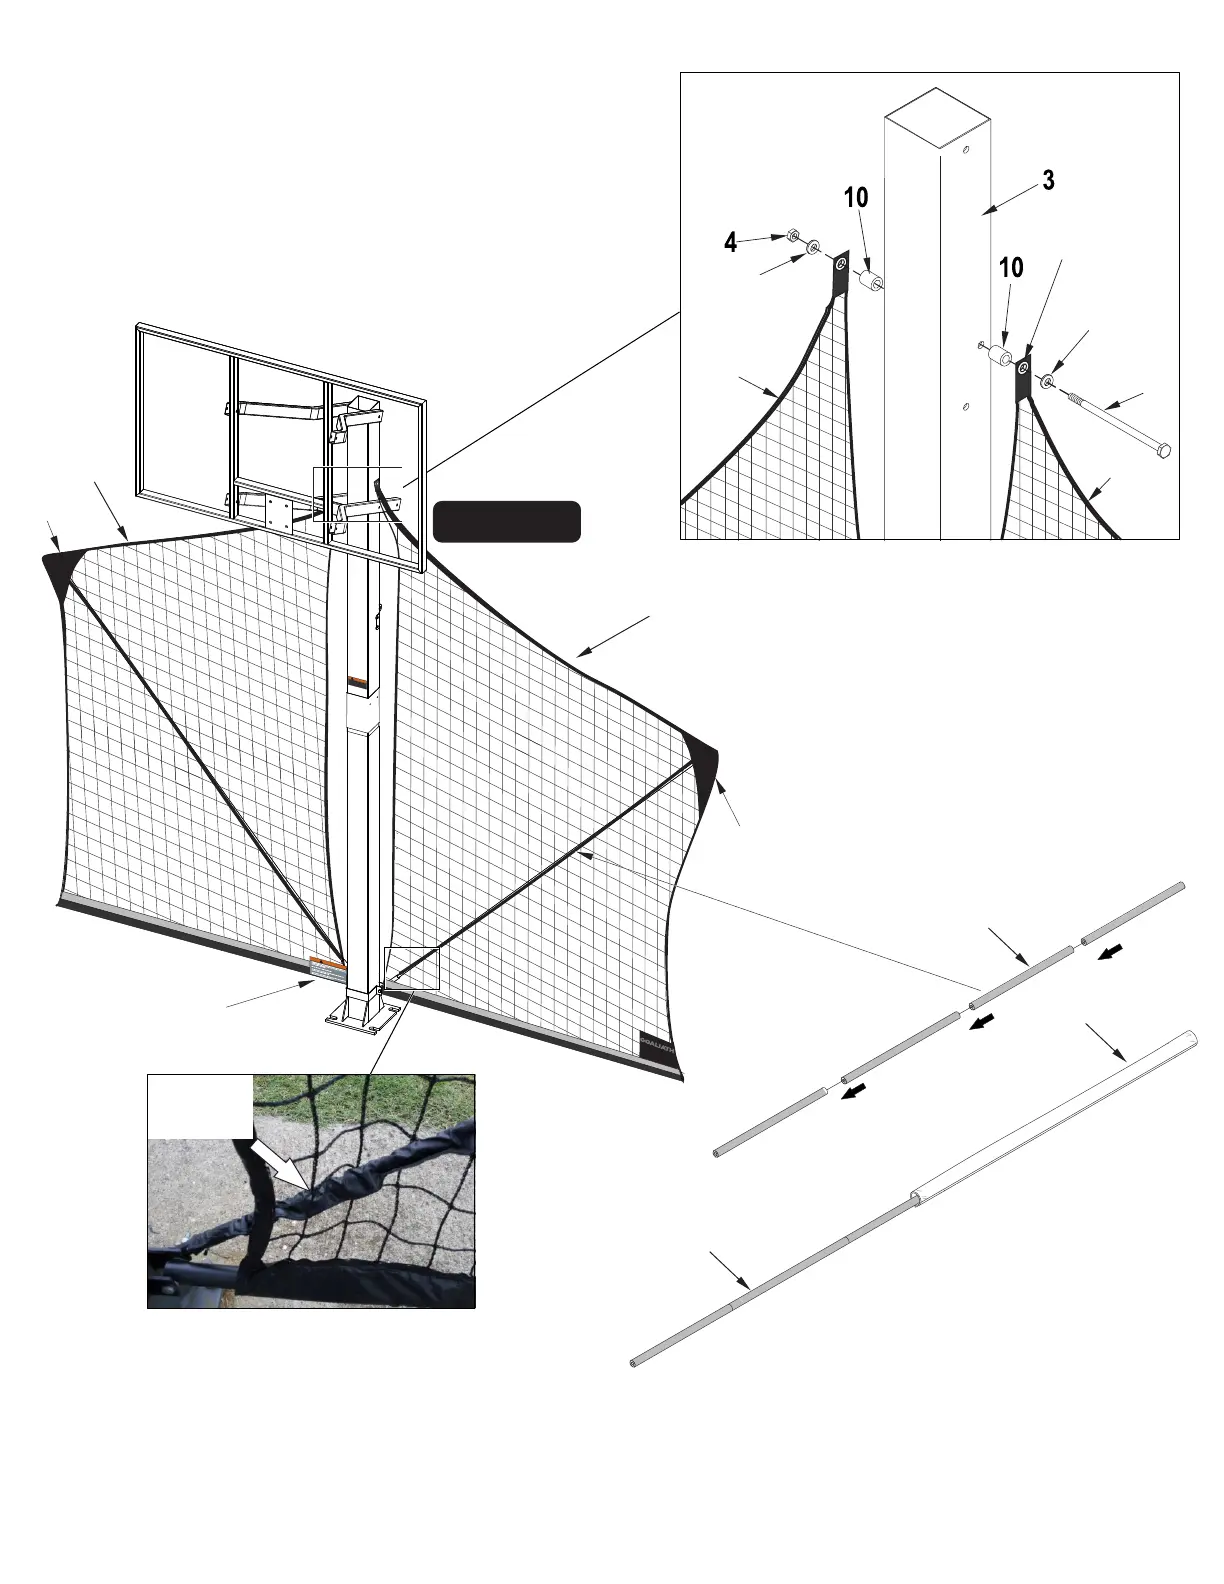
6. As shown, insert one end of the fiberglass rod into the
triangular pocket on the FRONT upper outside corners of
the net. The rod will then remain on the front of the net
until it reaches the second diagonal square from the
lower inside corner as shown in Detail 6. Please push it
though this hole and down into the fiberglass rod pivot
connector. Then carefully take the fiberglass tube sleeve
and slide it over the pivot connector as well.
Do this for both sides.
4. Carefully remove safety stop bolt assembly from pole. Using a
stable ladder, lift the upper parts of the nets one at a time and
slide the Safety Stop Bolt (#7) through Washer (#18), grommet
on net tab, Spacer (#10) and through the pole. Then slide the
bolt through another Spacer (#10) other grommet on net tab,
Washer (#18) and Nut (#4) as shown in Detail 3. After the
nets are attached, make sure to tighten Nut (#4) onto bolt
(#7) but be careful not to crush the grommet on net tab.
Detail 3
*Board Arms not
shown for clarity.
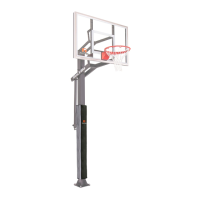
Yard Guard
Detail 5
Detail 4
DO NOT DUNK ON THIS UNIT .
DO NOT HANG FROM ANY PART OF THIS
UNIT , INCLUDING THE BACKBOARD, RIM,
SUPPORT BRACES OR NET.
4L-8152-00
WARNING
!
*Rim
n
o
t sho
w
n
f
or c
l
ar
ity.
73
(Right)
72
(Left)
18
18
4L-8156-00
WARNI
NG
!
NOTE: Make sure
Warning Label and
artwork face FRONT.
3. Raise the backboard, by turning the Actuator Crank, until the
lower arms are no longer making contact with the Safety Stops.
7
73
74
5. Assemble both fiberglass rods (#70) and then
carefully push them through the Vinyl sleeves
(#74). As shown in Detail 4 and Detail 5.
70
70
Detail 6
74
Pocket
Pocket
Figure 18
Second
diagonal
square
Grommet
17
 Loading...