36
.
.
5cm.
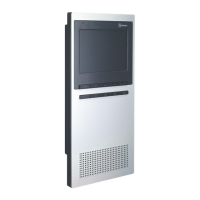
To install the monitor directly over the wall, drill two holes of Ø6mm and use
the supplied screws
The upper part of the monitor connection block must be placed at 1.60m. height
roughly The minimum distance between the monitor connection block and
the closest object must be
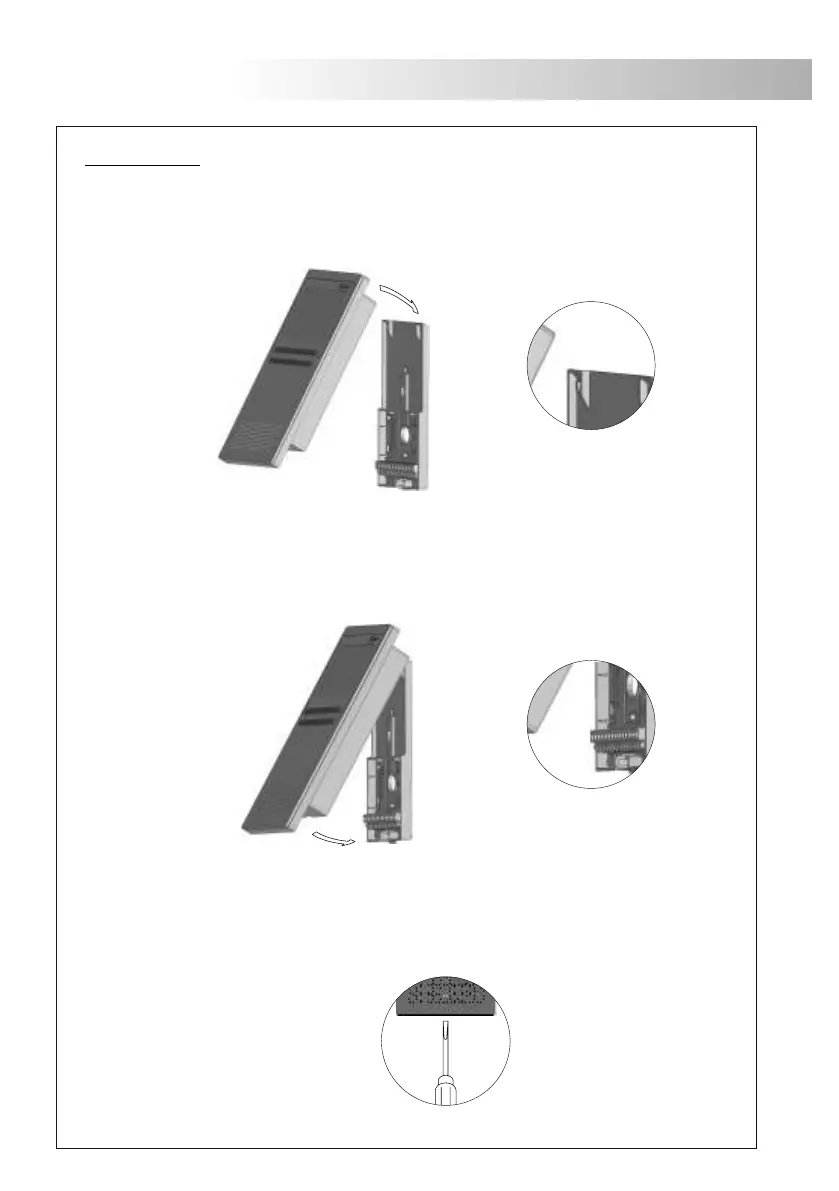
Place the monitor at right angles to the connection block and align the attaching holes
of the monitor with the holes of the connection block, as it is shown on the drawing .
Lock out the monitor pressing its lower side till the attachment clip locks the monitor firmly.
F .ix the monitor connection block to the wall
Fix the monitor.
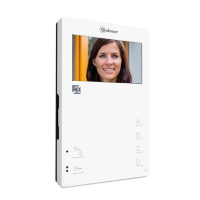
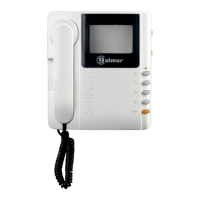
onitor installation.
M
Szena assembled on surface connection block
Avoid placing the monitor near sources of heat, in dusty locations or smoky environments
:
.
.
:
The Szena monitor can be assembled in surface connection block or embedding box
The details of assembly modes are the following
35
MONITOR INSTALLATION MONITOR INSTALLATION
To disassemble the monitor from the connector, use a plain screwdriver to release the
attachment clip Pull the monitor towards you to remove it from the connection block
taking special care that it does not fall
.
.
2,9 x 19
DIN-7981
2,9 x 19
DIN-7981
 Loading...