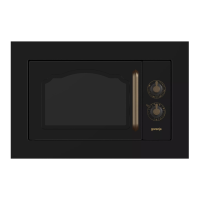
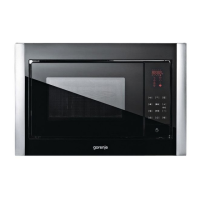
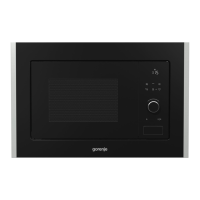
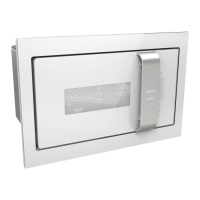
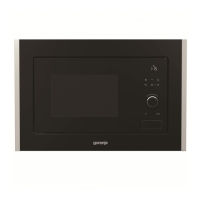
This document serves as the owner's instruction manual for the Gorenje BM5240AX microwave oven, providing essential information for its safe and effective operation, maintenance, and troubleshooting.
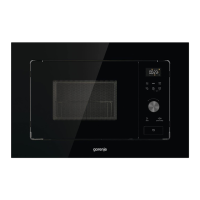
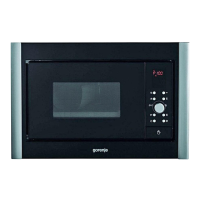
Function Description
The Gorenje BM5240AX is a microwave oven designed for heating food and beverages using electromagnetic energy. It offers various cooking modes, including:
- Microwave Cooking: This is the primary function, allowing users to heat food at different power levels. The oven provides options for 100%, 80%, 60%, 40%, 20%, and 0% microwave power, with a maximum cooking time of 95 minutes.
- Grill Cooking: This mode is particularly useful for browning thin slices of meat, steaks, chops, kebabs, sausages, chicken pieces, hot sandwiches, and au gratin dishes. The maximum grill cooking time is 95 minutes.
- Combination Cooking (Combi. 1): This mode combines 30% microwave cooking with 70% grill cooking, suitable for dishes like fish or au gratin.
- Combination Cooking (Combi. 2): This mode uses 55% microwave cooking and 45% grill cooking, ideal for puddings, omelets, baked potatoes, and poultry.
- Quick Start: This feature allows for immediate cooking at full power level for up to 10 minutes by repeatedly pressing the start button.
- Auto Cook: This function simplifies cooking for specific food types (Coffee/Soup, Potatoes, Spaghetti, Reheat, Pizza defrost, Pizza, Vegetables, Meat) by automatically setting power and time based on food code and weight/servings.
- Auto Defrost: The oven can defrost food by weight, automatically setting the defrosting time and power level for weights between 100g and 1800g. During defrosting, the oven will pause and beep to remind the user to turn the food over.
- Multi-Stage Cooking: The oven can be programmed to perform a sequence of up to three consecutive functions, combining microwave, grill, and combination modes.
Usage Features
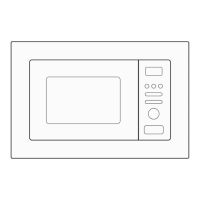
The microwave oven features a user-friendly control panel with a digital display that shows cooking time, power, action indicators, and clock time.
- Setting the Digital Clock: The oven supports a 24-hour clock cycle. Users can set the time by pressing the clock button and using the MENU/TIME dial.
- Setting Cooking Time and Power: For microwave cooking, users select the desired power level by repeatedly pressing the MICROWAVE button and then set the cooking time using the MENU/TIME dial.
- Auto Cook Menu Selection: To use the auto cook function, users press the auto cook button, turn the MENU/TIME dial counterclockwise to select a food code, and then use the WEIGHT ADJUST button to specify food weight or number of servings.
- Child Lock: This safety feature prevents unsupervised operation by children. It can be activated by holding down the PAUSE/CANCEL button for 3 seconds in standby or preset mode, and deactivated by holding the same button for 3 seconds until the lock indicator disappears.
- Pause/Cancel Function: The PAUSE/CANCEL button allows users to temporarily stop cooking with a single press or cancel a program altogether with two presses. It also serves to reset the oven before setting a new program.
- Start/Quick Start: This button initiates a cooking program or provides a quick start at full power level.
- Weight Adjust: This button is used to select the specified food weight or number of servings for auto cook functions.
- Checking Settings: During cooking, users can check the current time by pressing the clock button and the power level by pressing the MICROWAVE button.
Maintenance Features
Proper maintenance is crucial for the longevity and performance of the microwave oven.
- Cleaning the Oven Interior: The inside of the oven should be cleaned with a damp cloth after food splatters or liquid spills. Harsh detergents or abrasives are not recommended.
- Cleaning the Oven Exterior: The outside surface should be cleaned with a damp cloth. Care should be taken to prevent water from seeping into the ventilation openings.
- Cleaning the Control Panel: The control panel should be cleaned with a soft, damp cloth. Detergents, abrasives, or spray-on cleaners should not be used.
- Addressing Steam Accumulation: If steam accumulates inside or around the oven door, it should be wiped with a soft cloth. This is a normal occurrence in high humidity conditions and does not indicate a malfunction.
- Cleaning the Glass Tray: The glass tray should be removed and washed in warm, sudsy water or in a dishwasher.
- Cleaning the Roller Ring and Oven Cavity Floor: To prevent excessive noise, the roller ring and the oven cavity floor should be cleaned regularly. The bottom surface of the oven can be wiped with mild detergent, water, or window cleaner. The roller ring can be washed in mild sudsy water or a dish washer. Ensure the roller ring is replaced in the proper position after cleaning.
- Odor Removal: To remove odors, combine a cup of water with the juice and skin of one lemon in a deep microwaveable bowl, microwave for 5 minutes, then wipe the oven thoroughly with a soft cloth.
- Oven Light Replacement: If the oven light needs to be replaced, users should consult a dealer for assistance.
- Power Disconnection for Cleaning: Always turn off the oven and remove the power plug from the wall socket before cleaning.
The manual emphasizes several safety instructions, including ensuring proper ventilation, using suitable utensils, supervising children, and avoiding heating sealed containers or whole hard-boiled eggs. It also provides guidance on what to do if the oven malfunctions or if smoke is observed during operation.