13 14
proper length so that your child
is snugly secured. Make sure the
space between the child and the
shoulder harness is about the
thickness of one hand.
-2
The child restraint can not be
used if the vehicle safety belt
buckle (female buckle end) is
too long to anchor the child
restraint system securely.
-3
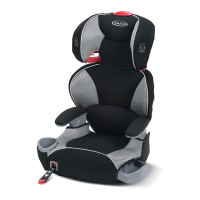
Booster Mode
(For Child between 100cm-150cm /
15-36kg / 3.5 – 12years old)
! Store the shoulder strap cover,
buckle/crotch strap cover and
harness straps in a safe place.
Pull the vehicle safety belt and
pass through the belt path, and
then buckle it up.
DO NOT position vehicle belt
over top of the armrests. It must
pass underneath the armrests.
-1
Position shoulder belt through
the shoulder belt guide shown
in
-2
The booster can not be used if
the vehicle safety belt buckle
(female buckle end) is too long
to anchor the booster securely.
-3
It is very important to ensure
that any lap strap is worn low
down, so that the pelvis is rmly
engaged. The booster is shown
as
To ensure the correct head
support height is obtained, the
bottom of the headrest MUST
be even with the top of child’s
shoulders as shown in
The shoulder belt must be
positioned in the red zone as
shown in
! Place the booster rmly against
the back of a forward-facing
vehicle seat equipped with a
lap/shoulder belt.
! Have your child sit in the booster
with their back at against the
back of the booster.
! If the belt lays across the child’s
neck, head or face, readjust head
support height.
! Belt must not be twisted.
! After using with booster mode,
please do not reassemble
components that removed
before.
Detach Soft Goods
See images
-
Follow steps
-
to detach soft
goods.
! To re-attach the soft goods
please repeat the above steps in
the reverse step.
It is approved according to UN
Regulation No.129, for use primarily
in “i-Size seating positions” as
indicated by vehicle manufacturers
in the vehicle user’s manual.
2. If in doubt, consult either the
Enhanced Child Restraint System
manufacturer or the retailer.
Materials Plastics, Metal, Fabrics
Patent No. Patents pending
Assembly
See images
-
! Make sure that no part of the
seat covering interferes when
attaching backrest to the base.
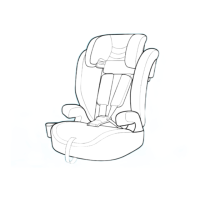
Height Adjustment
– for Head Support
See image
Please adjust the head support
to proper height according to
the child’s height.
Squeeze the head support
adjustment lever, meanwhile
pull up or push down the head
support until it snaps into one of
the 10 positions.
! Before adjusting the head
support height have your child
lean forward slightly.
Concerns on
Installation
See images
-
Installation with
3-point belt
See images
-
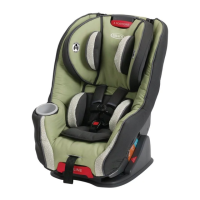
Harness Mode
(For Child between 76cm-105cm /
9-21.5kg / 15 months – 4 years old)
! DO not use the booster with the
harness if the child’s shoulders
are above the highest slots in
the backrest or if the child’s
weight exceeds 21.5kg.
While pressing the harness
adjustment button, pull the two
shoulder harnesses of the child
restraint system as far as they
can go.
Unlock the buckle of the
harnesses by pressing the red
button.
Shoulder belt passes through
Lock-o device, conrm the
Lock-o Device is pushed down.
When used in harness mode, the
shoulder harness height must
be even with the top of child’s
shoulders.
-1
Pull down the adjustment
webbing and adjust it to the
 Loading...