www.graco.be
GRACO N.V. • Industrieterrein Oude Bunders • Slakweidestraat 31 • B-3630 Maasmechelen
Tel. (32) 89 770 700 • Fax (32) 89 770 777
• E-mail: info@graco.be
109 111 113 115 119 121
207 209 211 213 215 217 219 221 223 225
307 309 311 313 315 317 319 321 323 325 327
409 411 413 415 417 419 421 423 425 427
509 511 513 515 517 519 521 523 525 527
609 611 613 615 617 619 621 623 625 627
721 723 725
815 817 819 821 827
917
.20 .33 .49 .69 .91 1.17 1.47 2.15 2.54 2.96 3.42
200
(orange)
100
(blue)
60
(black)
30
(grey)
100
(orange)
100
(orange)
60
(blue)
5 cm
235 10 cm
331 15 cm
429 433 435 439 443 451 455 20 cm
529 531 533 543 551 555 25 cm
629 631 633 635 645 655 30 cm
729 735 35 cm
831 833 835 40 cm
935 45 cm
3.90 4.42 4.98 6.18 7.51 8.23 10.5712.99
none
none
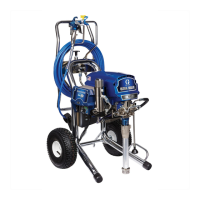
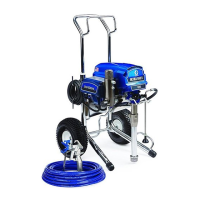
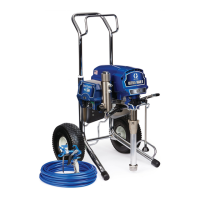
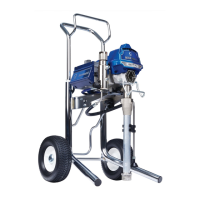
ULTRA
®
MAX II 695/795/1095
MARK V
™
- MARK X
™
SETUP
Connect hose to sprayer and gun.
Tighten hose connections with wrench. Unscrew tip & guard from gun.
Fill throat packing nut with TSL
™
to prevent premature packing wear.
Make sure power
switch is set to OFF.
Plug electrical cord
into grounded outlet.
Turn prime valve
to Prime position (down).
Place siphon tube in pail
partially filled with water.
Turn pressure control knob
to lowest pressure, and set
power switch to ON.
Increase pressure until
sprayer starts and water
runs out of prime tube.
Let water run out of
prime tube for 15 seconds.
Decrease pressure
until sprayer stops.
Turn prime valve
to Spray position
(horizontal).
Make sure safety
lever of gun is OFF.
Aim gun at inside
wall of water pail
and squeeze trigger.
Increase pressure
until sprayer starts.
Keep gun triggered into
water pail for 1 minute.
Release trigger.
Turn prime
valve to Prime
position (down).
Place siphon tube in paint
pail, but leave drain tube
in water pail.
Aim gun at inside
wall of water pail,
and squeeze trigger.
Transfer drain
tube to paint pail.
Increase pressure until
sprayer starts and paint
comes out of drain tube.
Keeping gun triggered into
water pail, turn prime valve
to Spray position (horizontal).
When paint comes out of gun,
release trigger and turn safety
lever of gun to ON.
Screw tip & guard onto gun, making sure
arrow-shaped handle of tip is pointing forward.
You can reverse this tip to quickly clear clogs
without taking it apart.
This procedure is for water-base paints and flushing fluids. For solvent-base paints and flushing
fluids (i.e. mineral spirits), you must read Fire and Explosion Hazard in the Operating Instructions.
* check the Graco operations manual delive red with the unit for more deta i l s.
CHOOSE THE RIGHT TIP (286-XXX) & FILTER
WARNING
Flow Rate (l/min.)
Pump Filter (mesh)
Gun Filter (mesh)
Quick Operator’s Guide