CREATING A FAX RESOURCE
Once you have logged into the Control Panel and have entered Voice
Services, you will need to create a Fax Resource, which provides your ATA
with a phone number and other conguration:
• Click on ‘Resources & Utilities’
• Click ‘Create’
• Select ‘Fax resource’ and click ‘Proceed’
• Fill in the required information:
• Name of the fax resource
• Select an extension
• Assign a phone number
• Choose a billing plan
• Assign the ATA to a location
• Click ‘Create fax resource’
ASSIGN YOUR ATA TO THE FAX RESOURCE
• Click on the ‘Devices’ tab
• Click on ‘Assign new’
• Select the ATA in the Device drop down list
• Ensure the address is correct, for this is where 911 will respond
to should someone dial 911 from this ATA
• Indicate you have read the 911 Policy and Limitations
• Click ‘Assign device’
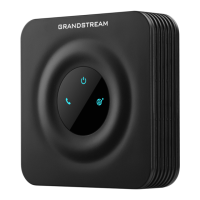
At this point, your ATA is ready to download a conguration. If the device
is plugged in and powered on, simply perform a power cycle of the device.
The ATA will require 1-2 minutes to reboot and download a conguration.
Once nished, the ATA will provide dial tone to your fax machine.
UPDATING OUTBOUND CALLER ID
While editing the Fax Resource:
• On the General tab, click on the phone number link next to ‘Outbound
Caller ID’
• Choose whether you wish to:
• Use the ATA’s own phone number
• Use a dierent phone number on the account
• Block outbound caller ID
• Click ‘Save changes’
Quick Start Guide - Grandstream HT801

 Loading...


