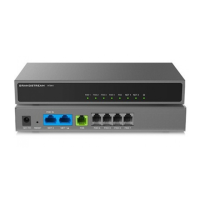
HT841 HT881 LED Patterns
Application Description
IP PBX / SIP Server with HT841/HT881
A SIP proxy server such as UCM6xxx can be deployed with the HT841/HT881 series. In this environment, the SIP server handles SIP registration and
call control, and the HT841/HT881 processes media conversion between IP and PSTN calls.
There are 2 ways to configure HT841/HT881 when using with a SIP Server:
1. With SIP accounts configured on the Channels page. In this case, the HT841/HT881 act like an endpoint requesting registration from the SIP
Server. Under the Channels webpage, you will need to fill in information like SIP User ID, Password, etc. Now, when you try to make calls from IP,
the call will be routed to the SIP Server which will forward it to one of the SIP accounts on the HT841/HT881, which will then forward it to the
PSTN line.
2. Without SIP accounts. In this case, you simply have to configure the SIP Server to perform forwarding of the SIP INVITE message with the FXO
destination number to the gateway’s IP Address. The HT841/HT881 will receive the digits and immediately forward them on the FXO lines to the
destination PSTN. Most of the configuration on the Gateway for this case will remain the default, except Stage Method needs to be set to 1, and
SIP Server IP Address/DNS name has to be filled.
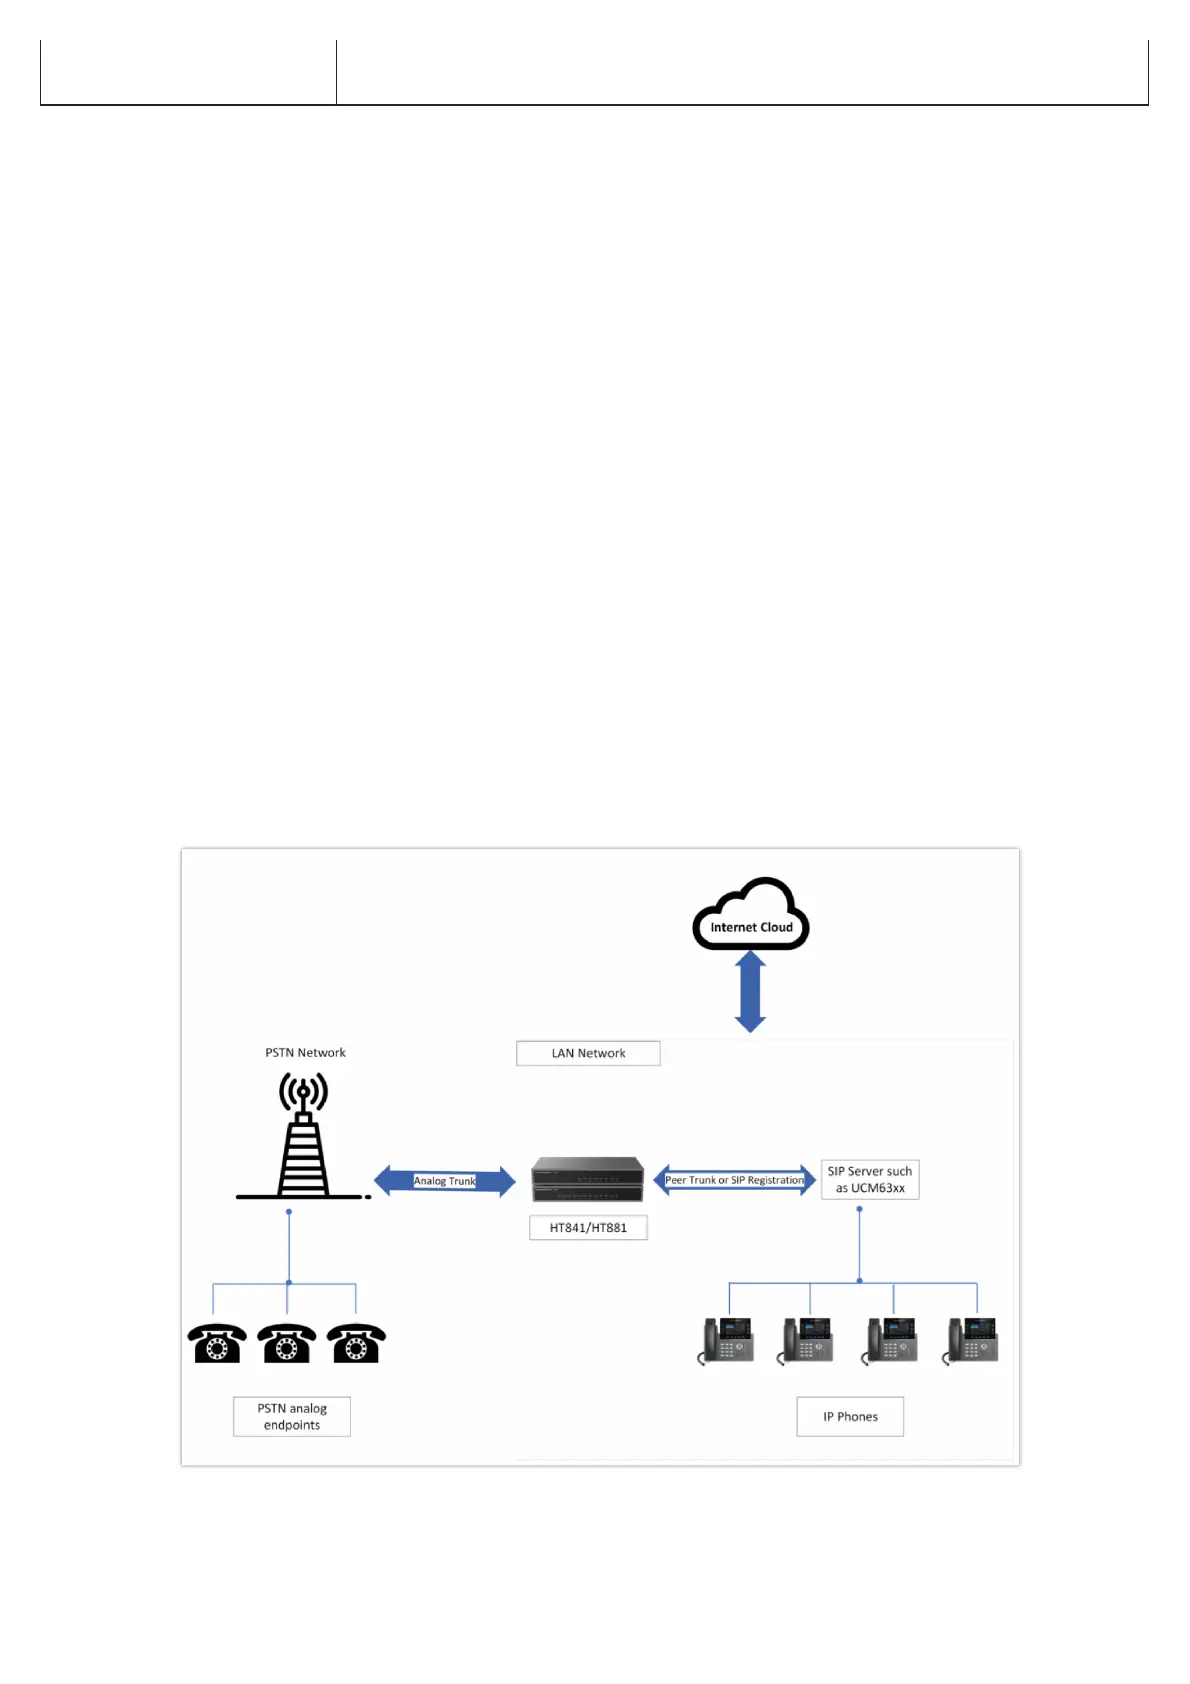
Functional Diagram of IP-PBX & HT841/HT881
For incoming calls from the PSTN analog endpoints to the HT841/HT881, the device will auto-forward each call to a configured IP extension. The SIP
Server can then route the call based on its own configuration or IVR system.
Blinking every 500 ms – Off-Hook / Busy
Slow blinking – FXO LEDs indicate voicemail
All LEDs display green when ON. The Ready light will only be ON when the network interface is ready and the Web User Interface is accessible.
During a firmware upgrade or configuration download the following LED pattern will be observed: Power, Ready, and NET1 LEDs will be ON. The FXO
port LED will keep flashing during download and then stay OFF while the new files are written. The entire process may take between 20 to 30 minutes.
The firmware upgrade is complete when you can login into the web configuration pages.
 Loading...