9
Step 8
Re-fit both the 6-way and then 7-way plugs to
their corresponding sockets on the left side
of the burner. Ensure that both plugs are fully
pushed home until the small catch on each
plug clicks into place.
Step 9
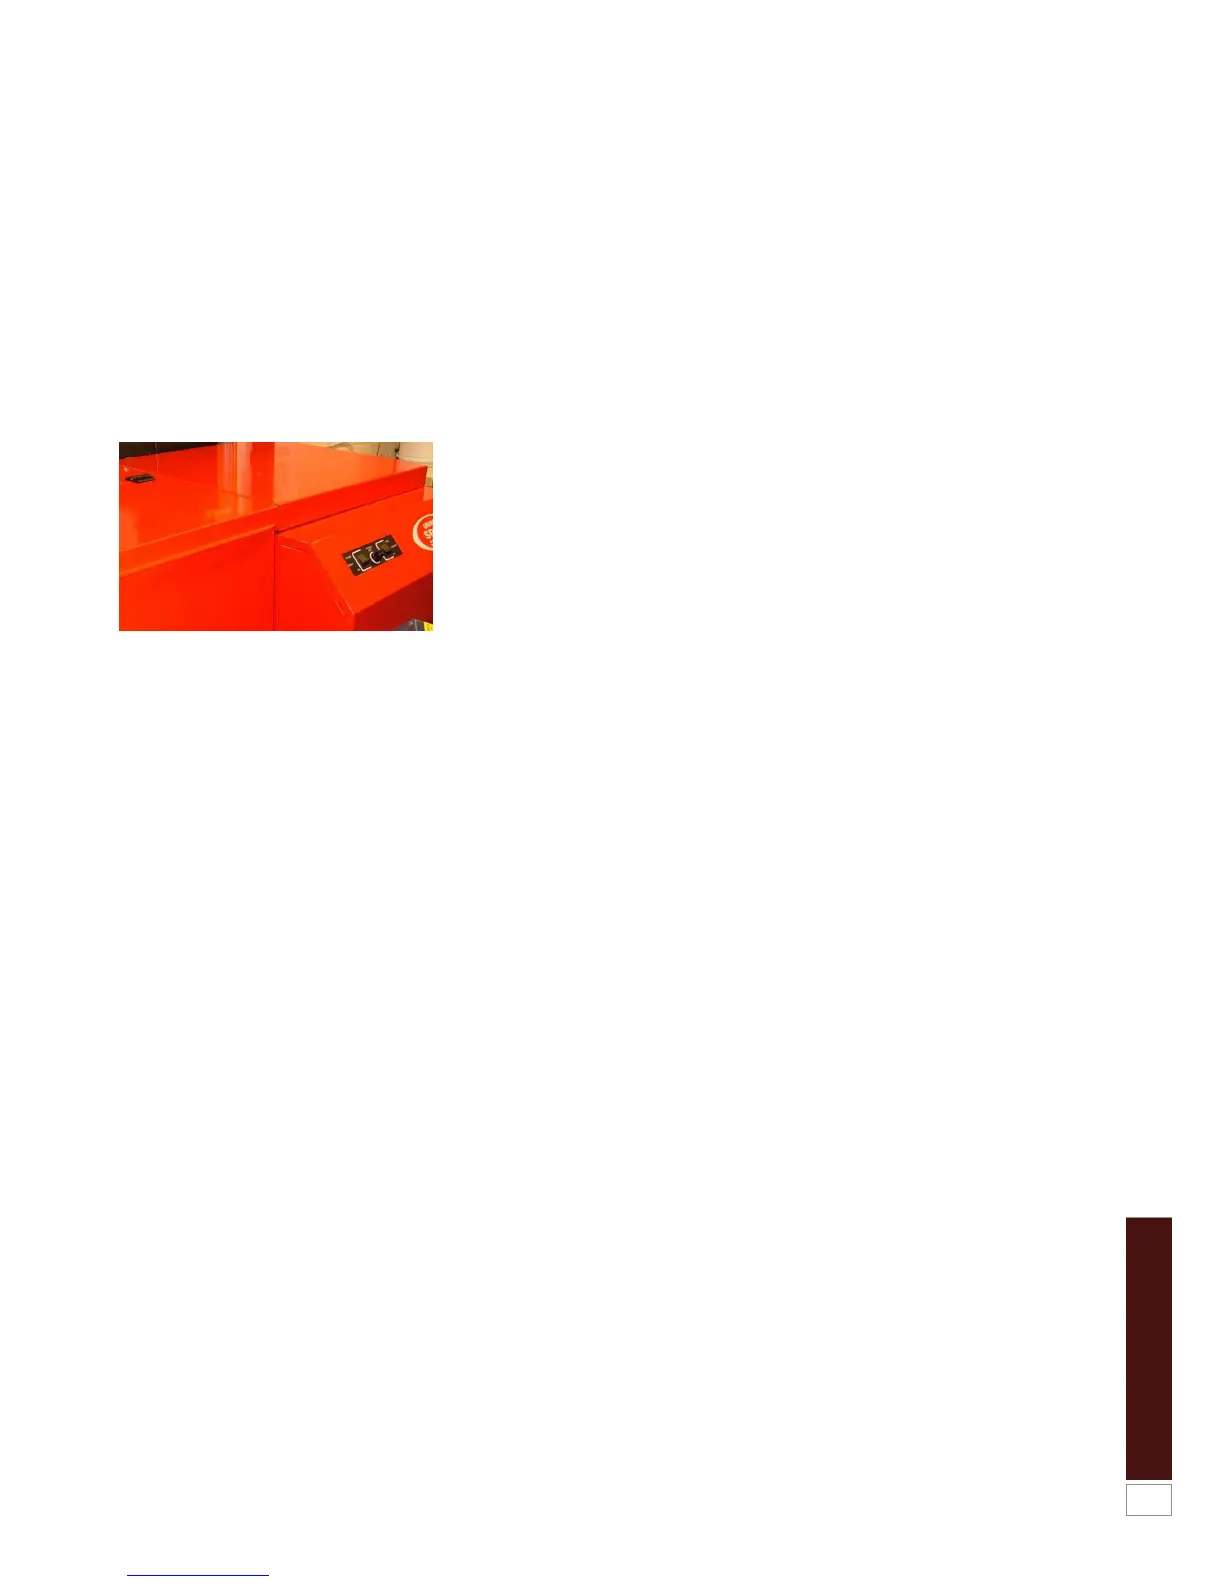
Make sure that the boiler pellet hopper is
correctly located against the side of the boiler
with the front edge aligned with the top front
edge of the boiler. Refer to Figure 7-5.
Figure 7-5: Correct alignment of hopper to
boiler.
Step 10
Finally, set the burner ON/STANDBY switch to
the ON position.
8 Lighting your
Boiler
To start your boiler:
• First ensure that the electrical supply to
the hopper and boiler is switched on.
• Check that the heating system controls
are operating and are ‘calling’ for heat.
There should be a cursor next to the
‘Heating Demand’ symbol on the burner
display. Refer to Section 5.4 – Active
Symbols.
• Set the burner ON/STANDBY switch to
ON. The flue fan will start and pellets will
be delivered to the burner for it to start.
NOTE
If the burner ON/STANDBY switch is switched
to STANDBY at this stage the pellet feed will
continue, and then the burner will go through
the ‘WAIT BOILER LIGHTING’ phase and
light.
It will then immediately go to ‘TURNING OFF
BRAZIER’ followed by ‘WAIT POST PURGE’
and then stop.
This process will take several minutes to
complete before the boiler can be re-started.
• The flue fan will start and pellets will be
delivered to the burner. The boiler will
now light automatically after a short
ignition period.
• Set the heating (CH) and hot water
(HW) functions on your programmer
to ‘Timed’. The boiler will now operate
during the ‘on’ periods set on the
programmer.
CAUTION
Do not repeatedly switch the ON/STANDBY
switch on and off the burner at this stage, as
a build-up of pellets in the brazier will occur
resulting in poor combustion during lighting.