Do you have a question about the Grape Solar GS-200-KIT and is the answer not in the manual?
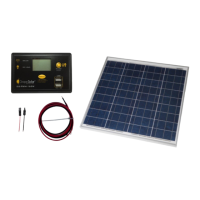
Verify all included solar kit components are present before proceeding with installation.
List of additional tools needed for installation, such as screwdrivers and deep-cycle batteries.
Position solar panels to face South at an optimal angle for maximum sunlight exposure.
Connect the charge controller's battery terminals to the battery using appropriate cables.
Prepare the 10-gauge, 15-foot MC4 extension cable by cutting it into two equal halves.
Connect positive and negative solar panel cables to the charge controller's PV input.
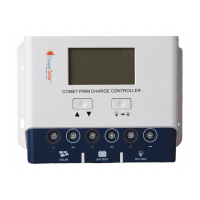
Confirm charge controller display shows 'BAT %' increasing, indicating power flow.
Installations must comply with national/local codes; use proper fuses/breakers.
Use identical batteries; do not mix types, sizes, or ages to prevent performance issues.
Grape Solar is not liable for accuracy, suitability, or damages arising from manual use.
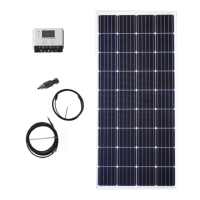
The Grape Solar 200 Watt Off-Grid Charging Kit (GS-200-KIT) is a photovoltaic power generation system designed for off-grid applications. This kit provides a means to generate and store solar power, primarily for charging a 12V deep-cycle battery bank. It is intended for users who need a reliable, standalone power source in areas without access to the electrical grid.
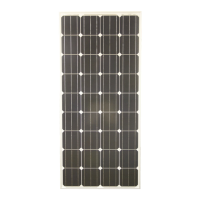
The primary function of the GS-200-KIT is to convert solar energy into electrical energy and regulate its flow to a battery bank. The system utilizes two 100-watt solar panels to capture sunlight. The captured energy is then routed through a GS-PWM-Comet 40 Charge Controller, which manages the charging process to prevent overcharging and optimize battery life. The charge controller also provides a load control output and a USB port for powering small devices directly from the system. The kit is designed to be a complete solution for basic off-grid power needs, requiring only a 12V deep-cycle battery bank to become fully operational.
| Brand | Grape Solar |
|---|---|
| Model | GS-200-KIT |
| Category | Solar panel |
| Language | English |