3.Kit Install
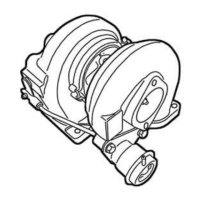
3-1 OE ventilation Tube No. 1 Modification
Remove the bracket from the ventilation tube in
2-13. Install back to same location.
※ After removing bracket, make sure to de-burr and
paint surface of modified area.
Please use safety glasses and a
mask to prevent injury.
Remove
Kit Alternator Bracket
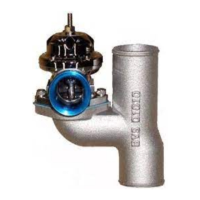
3-2 Kit Lower Alternator Bracket Install
(1) Remove the two lower bolts of the A/C compressor
brackets. Place the provided spacers between the
kit alternator bracket and OE compressor bracket.
※ Replace the two bolts with the provided bolts. Do not
torque these bolts at this time.
〈Parts №11,13,30〉
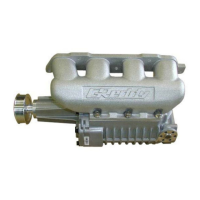
Floating Nut
(2) Place the floating nut in the lower alternator bracket.
〈Parts №7,8〉
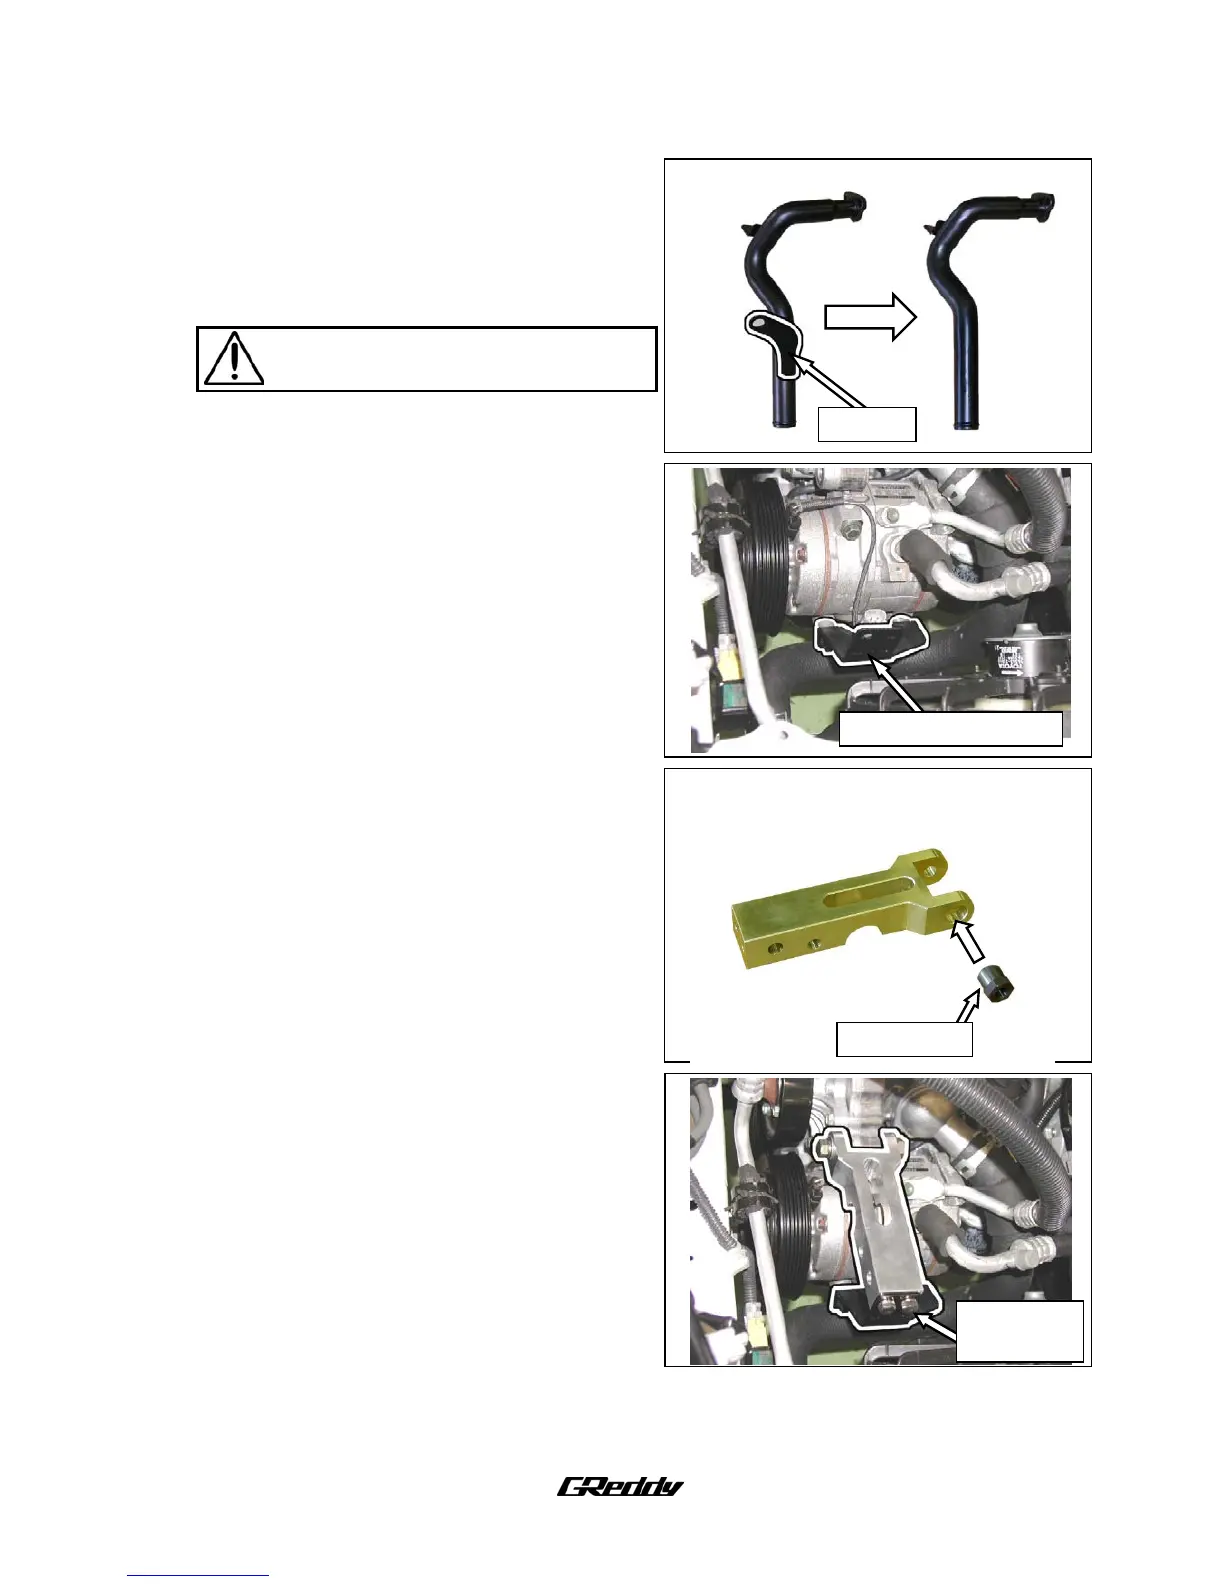
(3) Install the lower alternator bracket to the engine
block using the provided bolt and attach the
alternator bracket (1) to the lower alternator bracket.
※ Torque bolts in this order:
A/C compressor bracket, lower alternator bracket
(engine block side), alternator bracket.
Kit alternator
bracket
〈Parts №25,31〉
―6―
 Loading...