This document is an owner's manual for GREE Portable Air Conditioners, specifically models GPC08AH-K3NNC5A, GPC09AH-K3NNC5A, and GPC09AH-D1NNC5A.
Function Description
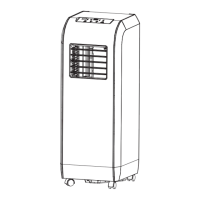
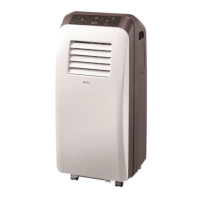
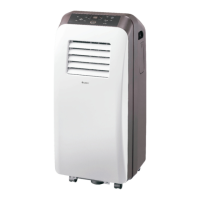
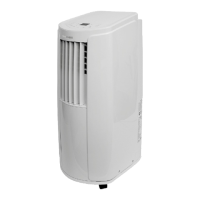
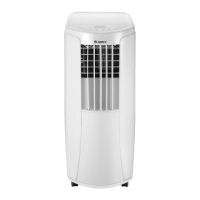
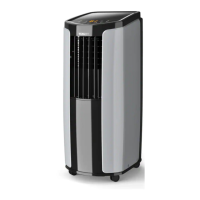
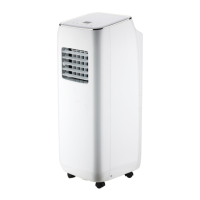
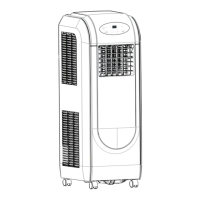
The GREE Portable Air Conditioner is a small, multifunctional, and movable air conditioner designed for cooling, dehumidifying, and ventilation. It is suitable for offices and houses, especially those with multiple rooms, due to its compact configuration, elegant appearance, and ease of movement. The unit operates by drawing in indoor air, cooling it through an evaporator, and discharging the cooled air from the front air outlet vent. Simultaneously, heated air is discharged from the rear air outlet vent via a heat exhaust pipe. When used as a dehumidifier, the heat discharge pipe should be removed.
Important Technical Specifications
- Operating Temperature Range:
- Cooling: 16°C - 35°C (61°F - 86°F)
- Dehumidifying: 16°C - 35°C
- Power Requirements: The unit requires a power lead with a pickup current above 10A. The normal running fluctuation range of voltage is ±10% of the value listed on the nameplate.
- Fuse: The fuse should be of proper capacity and made of appropriate material (not steel or copper).
- Circuitry: Circuitry must be installed and fixed by professional personnel according to national wiring regulations, including a creepage protect switch with sufficient capacity and a 10A solenoid heat tripping air switch.
- Compressor Delay Protection: After being electrified, the compressor will not start within 3 minutes of its last stop. Once started, it will run for at least 6 minutes, regardless of temperature changes.
- Heat Exhaust Pipe: The length range for the exhaust pipe is 500mm-1500mm. It is recommended to use the shortest possible length and ensure the pipe is as flat as possible during installation to prevent malfunction. The installation height on a wall should be between 40cm and 130cm from the floor.
- Room Area Suitability:
- For rooms smaller than 15m² with good heat insulation, the unit provides effective cooling for the entire room.
- For larger rooms (e.g., workshops or factories larger than 20m²), the unit provides localized cooling to a partial area.
Usage Features
- Placement: The unit should be placed on a horizontal floor, maintaining a distance of at least 50cm from walls, flammable objects, and other obstructions. It should not be placed in narrow locations, direct sunlight, or areas prone to getting wet.
- Control Panel: The control panel includes buttons for ON/OFF, MODE (Cool, Dehumidify, Fan), and temperature selection (+/-). An LED screen displays information, and indicator lights show the current mode (COOL, DRY, FAN) and water full status.
- Wireless Remote Control: The unit comes with a wireless remote control for convenient operation.
- ON/OFF: Turns the unit on or off.
- Temperature Adjustment: In COOL mode, temperature can be set between 16°C and 30°C (61°F and 86°F) using the "+" and "-" buttons.
- Mode Selection: Cycles through COOL, DEHUMIDIFY, and FAN modes.
- Fan Speed: In FAN or COOL mode, 3 fan speeds can be selected (initial speed is high). In DRY mode, the fan runs at low speed.
- Water Full Indicator: A twinkling light indicates when the water tank is full and needs draining.
- Sleep Function: Activates or deactivates sleep mode.
- Timer Function: Sets scheduled ON or OFF times (0.5 to 24 hours).
- Swing Function: Activates or deactivates the louver swing (Note: Not available on all models).
- Lock Function: Locks/unlocks the keypad by holding "+" and "-" simultaneously.
- Temperature Unit Switch: Switches between Celsius and Fahrenheit by holding "-" and "MODE" simultaneously when the unit is off.
- Lamp Control: Turns the lamp on or off by holding "+" and "FAN" simultaneously for 3 seconds when the unit is off.
- Drainage: When the water tank is full, a buzzer sounds, the "H8" error code is displayed, and the unit stops. Water must be drained by removing the drain plug and hose.
- Installation of Heat Exhaust Hose: The flexible exhaust hose connects to the unit's exhaust adapter and then to a window exhaust adapter. Both ends are twisted clockwise to lock into place.
Maintenance Features
- Mobility: The unit has wheels for easy movement between rooms.
- Safety Precaution: Always unplug the power plug and cut off power before any maintenance to prevent electrical hazards.
- Air Filter Cleaning: The air filter should be cleaned at least every two weeks to maintain optimal performance. Filters can be removed from two directions, washed with water (e.g., shower), shaken dry, or soaked in warm soapy water.
- Unit Cleaning: The unit's exterior should be wiped with a cloth soaked in warm water (below 40°C / 104°F) or soapy water/cleaner. Do not use gasoline, diesel oil, or similar substances.
- Battery Replacement (Remote Control):
- Press the designated spot to remove the back cover.
- Remove old batteries.
- Insert two new AAA 1.5V dry batteries, observing polarity.
- Reattach the back cover.
- Note: Do not mix old and new batteries or different types. Remove batteries if the remote will not be used for a long time to prevent leakage. The remote should be used within its receiving range and kept at least 1m away from TVs or stereo sound systems. If the remote malfunctions, remove batteries for 30 seconds, reinsert, and replace if necessary.
Malfunction Analysis (Troubleshooting)
The manual provides a table for common malfunctions, possible causes, and solutions:
- Unit doesn't start: Check power connection, plug, socket, and fuse.
- No cool wind in COOL mode: Room temperature might be lower than set temperature, or evaporator is frosting. Unit may be in defrosting operation.
- No cool wind in DRY mode: Evaporator is frosting. Unit may be in defrosting operation.
- LED displays "E5": Low voltage over current protection. Cut power, wait 10 minutes, restart. If "E5" persists, contact maintenance.
- LED displays "H8": Water tank is full. Pour out water. If "H8" persists, contact maintenance.
- LED displays "F1": Malfunction of ambient temperature sensor. Check sensor connection.
- LED displays "F2": Malfunction of evaporator temperature sensor. Check sensor connection.