40
Installation of outdoor unit
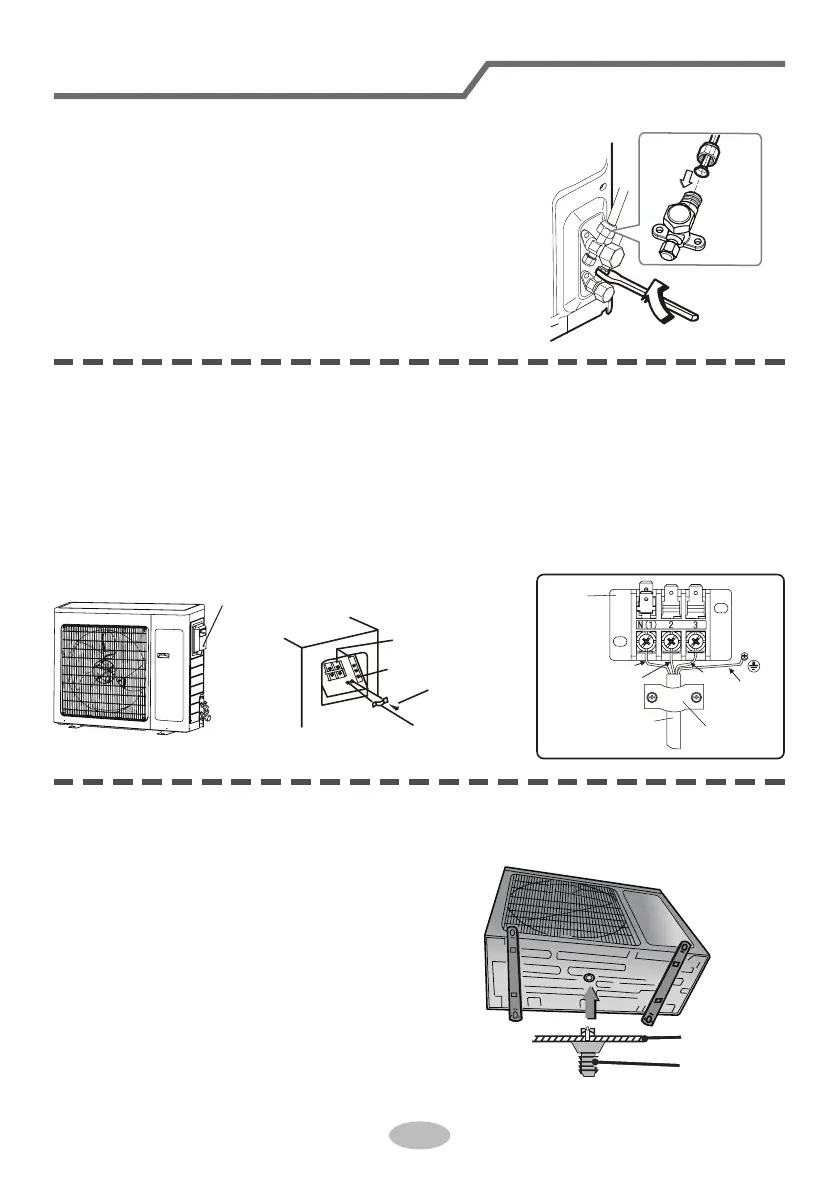
Step two: Pipe connection of outdoor unit
Fix the outdoor unit on the selected position
1. Match the flared port of connection pipe to the
valve, and then tighten them with hand.
2. Tighten them with torque wrench.
Note:
welding the pipes when lengthening the connection
pipe.
Step three: connect outdoor electric wire
Step four: Drainage of outdoor unit condensation water
(not applicable for cooling only unit)
wiring
board
brown
wire binder
yellow-
green
power connection
wire
blue
black
Remove the screw to
remove the big handle
wercs gnixfi
wire binder
grounding position
wiring board
1. Remove the handle of outdoor unit.
2. Remove the wire clamp; connect the power connection to the wiring terminal
and then fix it. The wire distribution must be in accordance with the indoor unit.
3. Fix the power connection wire with wire binder.
4. Make sure the wire is fixed properly.
5. Assemble the handle of outdoor unit.
When the unit is heating, the condensation
water formed in the outdoor unit can be drained
out properly through the drainage hose.
Installation: Install the outdoor drainage joint in
the Φ25 hole on the chassis as shown in the
figure. Then connect the drainage pipe to the
drainage port, so that the condensation water
formed in the outdoor unit can be drained out to
a proper place.
chassis of
outdoor unit
drainage joint
of outdoor unit
 Loading...