36
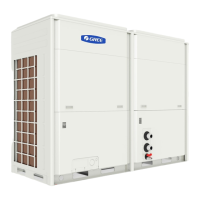
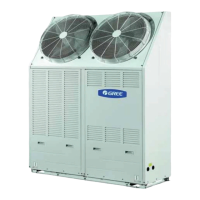
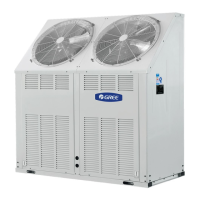
Unit Installation
(8) When the unit runs under the low load requirement, in order to avoid low load protection which
would affect the service life of the unit, make sure the water capacity is more than 1/6 of total
rated flow rate per hour of each module (for instance, for some project with four modularized
LSQWRF60VM/Na-M units, if the rated water flow of each unit is 10.3m
3
/h, then the required
capacity of the whole project should be larger than 10.3*4*1/6=6.87m
3
). When water piping that is
properly connected is quite short, a water tank is required to ensure an adequate ow rate inside
the piping system.
NOTE
Do not treat the unit with saline mixture to prevent corrosion.
See the diagram below to install the water system.
Flow switch
Flow switch
Flow switch
Flow switch
Manual exhaust valve
Manual exhaust valve
Manual exhaust valve
Connecting the
distribution box
Legend:
u
u
Follow the procedures below to drain the water system.
(1) Loosen screws around the panel and then take down it.
(2) Remove anticlockwise the blind plug located at the bottom of the heat exchanger to let the chilled
water ow out, after that, tighten the blind plug and reinstall the panel. (Note: place the drainage
equipment beneath the drain pipe to prevent pollution caused by the drain water.
Drain valve
 Loading...