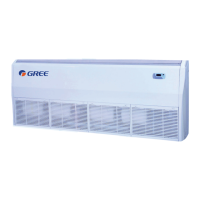
GMV5 HR Heat Recovery Cooling and Heating Mode Exchanger
12
Fig. 4.11
(
2
)
Install the mode exchanger temporarily
Assemble suspension bolt on the expansion bolt, attach the hanger bracket to the suspension bolt.
Be sure to fix it securely by using a nut and washer from upper and lower sides of the hanger bracket.
The washer fixing plate will prevent the washer from falling.
Unit: mm(in.)
Fig. 4.12
① Before operation, please prepare all pipelines (connection pipe, drainage hose) and wires (connection wire
for wired controller, connection wire for
mode exchanger
).
② When drilling holes on ceiling (air return outlet or air outlet), you can need to reinforce the ceiling to prevent
vibration. For detailes, please consult user or builder.
③ If the strength of the ceiling is not good, please install a beam bracket, and then put the unit on the beam
bracket.
(
3
)
Adjust the unit to the right position
(
4
)
Check the level of the unit
After the mode exchanger is installed
,
remember to check the horizontal status of the whole unit. It
should be horizontal from front to back and slant 1% from left to right, following the drainage direction.
 Loading...