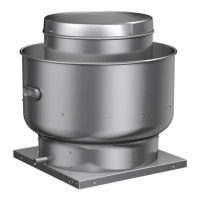
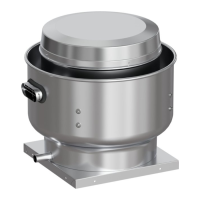
Upblast Centrifugal Roof Exhaust 9
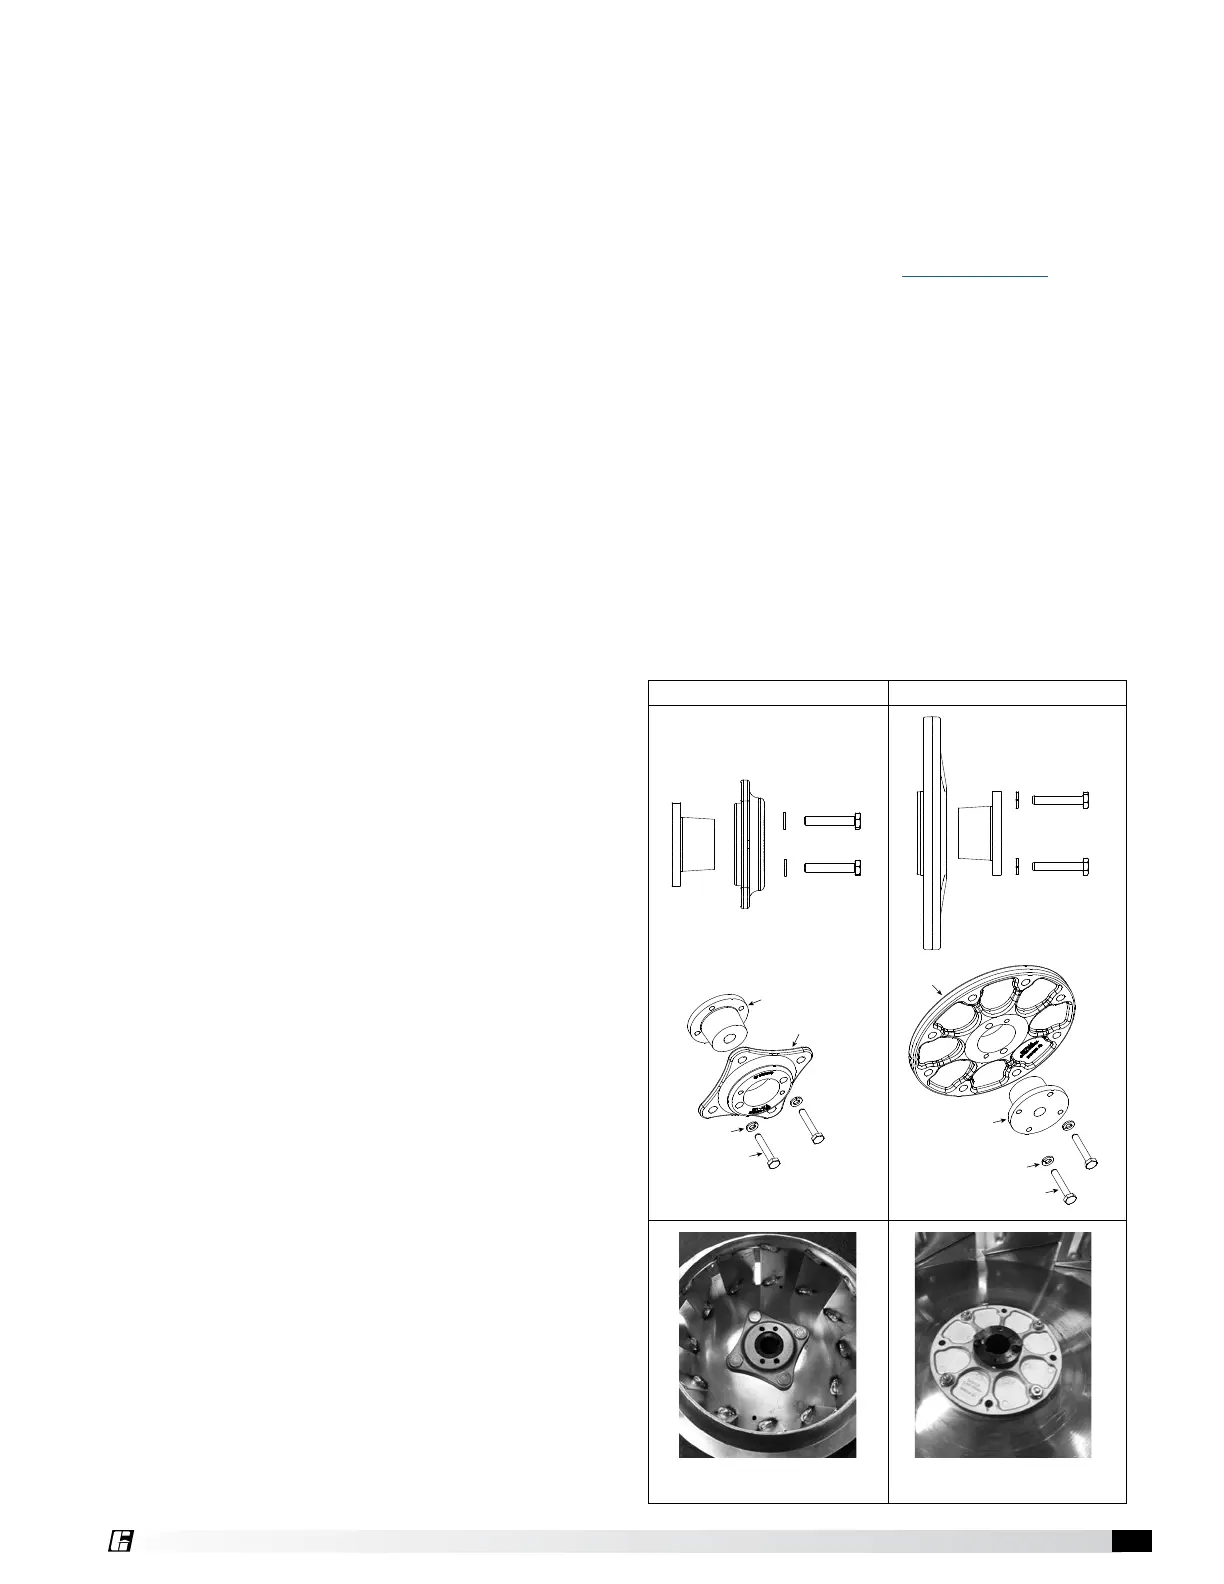
Tapered Bushing Hub Installation
and Removal
For wheel hubs and shaft pulleys utilizing a tapered
bushing interface, follow this procedure for installation
and removal. There are two possible set ups for the
tapered bushing, both have the same procedure, but
orientation of the hub varies.
Tapered Bushing Removal (click for video):
1. If present, loosen the setscrew holding the bushing
and shaft key in place.
2. Loosen and remove the socket head cap screws
which fasten the bushing to the hub as shown in the
section views and examples of Figures 19-22.
3. Standard Mounting: Take the two socket head cap
screws that were removed and install them into the
visibly threaded holes on the wheel hub.
Reverse Mounting: Install the two socket head cap
screws into the visibly threaded holes of the bushing
flange.
4. Once both socket head cap screws are installed,
tighten them an eighth of a turn at a time, alternating
between the two until the hub comes loose from the
bushing.
Standard Mounting Reverse Mounting
Figure 19 Figure 20
Figure 21
Standard Bushing Orientation
Figure 22
Reverse Bushing Orientation
Bushing
Washers
Cap Screws
Hub
Bushing
Washers
Cap Screws
Hub
Bushing
Washers
Cap Screws
Hub
Bushing
Washers
Cap Screws
Hub
Powerpack Replacement
1. Ensure power is turned off to the fan.
2. Remove hood to gain access to motor compartment
by pushing in two adjacent snap buttons and lifting.
3. Disconnect motor wiring and controls wiring (if
present).
4. Remove the 4 or 6 screws which secure the
powerpack in place.
5. Carefully lift out the powerpack while keeping the
powerpack assembly centered to the housing so the
wheel doesn’t catch on the hoodband.
6. Set down the powerpack somewhere that won’t be
damaged by the metal components.
7. Pick up new powerpack and place into housing in
the same orientation as the previous one.
a. Be mindful of the conduit tube(s) coming
through the hoodband, they should align with
rounded clearance features in the powerpack.
8. If possible, spin the wheel by hand to check for
wheel rub. If rubbing occurs, adjust powerpack
accordingly until it stops.
9. Re-install the screws removed in step 4.
10. Reconnect any wiring that was disconnected in step
1 and restore power.
11. Turn on power to the fan. If no issues are detected,
re-install the hood.
Installation and maintenance are to be performed only
by qualified personnel who are familiar with local codes
and regulations and who are experienced with this type
of equipment.
Motor maintenance is generally limited to cleaning
and lubrication (where applicable). Cleaning should be
limited to exterior surfaces only. Removing dust buildup
on motor housing ensures proper motor cooling.
Greasing of motors is only intended when fittings are
provided. Many fractional horsepower motors are
permanently lubricated and should not be lubricated
after installation. Motors supplied with grease fittings
should be greased in accordance with manufacturer’s
recommendations. Where motor temperatures do not
exceed 104ºF (40ºC), the grease should be replaced
after 2,000 hours of running time as a general rule.
Wheels require very little attention when moving clean
air. Occasionally, oil and dust may accumulate causing
imbalance. When this occurs, the wheel and housing
should be cleaned to ensure smooth and safe operation.
All fasteners should be checked for tightness each time
maintenance checks are performed prior to restarting
unit.
• When installing fans for restaurant exhaust
applications follow NFPA 96 for cleaning fans.
• Grease containers must be emptied at regular
intervals to prevent overflow.
A proper maintenance program will help these units
deliver years of dependable service.