Do you have a question about the Grohe Atrio Series and is the answer not in the manual?
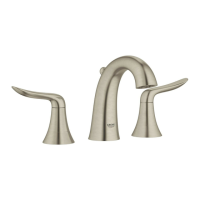
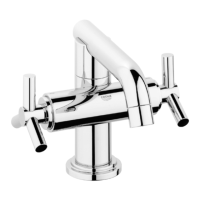
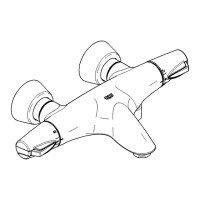
Identify GROHE Atrio models 19 141, 19 142, and 19 143.
Install spout and handspray as per Fig. [3].
Adjust Aquadimmer and install shut-off knob per Figs. [4] and [5].
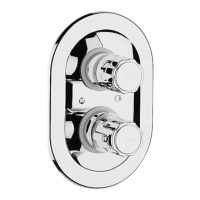
Adjust thermostatic mixer and install temperature control knob per fold-out page III.
Adjust mixer temperature, set limits, and follow frost caution procedures.
Service thermostatic cartridge and non-return valve as shown in Fig. [9].
Perform Aquadimmer maintenance according to Figs. [10] and [11].
Maintain shower hose and filter as illustrated in Fig. [12].
Clean aerator and refer to separate Care Instructions for fitting maintenance.
| Material | Brass |
|---|---|
| Category | Bathroom Faucet |
| Brand | Grohe |
| Series | Atrio |
| Valve Type | Ceramic Disc |
| Spout Height | Varies by model |
| Spout Reach | Varies by model |
| Finish | Chrome, Brushed Nickel, Matte Black |
| Handle Type | Lever |
| Number of Handles | 1 or 2 |
| Style | Modern |
| Hole Spacing | 4 inch |
| Cartridge | Grohe SilkMove |
| Warranty | Limited Lifetime |