STEP II
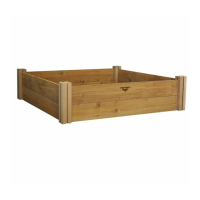
A) Start by standing up two of the four 4” x 4” x 32” posts.
B) Slide a 31” x 5½” x 1” side rail with cleat on bottom
between the posts. (see figure 1)
C) Repeat the same process with the other two 4” x 4” x
32” posts and 31” x 5½” x 1” side rail with cleat.
(see figure1)
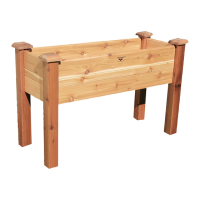
Soil depth options: The directions as printed will provide an
elevated bed with a soil depth of approximately 10”. If you
want a soil depth of approximately 6”, just reverse the
position of the lower side rail with the cleat on top.
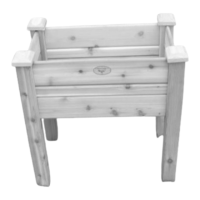
STEP III
A) Connect the two sets of corner posts by sliding a
14½” x 5½” x 1” side rail into each post. (see figure 2)
STEP IV
A) Slide both of the 31” x 2½” x 1” narrow center rails
between the posts on both ends. Do the same with the
two 14½” x 2½” x 1” narrow center rails.
Repeat step IV using the last two 14½” x 5½” x 1” side
rails and the 31” x 5½” x 1” side rails.
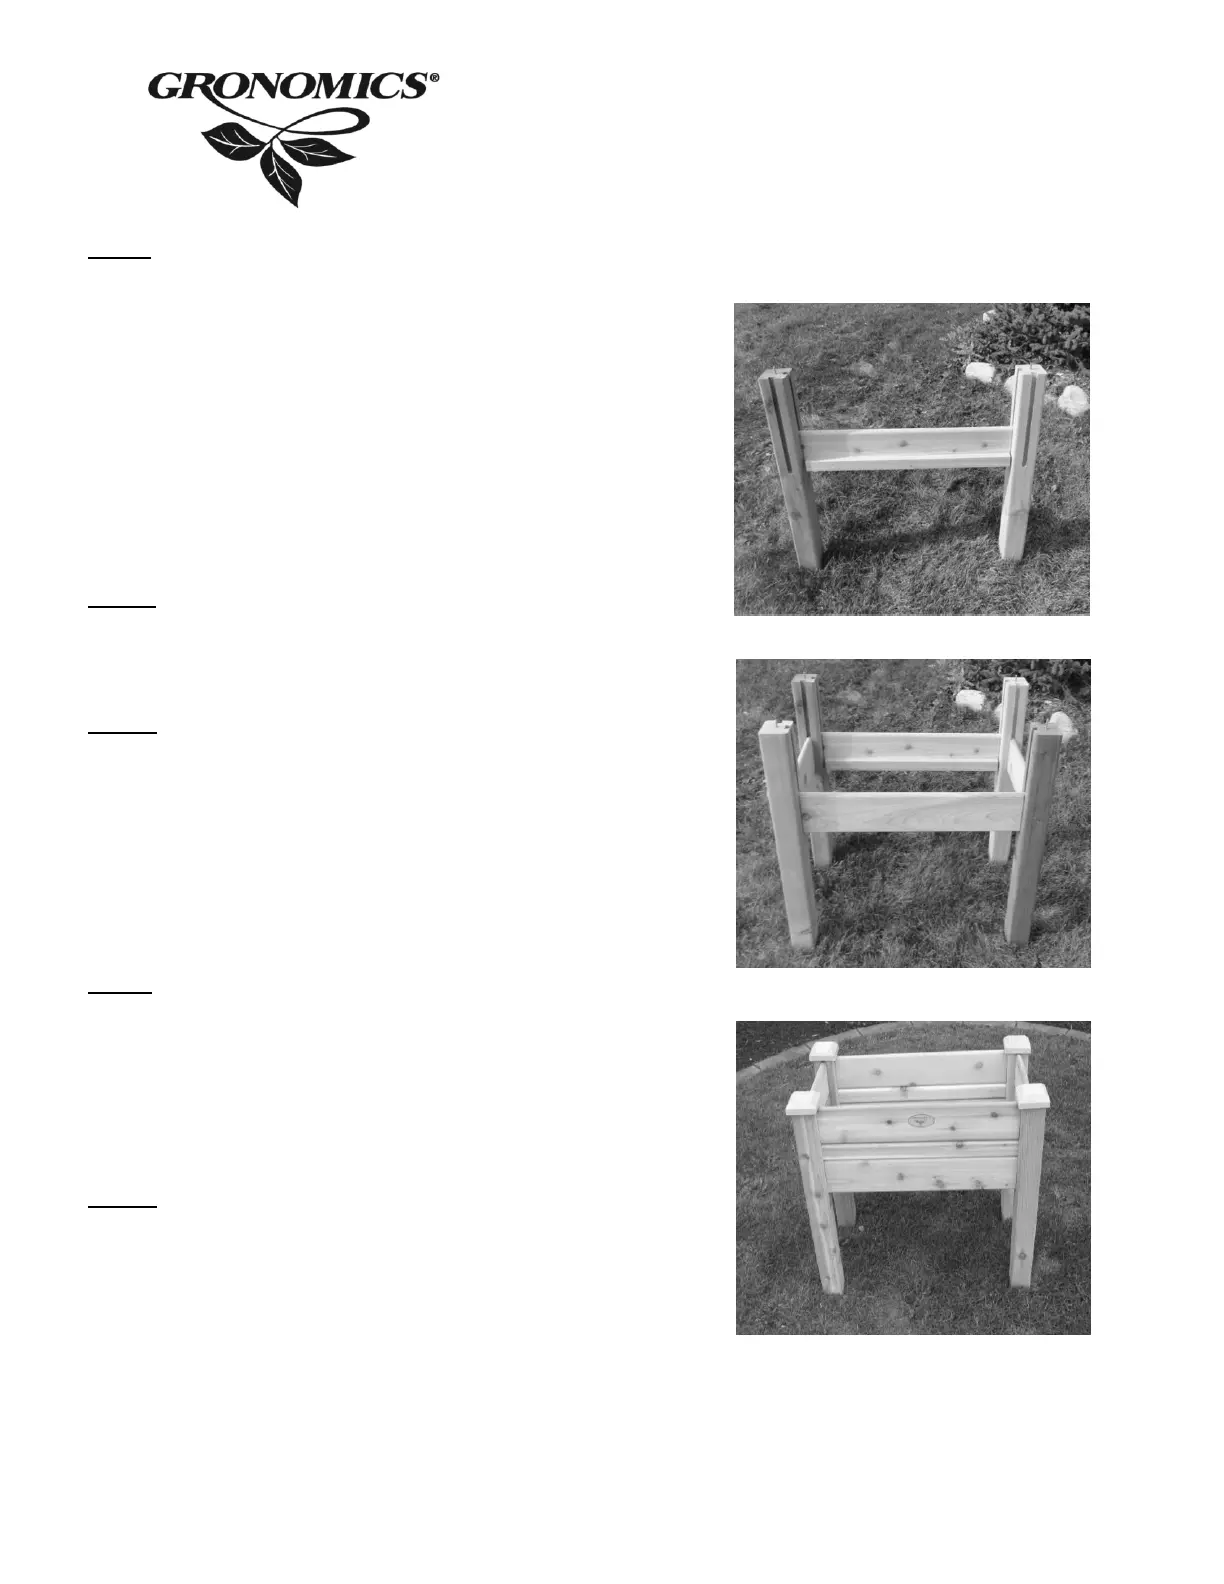
Note: Placement for the 14½” x 5½” x 1” side rail with
logo. (see figure 3)
STEP V
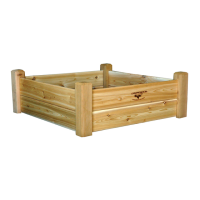
A) Place the two 15½” x 4½” x 1”corner notched bottom
boards on the end cleats. Make sure the corner cut-out
notches are in the corners.
B) Place the remaining 15½” x 5½” x 1” bottom boards on
the cleats.
STEP VI
A) Carefully remove the screw covers that are protecting
the cap screws. Place the cap on the center of the
screw utilizing the pre-drilled hole in bottom of the
cap. Do not over tighten. (see figure 3)
B) Place the fabric liner on the bottom.
Recommended Finish: A natural oil non film-forming finish designed for Cedar. If Cedar is not finished checking may occur and will naturally turn a
weathered gray color.
1-Year Warranty: All Gronomics
®
products are warranted against all manufacturing defects of material or craftsmanship for a period of ONE full
year from date of purchase. Warranty does not cover cracking, damage caused by negligence, alterations or abuse in any way.