ENGLISH
16
Menu navigation
Press »MENU« on the device or on the remote
control, select »Main menu« using » « or » « or
by turning the Jog-Shuttle, and confirm by press-
ing the Jog-Shuttle or »OK« on the remote con-
trol.
In the main menu, you can select several sources
Internet radio, Music player, DAB radio, FM ra-
dio, Auxiliary Input and the »Sleep«, »Alarms«
and »System settings« menus.
Select the sources or submenus by pressing
» « or » « or by turning the Jog-Shuttle and
confirm by pressing the Jog-Shuttle or »OK« on
the remote control.
If you wish to view the previous menu, press » «
on the remote control.
The menus Internet radio, Music player, FM ra-
dio, Auxiliary Input, Sleep, Alarms and System
settings have their own submenus which you can
open by pressing the Jog-Shuttle or »OK« on the
remote control.
First Installation using the instal-
lation assistant “Wizard”
When you connect the device to the mains, or af-
ter factory reset, the display will show the Grun-
dig logo. The Wizard installation assistant then
appears, which guides you through the installa-
tion step by step.
Notes:
T
For Wi-Fi connection, please make sure, that
the Wi-Fi router is switched on.
T
The network name (SSID) must be visible
and the MAC address of the device may be
entered in the Wi-Fi router.
T
Perform the registration process in the prox-
imity of the router in order to avoid prob-
lems with the Wi-Fi range.
T
If you wish to use a LAN cable for internet
access, the device has to be connected to
the router via LAN cable (see “Connection
and Preparation” section).
SETTINGS
---------------------------------------------------------------------------------------------------------------------------------------
Start First Installation
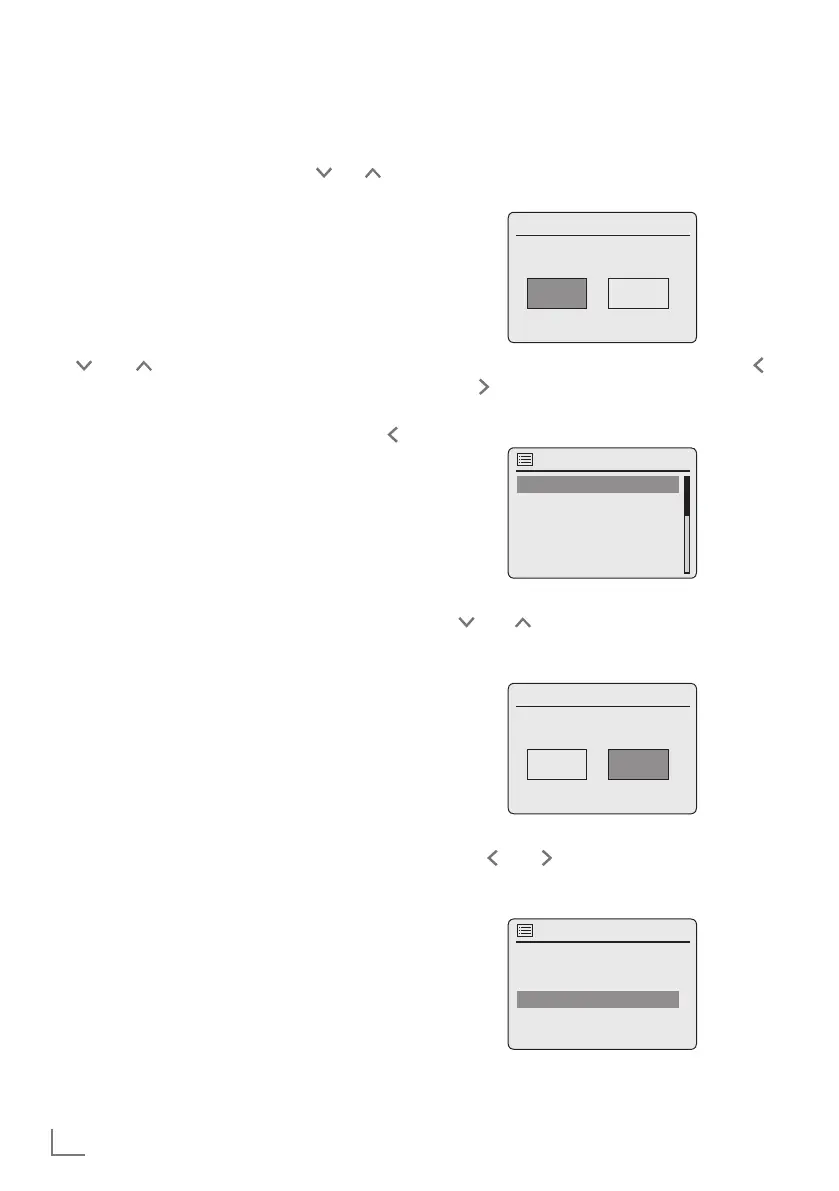
1 First switch on the device by pressing »8« on the
remote control or »ON/OFF« on the device.
– Display: »Setup wizard« menu opens.
Time/Date
Setup wizard
YES NO
Start now?
2 Select the push button »YES« by pressing » «
or » « or by turning the Jog-Shuttle and con-
firm by pressing »OK«.
– Display: »Language« menu opens.
Time/Date
Language
Nederlands
Dansk
English
*
Suomi
Français
3 Select your preferred language by pressing
» « or » « or by turning the Jog-Shuttle and
confirm by pressing »OK«.
– Display: »Date/Time« menu opens.
Time/Date
Date/Time
12 24#
12/24 hour format
4 Select the hour format »12« or »24« by press-
ing » « or » « or by turning the Jog-Shuttle
and confirm by pressing »OK«.
– Display: »Auto update« menu opens.
Time/Date
Auto update
Update from Network
Update from FM
Update from DAB
No update
 Loading...