4
7
8
5
SETUP STEP 1 STEP 2 STEP 3 STEP 4 CONGRATS!
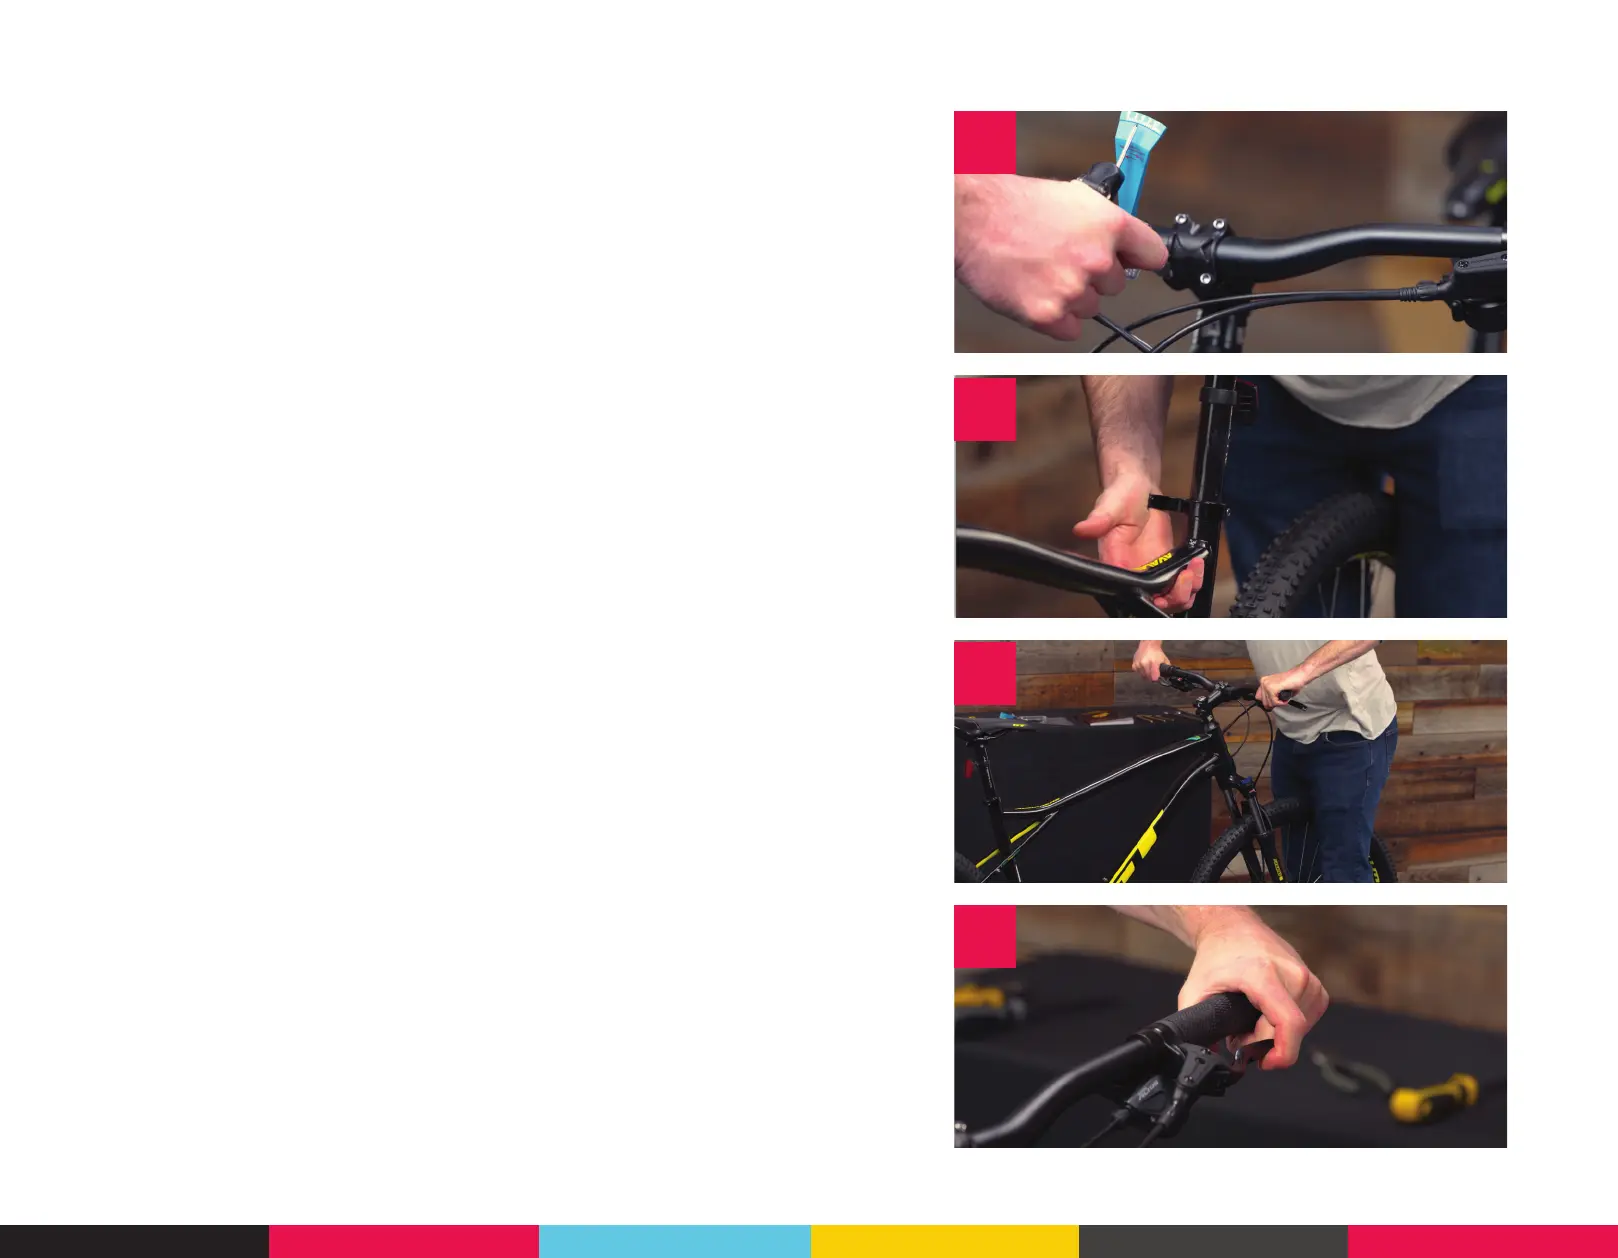
4. Using the provided torque wrench, first select the correct bit and install it
into the wrench. Tighten each stem bolt in that same crosswise fashion as
before. Look for the torque specification markings located on the front and
back of the stem, as well as on the seatpost. ( If these markings are absent,
torque all stem bolts and seatpost bolts to 7 Nm.)
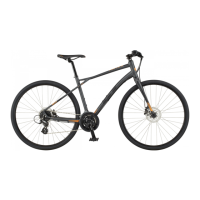
5. Ensure that quick-release on the saddle is tight. If it needs tightening, use
the included Allen wrench to tighten the bolt, then check to ensure that the
quick-release lever is tight enough.
6. Do the same with the quick-release on the front fork. The lever should also
leave a slight indent on your hand when properly tightened.
Ensure that the final position of the quick-release lever is behind or below
your fork.
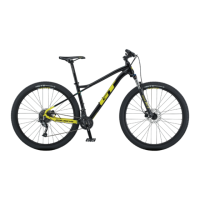
7. Straddle the front wheel and vigorously try to twist the bars back and forth
to make sure they don’t twist. Then, straddle the bike and try to roll your bars
back and forward, to make sure they don’t move.
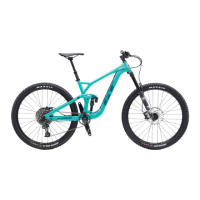
8. Check the front brakes; make sure that they don’t pull back too far. There
should be a gap between a fully compressed brake lever and the grip.
Ensure that the brakes are working by rolling back and forth slightly while
squeezing the brakes, making sure that they grip.
9. Vigorously twist that saddle back and forth to make sure it will not move
while you’re riding.
10. Slightly bounce on the bike to check tire inflation. If necessary, inflate the
tires to the pressure marked on the tire sidewall.
11. Give the bike a final bounce to make sure nothing is loose.
Have Fun!