4
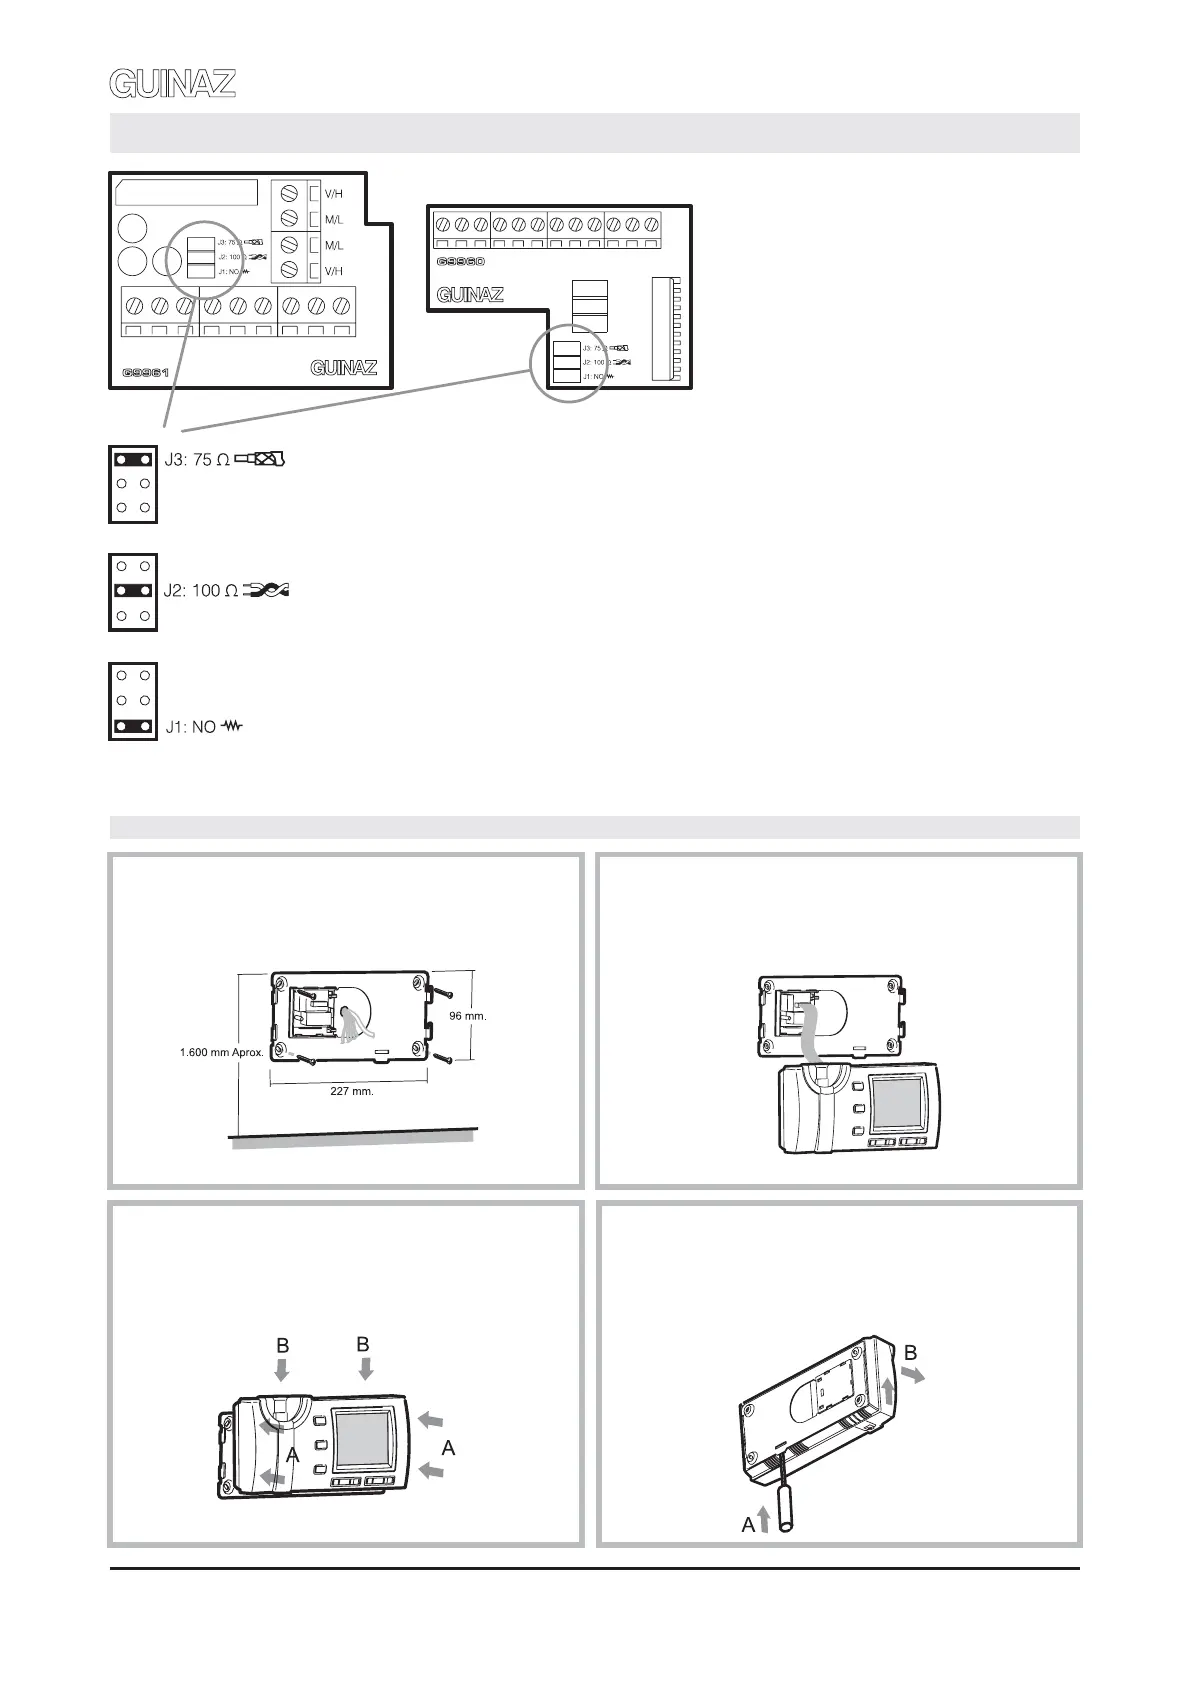
CONFIGURACIÓN BASE MURAL PARA MONITOR
CONNECTION CARD CONFIGURATION.
RESISTENCIA DE TERMINACIÓN DE VÍDEO:
75 ohm: COAXIAL
100 ohm: PAR TRENZADO
SIN RESISTENCIA: el monitor no es el último de
la línea de vídeo.
VIDEO TERMINATION RESISTOR:
75 ohms: COAXIAL
100 ohms: TWISTED PAIR
NO RESISTANCE: the monitor is not the last one
along the video line.
Configuración para instalaciones de vídeo con cable tipo coaxial de 75 ohm, y el monitor es el último
de su rama de distribución. Es decir, el cable sólo entra a la base mural.
Configuration for video installations with 75 ohms coaxial cable and the monitor is last one on the
distribution branch, in order words, the cable only enters the wall-mounting base.
Configuración para instalaciones de vídeo con cable tipo par trenzado cat.5 (100 ohm), y el monitor
es el último de su rama de distribución. Es decir, el cable sólo entra a la base mural.
Configuration for video installations with category 5 twisted pair (100 ohms) and the monitor is last one
on the distribution branch, in order words, the cable only enters the wall-mounting base.
Configuración cuando el monitor no es el último de su rama de distribución, tanto en instalaciones
con cable coaxial como con par trenzado. Es decir, el cable entra y sale de la base mural hacia otro
monitor.
Configuration when the monitor is not the last one on the distribution branch for both coaxial cable and
twisted pair installations, in order words, the cable enters and exits the wall-mounting base to another
monitor.
Configurar la tarjeta de conexiones de la base mural
según se indica en la pág. 4 y conectar el latiguillo del
monitor.
Configure the connection card of the wall base panel as
indicated on page 4 and connect the monitor.
3
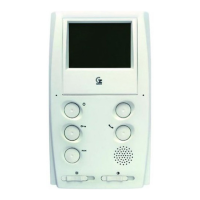
Colocación monitor:
A) Encajar sobre base mural
B) Presionar hasta clipar.
Assembly of the monitor:
A) Assemble on the wall panel.
B) Press down until it clips in.
4
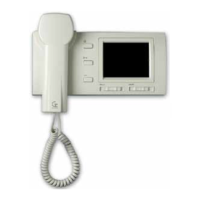
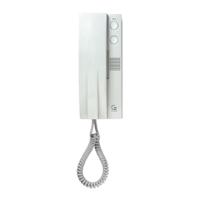
INSTALACIÓN MONITOR M1720D. INSTALLATION OF THE MONITOR M1720D.
12
Colocar la base mural en la pared mediante 4 tirafondos
y conectar tarjeta de conexiones.
Assemble this wall base panel on the wall using 4 sleeper-
screws and connect it to the connection card.
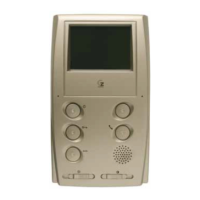
Para extraer el monitor de la base mural:
A) Soltar el clip con un destornillador.
B) Mover primero hacia arriba y después separar el
monitor de la base.
Disassembly of the monitor:
A) Unclip with a screwdriver.
B) Move forward and then separate the monitor from
the base.
G503111 - R00
 Loading...