2-21
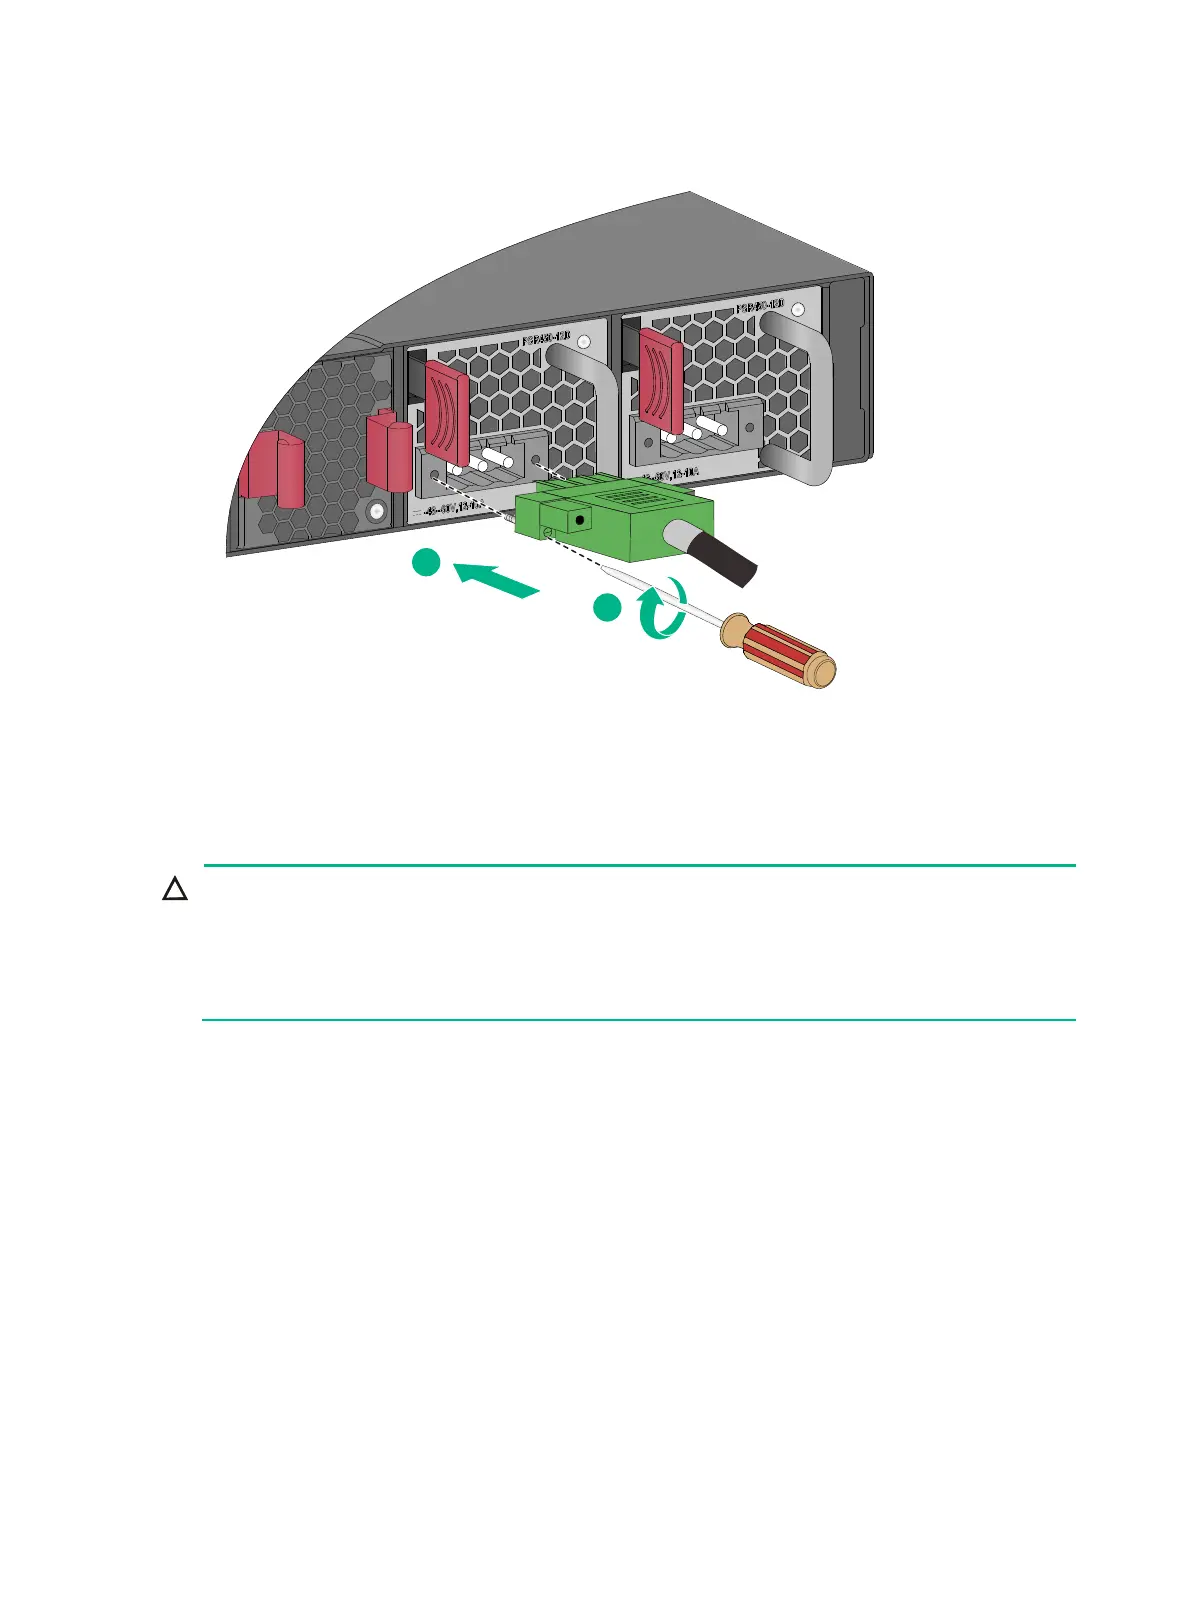
Figure2-22 Connecting the DC power cord for a PSR450-12D power supply
Installing and removing an expansion card
Do not touch the surface-mounted components on an expansion card directly with your hands.
Do not use excessive force when you install or remove an expansion card.
You can install or remove an expansion card when the switch is operating correctly.
Do not install
or remove an expansion card while the switch is starting up.
The switch provides two expansion slots on the rear panel. For the expansion cards available for the
switch, see Hardware Information and Specifications.
The installation and removal procedures are similar for expansion cards. The following procedures
install and remove LSWM4SP8PM (with an ejector lever) and LSPM6FWD (without an ejector lever)
interface modules.
Installing an expansion card
1. Wear an ESD wrist strap. Make sure the strap makes good skin contact and is reliably
grounded.
2. Use a Phillips screwdriver to remove the screw on the filler panel in the target expansion slot.
Then remove the filler panel.
Keep the filler panel secure for future use.

 Loading...