2
3
KIT 10: THE HEAD AND NECK
1
2
3
9-1
9-1
10-1
10-2
10-3
9-1
8-7
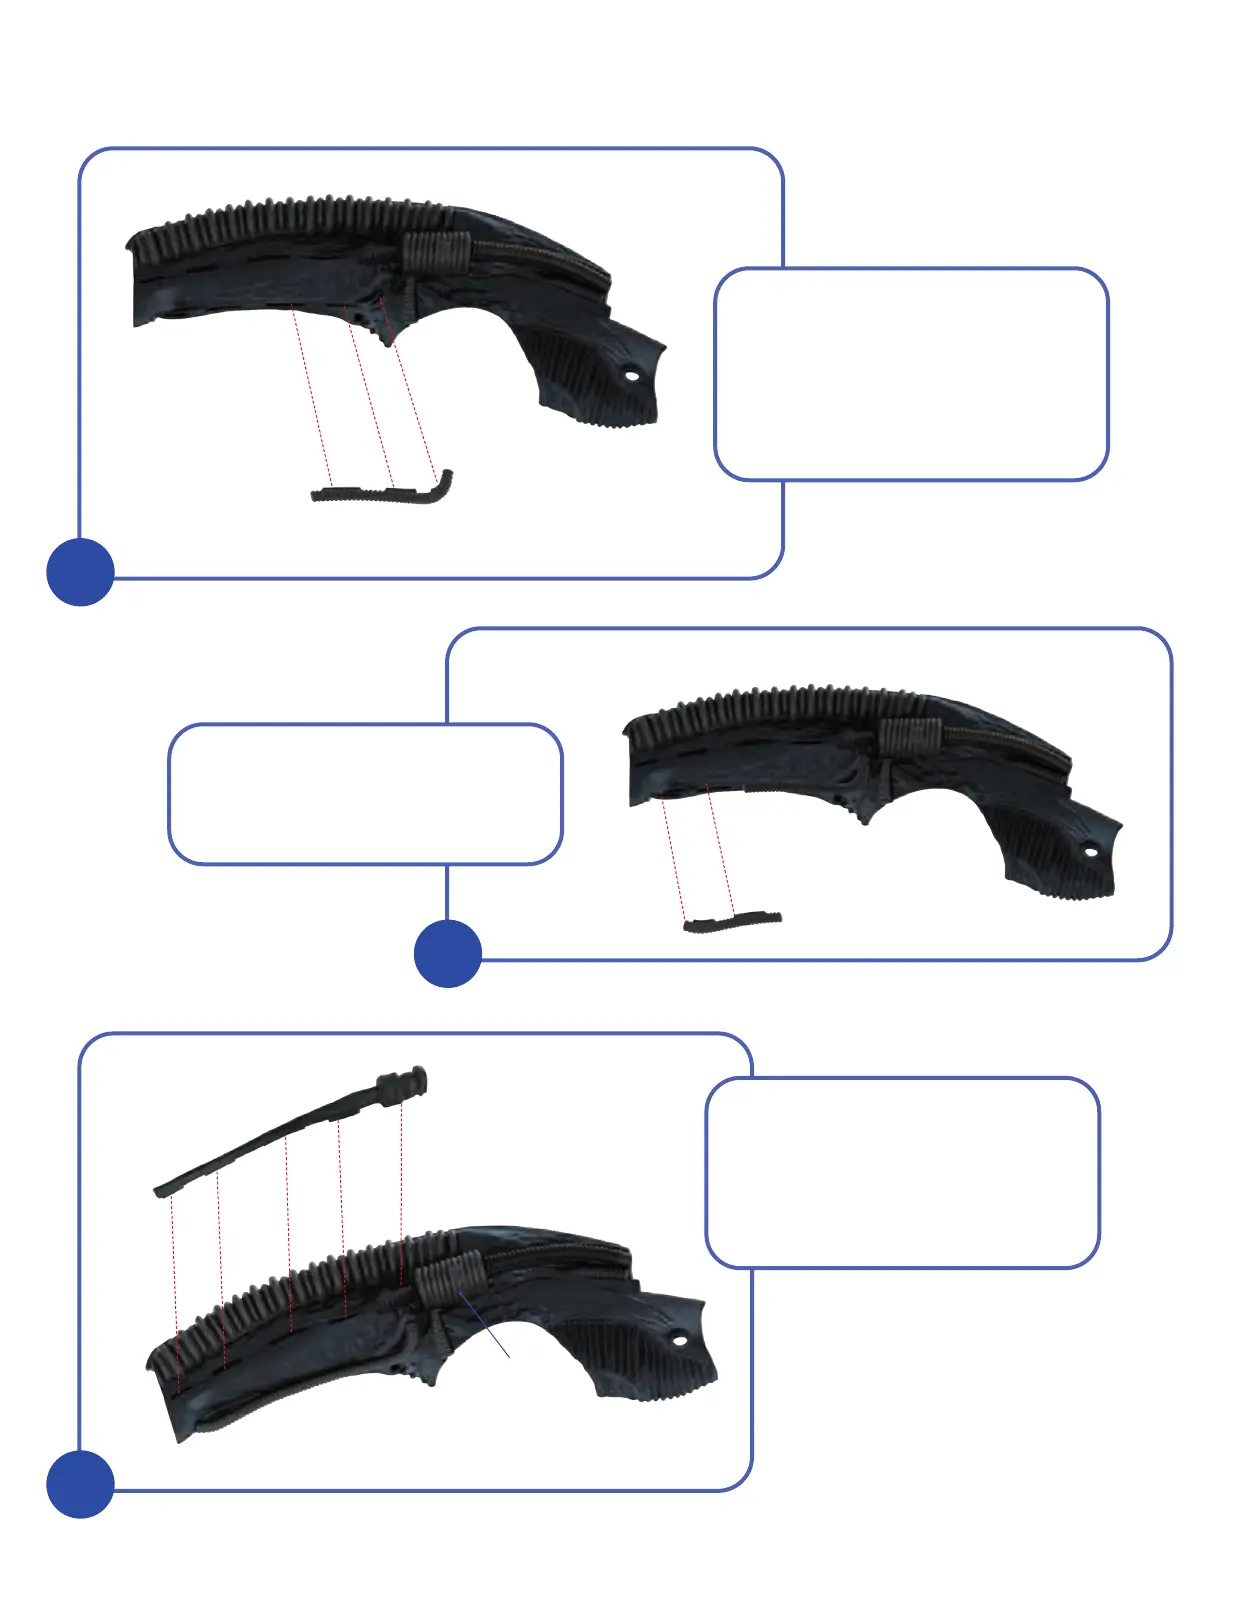
In a similar way, test-fit Pipe 10-2
in place on the Head 9-1 before
applying glue to the tabs and
securing in place.
Take the Centre-right Head
assembly 9-1 from the previous kit.
After checking the fit, apply a little
glue to the tabs of Pipe 10-1 and
fit them, as shown, into the slots in
the Head section 9-1. Hold firmly in
place until the glue has set.
Take Pipe 10-3 and check that
it fits correctly onto the Head
section 9-1. Apply a little glue
to the tabs and secure the part
in place by slotting them into the
grooves, as shown.