Installation Instructions
1. KEEP THE UNIT IN AN UPRIGHT POSITION AT ALL TIMES.
2. Remove the red shipping caps from the inlet & outlet ports on the main housing.
3. Precondition the unit by “surge ushing”: It is very important
that this system is ushed properly prior to nal installation.
The granular carbon media used in the bottom tank contains
1-2% by volume of carbon nes that should be ushed out
prior to use. The best method for purging these carbon nes
from the media bed is “surge ushing”:
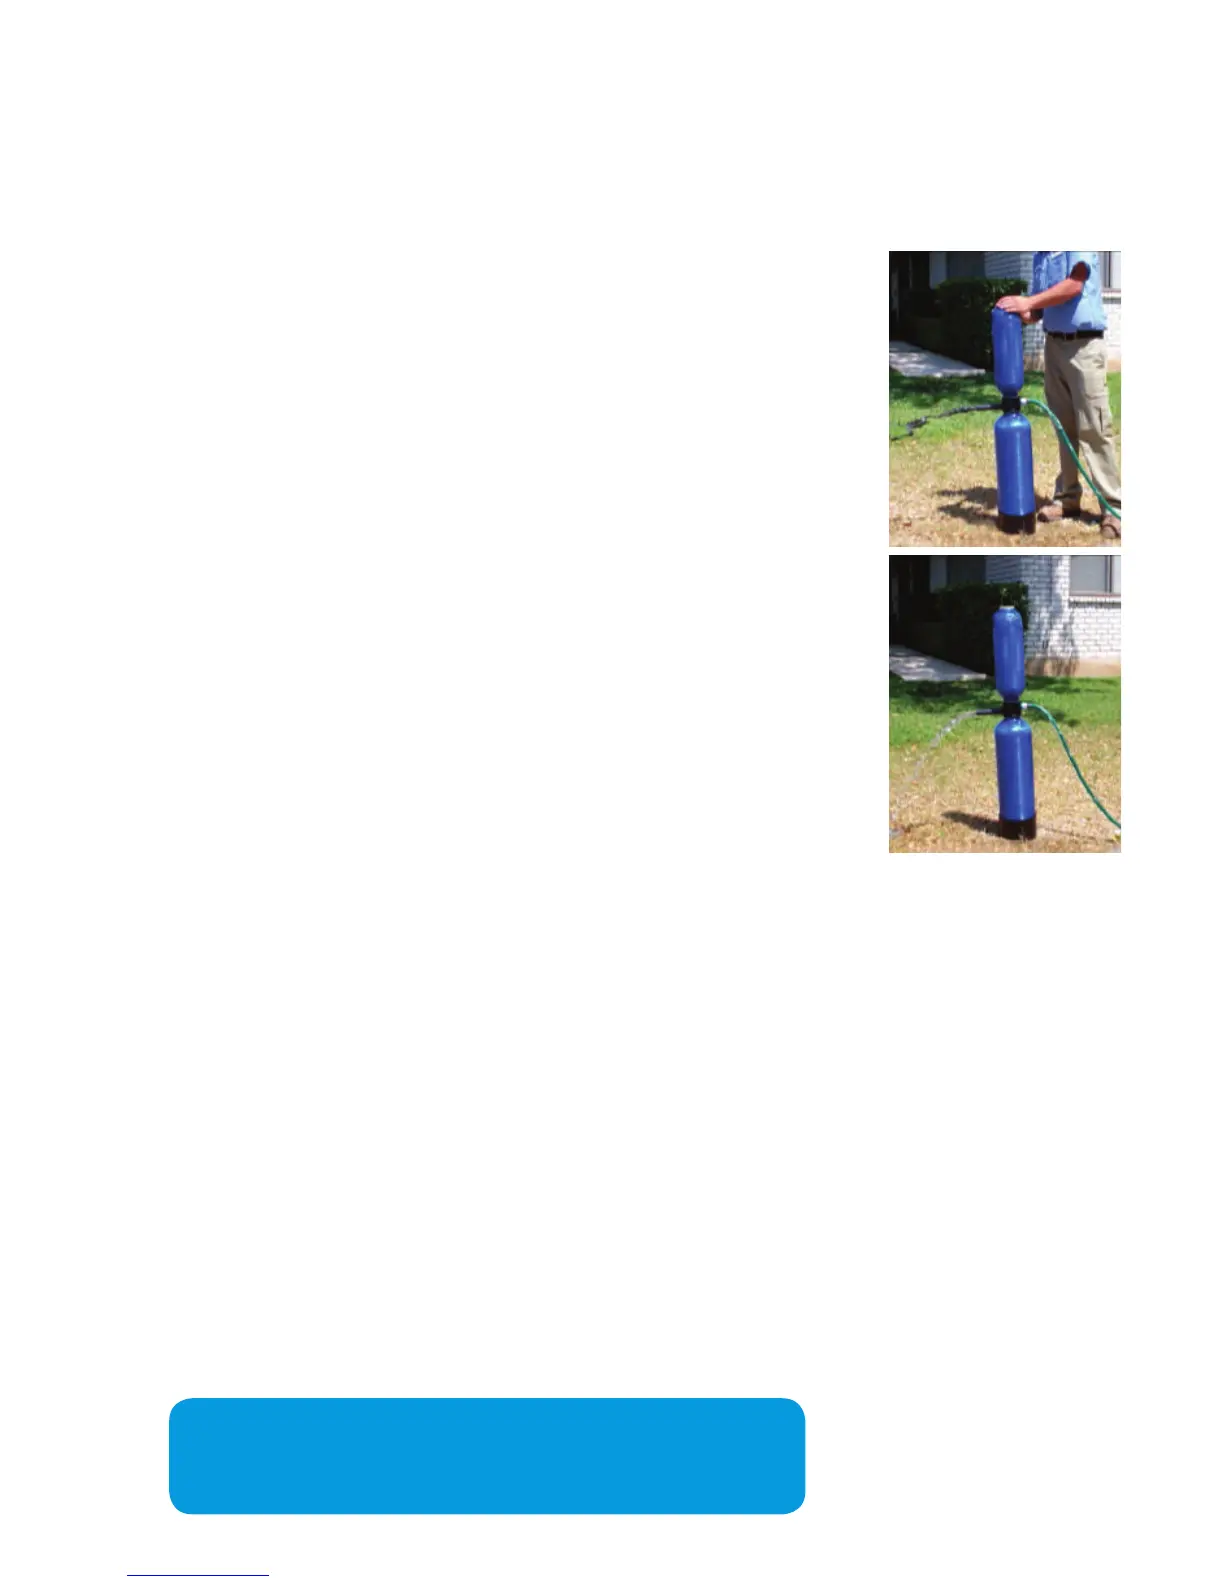
Using the supplied adapter, connect a garden hose to the
inlet port so that the water will ow into the system and out
of the outlet port. Slowly turn on the water and allow the
discolored water to ow from the outlet into a bucket or
drain. The rst few gallons will appear black and cloudy due
to carbon nes. After an initial 2-5 minute ushing, begin a
period of “surge ushing.” Turn the water supply on for 30
seconds and then off for 30 seconds repeatedly for 5-10
minutes or until initial surge of water is completely clear and
free from discoloration and cloudiness. Once the unit has
been properly ushed, be sure the white washers are properly
set inside the inlet and outlet ports. Disconnect it from the
garden hose and position it for nal installation.
4. Turn off main source water supply prior to installation.
5. Install the unit to the main water supply using the supplied components. Do not
over tighten ttings, as this may cause leakage and broken ttings. Do NOT use
pipe dope. The use of pipe dope voids the warranty. You may use NSF-certied
pipe primer, glue and teon tape. Leave two-three threads exposed and do not
exceed seven layers of teon tape. More than seven layers will cause the nipple
to crack and leak.
6. IMPORTANT: The inlet piping assembly (valve, pre-lter, main lter unit, union
and nipples) must be rmly braced and supported.
7. Once installation is complete, slowly turn the water on and inspect for leaks.
8. Once the unit is installed and checked for leaks, open the water faucet closest
to the installed unit and allow water to run for 5-10 minutes for the nal
ushing period.
THIS UNIT MUST BE INSTALLED BY A LICENSED
PLUMBER TO VALIDATE THE WARRANTY
Check operating
specications
before installing
 Loading...