INSTALLATION PROCEDURE
PREPARING INDOOR UNIT
INSTALLATION
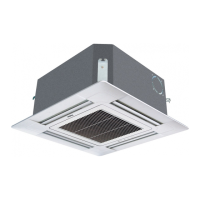
1. REMOVE THE INTAKE GRILL
Install the room air conditioner as follows:
Open the intake grill and remove the three or four or six screws.
(Fig. 3)
5.2.3CONNECTION PIPE REQUIREMENT
Table 1
Series
Diameter
Liquid side Gas side
Maximum
length
Maximum height
(between indoor
and outdoor)
9.52 mm
19.05mm
50 m
15 m
36
Remark: The main unit can be wired before the indoor unit is
installed. Select the most appropriate installation order.
For series36,42 not the power plug, but 3-core connecting cable.
Fig. 3
Machine screw
Tapping screw
Tapping screw
Intake grill
INSTALLATION INSTRUCTIONS
42
9.52 mm
19.05mm
50 m
15 m
Select piping and drain directions. only have rear side(Fig.13)
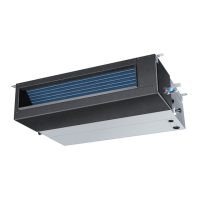
A. UNDER CEILING TYPE-THE ONLY WAY
Using the installation template, drill holes for piping and anchor bolts(for
holes).(Fig.12)
1. DRILLING FOR PIPING
Fig. 13
CAUTION
Install the drain hose at the rear; it should not be installed
on the top or right side.
When the directions are selected, drill 80mm and 50mm or 150mm
dia. hole on the wall so that the hole is tilted downward toward the
outdoor for smooth water flow.
A
B
40 40
100mm
720mm
87.5mm
147mm
326mm
247mm
85
53
series A B
36
42 1920 1840
18401920
Rear (Install the drain hose
in the direction.)
Right
Wall
6mm
60 to 70mm
12.7mm
Fig. 16
Insert the anchor bolts into the drilled holes, and drive the pins
completely into the anchor bolts with a hammer. (Fig. 16)
2. DRILLING HOLES FOR ANCHOR BOLTS AND
INSTALLING THE ANCHOR BOLTS
Fig. 15
With a concrete drill, drill four 12.7 mm dia. Holes.(Fig.15)
3. INSTALLING BRACKETS
Fig. 17
Install the brackets with nuts, washers and spring
washers.(Fig. 17)
Spring washer
Special nut
Bracket
 Loading...