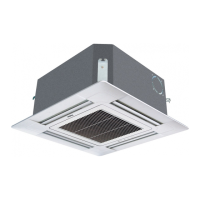
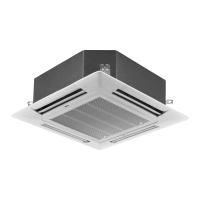
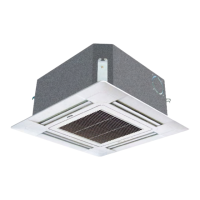
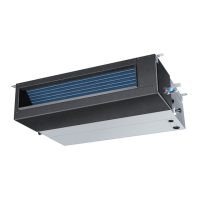
4. INSTALLING INDOOR UNIT
68
16 21 28
381
232
26.5
26.5
2-R2.5
10
18
7.5
4-R5
68
16
21
28
381
232
26.5
26.5
2-R2.5
10
18
7.5
4-R5
Reset the hex bolts as shown in Fig.18.
Hex bolt
8 to 13mm
Indoor unit
Fig. 18
Apply the indoor unit to the brackets.(Fig.19)
Now, securely tighten the hex bolts in both sides.
Fig. 19
Bolt
Bracket
Indoor unit
INSTALLATION INSTRUCTIONS
5. INSTALL THE DRAIN HOSE
Select whether the drain hose will be connected to the left or right
side.(Fig.5)
Insert the drain hose into the drain pan, then secure the drain hose
with a nylon fastener.(Fig.8)
Wrap the insulation (drain hose)around the drain hose connection.
(Fig.9)
Be sure to arrange the drain hose correctly so that it is leveled lower
than the drain hose connecting port of the indoor unit.(Fig.20)
Fig. 20
Remove the hole cover.
Fig. 21
When drain hose is arranged backward.Secure the drain hose with
the VT wire. (Fig. 21)
OK
Arrange the drain hose
lower than this portion
Drain hose
NO
VT wire hole
Drain hose
Piping hole
5.2.4 GAS LEAKAGE INSPECTION
After connecting the piping, check the joints for gas leakage with gas leakage detector.
CAUTION
HOW TO CONNECT WIRING TO THE TERMINALS
A. For solid core wiring (or F-cable)(Fig.28A)
(1) Cut the wire with a wire cutter or wire-cutting pliers, then strip the insulation to about 25mm of the exposed solid wire.
(2) Using a screwdriver, remove the terminal screw(s) on the terminal board.
(3) Using pliers, bend the solid wire to form a loop suitable for the terminal screw.
(4) Shape the loop wire properly, place it on the terminal board and tighten securely with the terminal screw using a screw driver.
B. For strand wiring(Fig.28B)
(1) Cut the wire with a wire cutter or wire-cutting pliers, then strip the insulation to about 10mm of the exposed strand wiring.
(2) Using a screwdriver, remove the terminal screw(s)on the terminal board.
(3) Using a round terminal fastener or pliers, securely clamp a round terminal to each stripped wire end.
(4) Position the round terminal wire, and replace and tighten the terminal screw using a screw driver.
Fig. 28
 Loading...