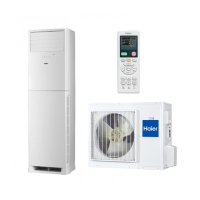
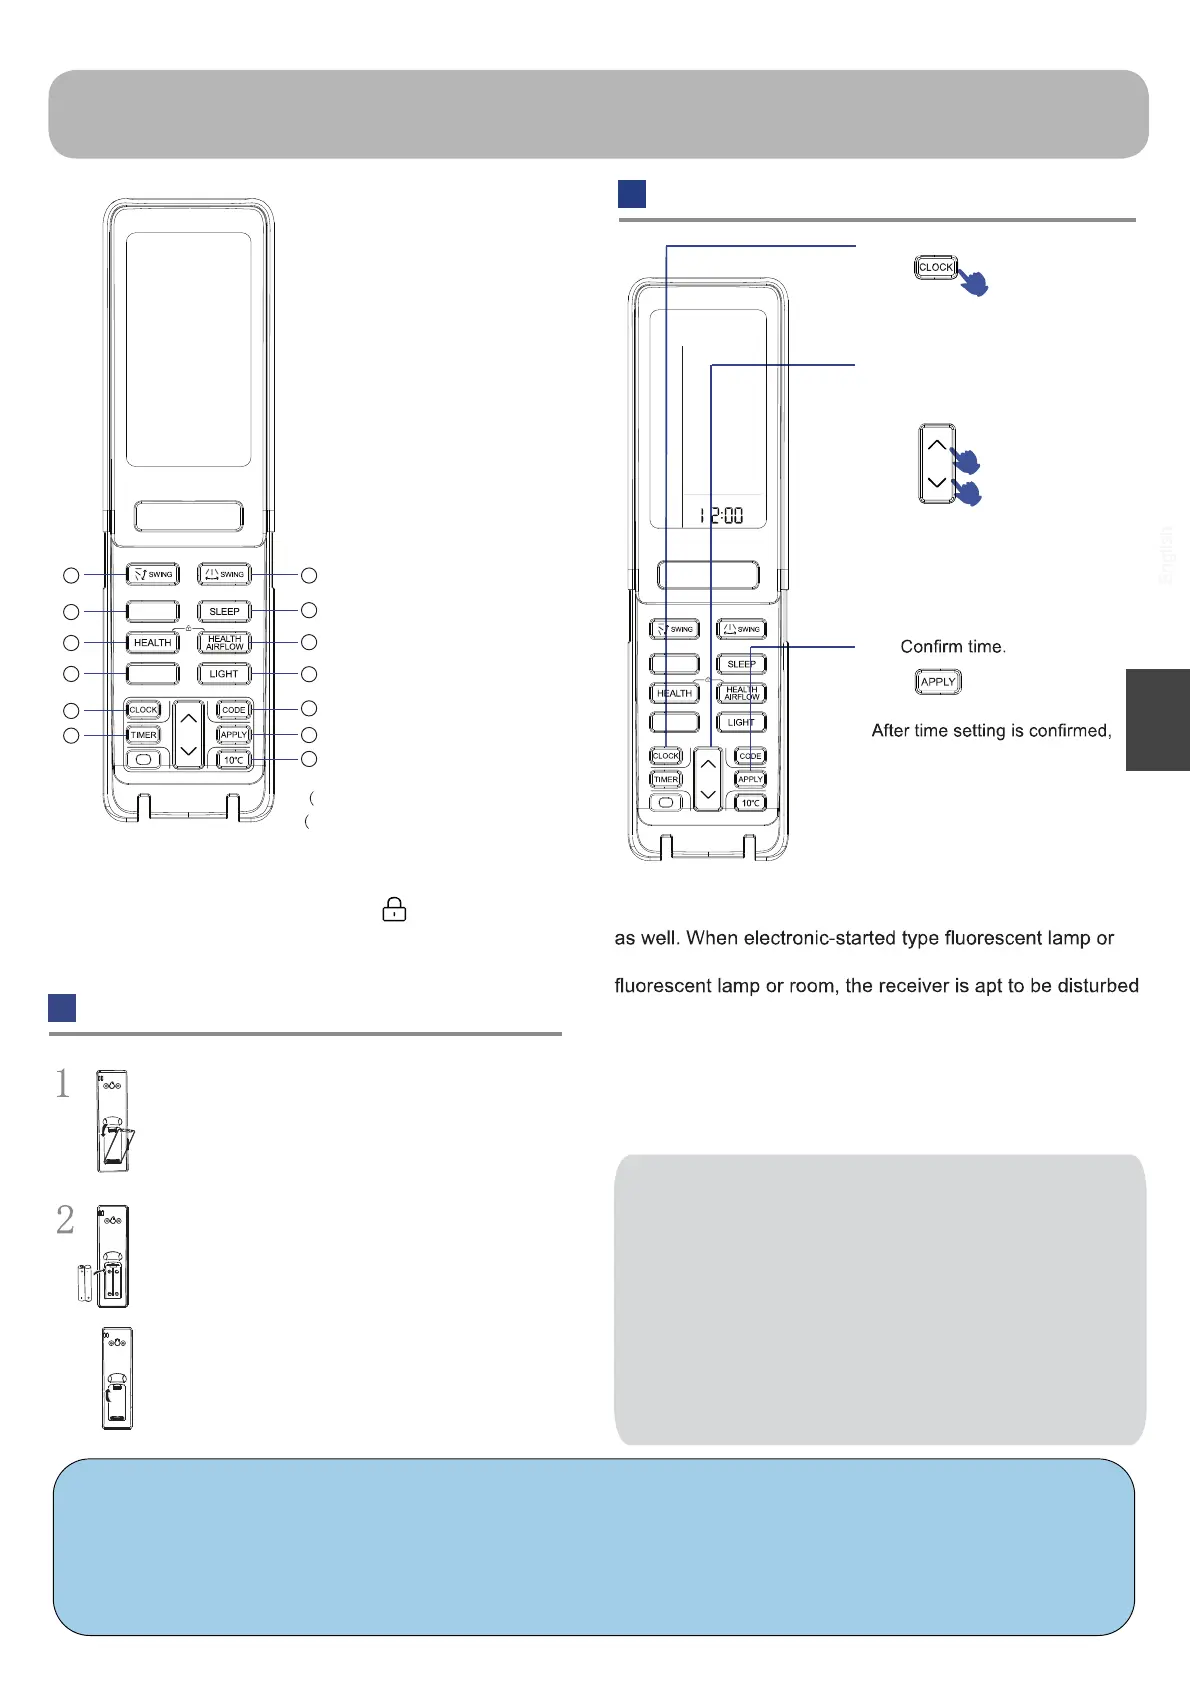
Operation
Clock set
The distance between the signal transmission head and
the receiver hole should be within 7m without any obstacle
change-over wireless telephone is installed in the type
in receiving the signals, so the distance to the indoor unit
should be shorter.
Full display or unclear display during operation indicates the
batteries have been used up. Please change batteries.
If the remote controller can’t run normally during operation,
please remove the batteries and reload several minutes later
.
Hint:
1. Use the new battery with the same two models.
2. When the remote control is abnormal during use,
please remove the battery and put the battery iback
after a few minutes.
3. If the remote control appears dimmed (sometimes
abnormal state), it means that the power has run out,
please replace the battery.
4. Please dispose of waste batteries properly.
5. Remove the batteries in case unit won’t be in usage
for a long period.
20. SMART button
18. buttonTIMER
19. buttonCLOCK
Press CLOCK button,
Press “+” or “-” to set
correct time.
Each press will increase or
decrease 1min. If the button is
kept pressed, time will change
quickly.
press APPLY, “
1
2
3
Press “HEALTH”+“HEALTH AIRFLOW” simultaneously can
set and cancel the “LOCK” function ( )
Used to set SMART
operation.
Loading of the battery
Remove the battery cover;
Load the batteries as illustrated. 2 R-03 batteries,
resetting key (cylinder); Be sure that the loading is
in line with the “+”/“-”;
Load the battery, then put on the cover again.
3
12
NOTICE:
1. The signal transmitting head is aligned with the
signal receiving window on the indoor machine.
2. The transmitting head and the receiving window
are within seven meters and there should be no
obstructions in the middle.
3. Do not throw and drop the remote control.
4.
When the room has an electronic start-up fluorescent
lamp or a converted fluorescent lamp or a
wireless telephone, the signal will be disturbed,
and the distance between the remote control and
the indoor unit will be kept close to the use.
English
23. SWING up/down button
24. SWING left/right button
26. HEALTH AIRFLOW button
21.
HEALTH button
(Press the HEALTH button in the
shutdown state to enter Fan mode)
28. CODE button
A-b yard(Only A yard is available)
29. APPLY button
30. 10°C button
25. SLEEP button
22.
BNT button
(BNT function is not available)
27. LIGHT button
Control the lightening and
extinguishing of the indoor
LED display board.
special heating set
function: 10 degree
heating maintaining
This function is unavailable on this model)
19
20
21
22
23 24
25
26
27
28
29
30
18
BNT
SMART
BNT
SMART
 Loading...