3
4. Getting started
Warning
• Only operate the product from an approved
socket that is connected to the public power
supply. The socket must be installed close to the
product and must be easily accessible.
• Disconnect the product from the power supply
using the On/Off switch – if this is not available,
unplug the power cord from the socket.
• If using a multi-socket power strip, make
sure that the total power consumption of all
connected devices does not exceed the socket
strip's maximum throughput rating.
• If you will not be using the product for a
prolonged period, disconnect it from mains
power.
Plug the timer into an approved and easily accessible
wall socket to charge the integrated battery. If you want
to make the settings immediately, leave the timer in the
socket. If the display does not show anything, press the
reset button (9)
Note
• There is a rechargeable battery in the unit. This
ensures that the time continues to run even if
the timer is not connected to a socket.
The times already programmed also remain
stored.
• When not used for a prolonged period, the
internal battery will discharge. Plug the
timer into an electric socket for approx.
24 hours every 3 months to charge the
internal battery.
4.1 Basic settings
Note - Basic settings
Note that these basic settings are only possible
while the current time is displayed. If the timer is in
programming mode, press the CLOCK button (2) to
switch to the display of the current time.
12/24-hour format
Press and hold the CLOCK button (2) until the time
indication on the display changes to the desired
time format.
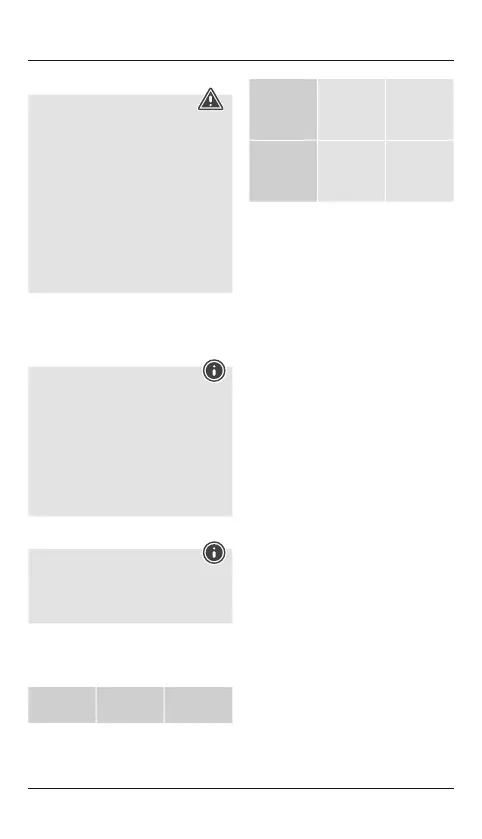
Time display
First half of
the day
Second half
of the day
12-hour
format (with
AM/PM
display)
AM 00:00 -
11:59
PM 12:00 -
11:59
24-hour
format
(without
display)
00.00 –
11:59
12.00 –
23:59
Weekday & time
• Press and hold the SET button (6) until the day of
the week indicator in the upper part of the display
starts ashing.
• Set the following information in sequence:
Current day of the week (Mon, Tu, We, Th, Fr, Sa, Su)
Hours (Current time)
Minutes (Current time)
• To select the individual values, press the Λ+ button
(7) or the V–button (8) and conrm the selection by
pressing the SET button (6).
Summer / winter time
• Press the CLOCK button (2) and the V- button (8)
simultaneously to activate summer time.
• The time is advanced by one hour and S appears
on the display.
• Press the CLOCK button (2) and the V- button (8)
again simultaneously to deactivate summer time or
activate winter time.
• The time is set back one hour and S on the display
goes out.
4.2 Programming
You can program up to 20 programs (1 - 20) with
separate ON and OFF times at which the connected
terminal is switched on or off.
• Press the Λ+button (7) to switch from the current
time display to the programming mode.
1ON is shown on the lower left side of the display.
• Press the Λ+button (7) repeatedly to switch between
the programs and their on and off times.
• Sequence: 1ON à 1OFF à 2ON à…à 20ON
à 20OFF à
d ON / d OFF à Display current time à 1OON
à 1OFF ...
• Alternatively, press the V- button (8) to switch
between the programs in reverse order.
• When the desired program - e.g. 3ON - is displayed,
press the SET key (6) until the day of the week
display starts ashing.
• Set the following information in sequence: