3
4. Getting started
4.1. Inserting the batteries
•Open the battery compartment (15), insert the
battery/batteries, ensuring that the batteries are
inserted correctly in terms of polarity,and then close
the battery compartment (15). The thermometer is
now ready for use.
4.2. Replacing the batteries
•Open the battery compartment cover (15), remove
and properly dispose of the depleted batteries,
and insert two new AAA batteries with the correct
polarity.Then close the battery compartment cover.
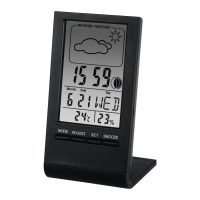
5. Mounting
Youcan either stand the thermometer on an even
surface using the fold-out stand (14) on the back of the
device, or attach it to awall using the opening (13) on
the back of the device.
Warning
Beforemounting, check that the wall you have
chosen is suitable for the weight to be mounted
Also make surethat thereare no electric, water,
gas or other lines running through the wall at the
mounting site.
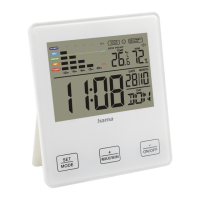
6. Operation
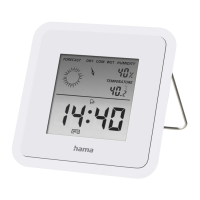
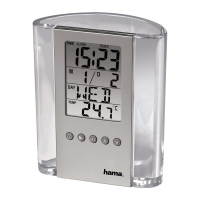
6.1. Manually setting the date/time
Time/date
•Press and hold the
button (5) for
approximately 2seconds until the year ashes.
•Press the
(4) or (3) button to select the
individual values.
•Set the following information in the order listed:
•year,month, day,language for day of the week,
display in °C or °F,12or24-hour format, time
•Press the SET button (5) to adopt the set value
displayed and go to the next item.
Note
Hold the
button (4) or the button (3) to
select the values faster.
Note
•The weekday is set automatically when setting the
date manually.
•Ifyou do not make an entry for several minutes,
you automatically exit the setup mode. The
settings that weremade up to that point are
not saved!
Note -Day of the week.
•For the day of the week display,you can choose
from the following languages: German (GER),
English (Eng), Dutch (NET), Italian (ITA), Spanish
(ESP), Danish (DAM) or French (FRE).