Do you have a question about the Hamilton Beach 35033 and is the answer not in the manual?
Essential safety guidelines to reduce risk of fire, electric shock, and injury when using electrical appliances.
Guidance on polarized plug usage and shock hazard prevention for the appliance.
Alerts regarding hot oil burns from cord entanglement or splashing liquid.
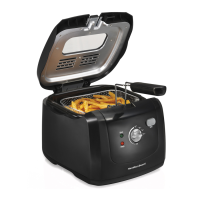
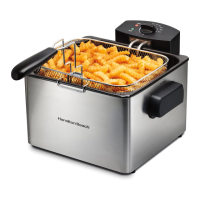
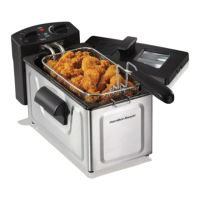
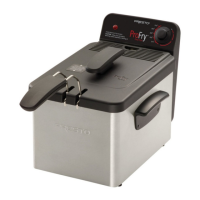
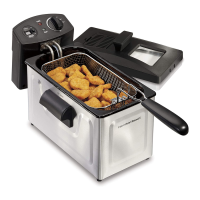
Place base on stable surface and insert oil pot.
Align grooves and push heating element assembly onto base.
Squeeze handle tines, align with bracket, and lock into place.
For storage, squeeze tines and rotate handle into basket.
Align vent cover and lid vent with heating element assembly.
Press TIMER button to set time between 1-99 minutes; press and hold to advance faster.
Timer starts counting down; display flashes during countdown.
Press TIMER button to reset to '00' or turn off while counting down.
Timer beeps when it reaches zero and automatically turns off; it does not turn off the fryer.
Key warnings include MAX fill mark, never move hot fryer, unattended use, and steam hazards.
Steps for positioning the fryer, filling oil, and connecting the power cord.
Preheat until READY light, add food to basket, and fry according to instructions.
Remove lid, hook basket to drain, empty food, and unplug appliance.
READY light indicates oil temperature; it may cycle on and off during use.
Warning about hot oil eruption/spatter; dry components before use.
Unplug from outlet and wait for oil to cool completely.
Remove lid and basket; lift heating element to drain oil into pot.
Pour out oil, wipe pot, and wash base, lid, vent cover with soapy water. Dry thoroughly.
Do not use 'SANI' setting in dishwasher as it may damage the product.
Use vegetable/peanut oil, change regularly, filter used oil, and don't mix oil types.
Blot food dry to prevent splattering; do not use plastic utensils; season after frying.
Pour cool oil into bottles for disposal; store oils in refrigerator for up to six months.
Lower basket and carefully place battered food into oil; use basket to remove.
Procedure to reset the unit if it's not heating, involving unplugging and pressing a reset button.
Causes include low temperature, overfilling basket, or insufficient oil.
Likely due to old or unsuitable oil, or frying high-moisture foods.
Check cord connection, outlet, heating element assembly, and reset button.
Caused by too much oil, overfilling basket, or food with high moisture content.
Water vapor from food collects; wipe window with oil when cold to prevent.
Requires cleaning oil pot with degreaser and using a scouring pad.
Caused by wet food, high moisture content, or unheated oil; use room-temperature oil.
| Model | 35033 |
|---|---|
| Basket Included | Yes |
| Cool-Touch Sides | Yes |
| Cool-Touch Exterior | Yes |
| Removable Parts | Yes |
| Dishwasher Safe Parts | Yes |
| Temperature Control | Adjustable |