Do you have a question about the HAMPTON BAY SL-120-12A and is the answer not in the manual?
Manufacturer warrants transformer for defects in materials/workmanship for two years, for original consumer.
Warranty excludes improper installation, misuse, accidents, alterations, neglect, faulty installation, or normal wear and tear.
Lists necessary tools like claw hammer, electrician knife, and Phillips screwdriver for installation.
Notes that hardware is not shown to actual size and lists components like screws and wall anchors.
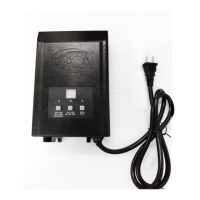
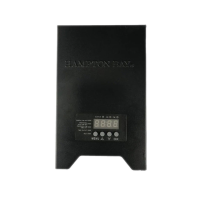
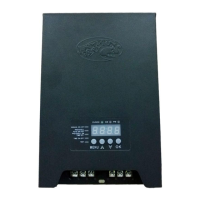
Details the items included in the package: Transformer, Photocell, Mounting Template, and Hardware Pack.
Instructions on how to carefully split and strip the landscape wire insulation to the correct length for connection.
Guides on connecting the prepared cable wires to the transformer's terminal clamping plates ('COM', '12V'/'15V').
Instructions for positioning landscape fixtures and routing the low-voltage cable, ensuring the 120W limit is not exceeded.
Details on connecting fixtures to the cable using provided connectors, ensuring prongs pierce insulation for light.
Provides instructions and dimensions for mounting the transformer securely to a wall surface using screws.
Guides on mounting the photocell sensor, routing its wire, and avoiding light sources to ensure proper dusk/dawn operation.
Advises on covering the cable with mulch or burying it up to 6 inches deep after fixture placement.
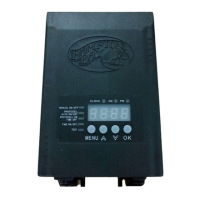
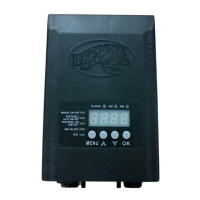
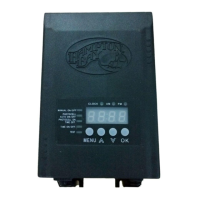
Step-by-step guide to set the transformer's internal clock to the correct local time using the control buttons.
Instructions on how to manually turn the landscape lights on or off immediately using the control panel.
Configures the photocell to automatically turn lights on at dusk and off at dawn based on ambient light levels.
Allows setting specific times for the photocell to turn lights on at dusk and off at a user-defined time.
Allows users to set custom times for the landscape lights to turn on and turn off each day.
Explains how to use the TEST function to verify photocell operation and ensure lights turn on/off quickly.
Notes that transformer functions may need to be reset after a power outage.
Informs about the display automatically shutting off after a period of inactivity in different modes.
Instructions on how to reset the transformer to its original factory default settings by holding the OK button.
| Input Voltage | 120V AC |
|---|---|
| Output Voltage | 12V AC |
| Maximum Load | 120W |
| Power Rating | 120W |
| Wattage | 120 W |
| Type | Magnetic |
| Usage | Outdoor |