LOADING
In freezing weather make sure the apron chain is not frozen to the spreader floor. Also check to make sure
that there are no chunks of manure frozen to the floor.
Begin loading the spreader at the front end and work toward the rear until loading is completed. Loading
this way permits the materials to be spread uniformly. Loading front to rear is particularly important when
the spreader is loaded by a mechanical loader because this type of load requires more power to spread than
other loads.
When hauling extremely heavy material with a large portion of dirt it may be necessary to reduce the load
size. Never dump material onto the beater. Do not use extra sideboards. Do not overload spreader.
Overloading decreases spreading effectiveness. Do not load more than 15 inches above the beater.
SPREADING
1. When ready to unload, make sure beater is in the engaged position.
2. Engage
the tractor PT
O shaft slowly. Failure to do so will cause damage to the gearbox and drive train.
3. When the spreader is almost empty, the bed can be cleaned by moving the beater control lever to the
OUT position. Disengage PTO before disengaging beater. With the lever in this position the beater will
stop and the apron will continue to operate when PTO is re-engaged, thus saving the unnecessary
driving.
4. Do not operate the spreader with a PTO speed greater than 540 RPM’s.
-15-
ADJUSTMENTS MODEL 125
APRON
Adjust the apron by tightening the adjusting bolts
until the apron chain clears the underside of the axle
by 1 inch.
NOTE: Tighten the adjusting bolts on each front cor-
ner equally on each side so that the apron slats run
parallel with the ends of the bed. The apron will be
damaged if the machine is operated with one end of
the apron slats running ahead of the opposite end.
Do not tighten the apron chains excessively.
DO NOT CLEAN
OR WORK ON THIS
MACHINE WITHOUT
FIRST DISENGAGING
POWER AND
SHUTTING OFF
TRACTOR ENGINE.
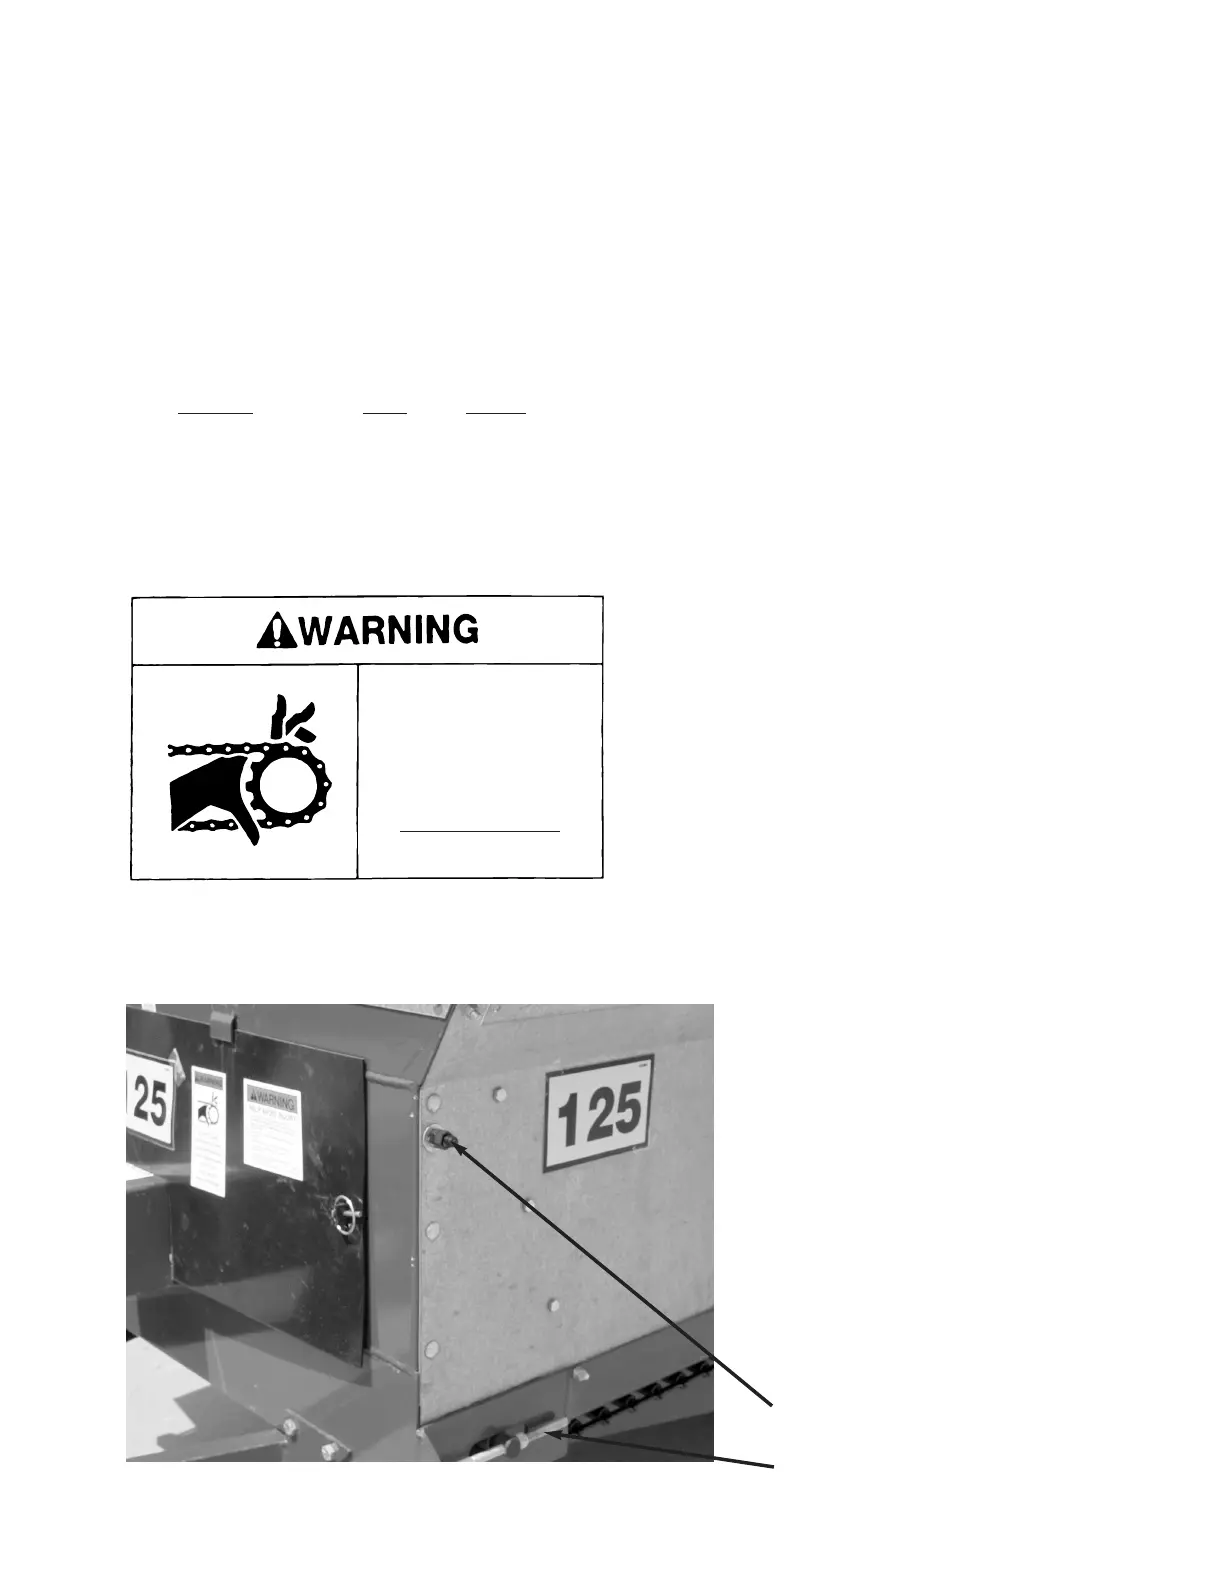
DRIVE CHAIN
To adjust main drive chain, turn nut on
adjusting rod (located at the left hand
front side of spreader) clockwise.
There should be 1/2-inch deflection at
center of drive chain. Over tightening or
too loose of a chain will result in exces-
sive wear on the bearing, chain and
sprockets.
Shields Removed For Clarity
TIGHTENER BOLT (Apron)
TIGHTENER BOLT (Drive Chain)
 Loading...