DG3 Controller – Installation and Operation
Manual
540846-3 page 30 of 64 25/09/2015
TV = 2 (for more details, please refer to TV entry in Appendix E)
How to set the countdown timer:
Further to setting TV=2 in the DG3’s configuration, press
F/E key repeatedly until the following screen is shown.
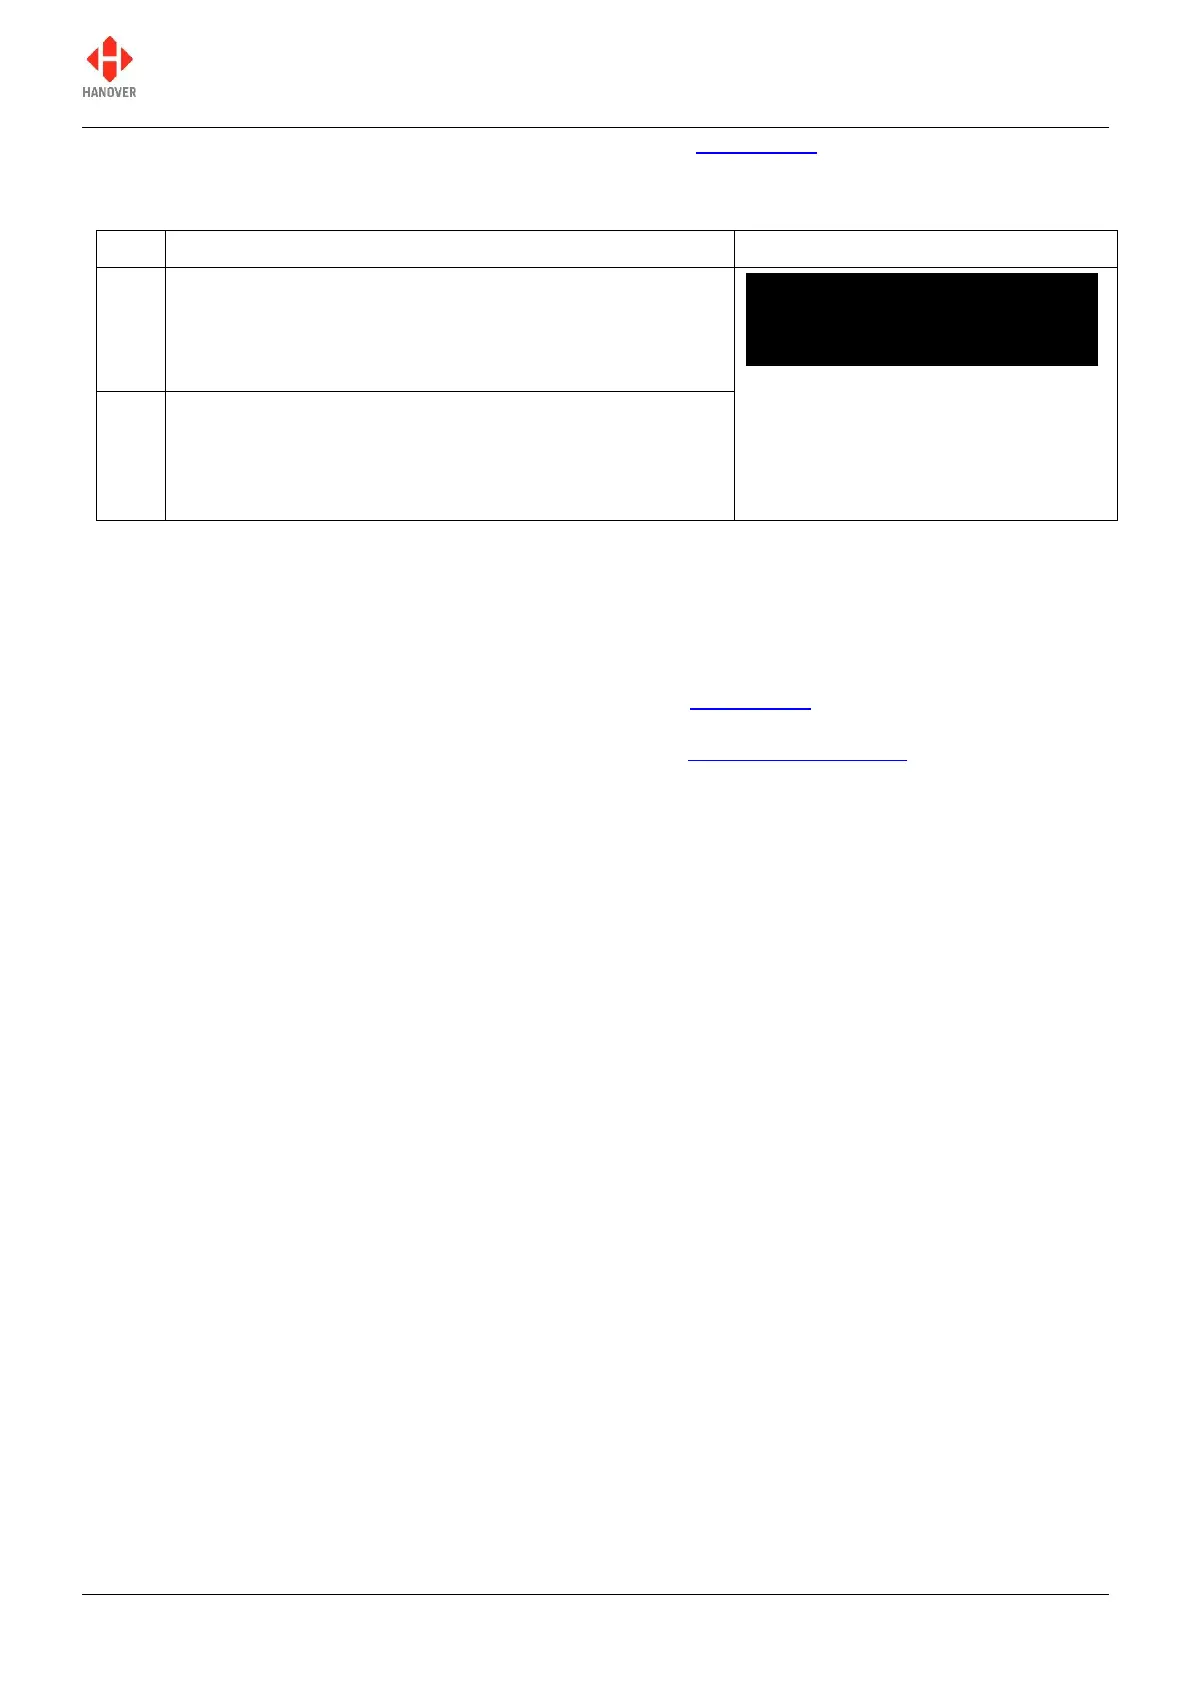
The screen showing the countdown in minutes (can be
set between 1 and 99) is displayed.
The default value '00' will flash until a value is set.
Use the up arrow key to increase its value or the down
arrow key to decrease its value.
Then, press the F/E key to confirm and exit the function.
Note: The value entered here will be substituted for any ‘~’ (tilde) character within the Helen destination
lists: this causes the destination / route code containing the ‘~’ (tilde) character to start counting down to
zero on the sign when the code is selected. When zero is reached, the clock stops and '0' remains on the
sign until another destination / route code is selected. The destination message might thus be 'Bus departs
in ~ minutes'.
TV = 3 (for more details, please refer to TV entry in Appendix E)
When TV = 3 is set in the DG’s configuration, the time set in 3.5.9 Setting the clock will be displayed as
the current time.
Note: The value entered here will be substituted for any ‘~’ (tilde) character within the Helen destination
lists: this causes any display using a destination/route code containing the ‘~’ (tilde) character to show the
clock value and thereby act as a simple clock when the display is shown. The destination message might
thus be 'The time now is ~'.
3.5.3.2 External inputs I0 and I1: emergency message, bus reversing, bus stopping, battery guard,
information message or Hanvox message
Two external inputs can be accomodated using the I0 and I1 settings which are connected directly into the
18-way mini fit connector.
The available I0 and I1 values and their uses are described in the following table:
 Loading...