8
Installation instructions
This appliance shall be installed in accordance with
the manufacturers installation instructions, local gas
fitting regulations, municipal building codes, electrical
wiring regulations, AS 5601 "Gas installations" and
other statutory regulations and water supply
regulations.
Data label
The data label is located on electric cover of the
water heater.
This appliance is suitable for propane gas only,
ensure that the available gas supply is suitable.
Intended use
This appliance has been designed for the installation
in caravans, mobile homes and other vehicles. It is not
approved for installation in boats. Other forms of use
are also possible following consultation with Hansen.
Regulations
Any modifications to the unit, including accessories
and cowl, or the use of spare parts and accessories
that are important to the operation of the system
that are not original Hansen parts and failure to
follow the installation and operating instructions will
cancel the warranty and indemnify Hansen from any
liability claims. It also becomes illegal to use the
appliances, and in some countries this even makes it
illegal to use the vehicle.
The operating pressure for the gas supply is 2.75 kPa
and must correspond to the operating pressure of
the appliance (see data plate).
After it has been installed, the device must be
disconnected from the power supply. It can be
disconnected by ensuring that the power plug is
accessible or by installing a switch in the fixed power
supply installation.
When installing the appliance always observe the
technical and administrative rules and regulations of
the country in which the vehicle is to be registered,
for the 1st time!
Water heater kit
The water heater kit contains
Choice of location
1. Always install the appliance in such away that
it is easily accessible for service work at all
times and can be easily removed and installed
2. Locate the heater in such a way that the cowl can
be mounted on the outside on a surface which is a
straight and smooth as possible. This outsides
surface must be exposed to wind from all directions
and, if possible, there should be no trim strips or
covers in this area. Mount the water heater on an
appropriate base if necessary to ensure its level.
The cowl must be placed in such a way that the
exhaust gas cannot find its way into the vehicle
interior. For this reason, choose a location where
there are no opening windows, sky lights or
ventilation openings directly above the cowl or for or
for 50 cm on either side. If this is not possible, a
warning plate must be placed on the inside of the
window (or skylight) stating that it must be kept
closed while the heater is operating. In this case
refrigerator ventilation's must be tight sealed from
the interior of the vehicle
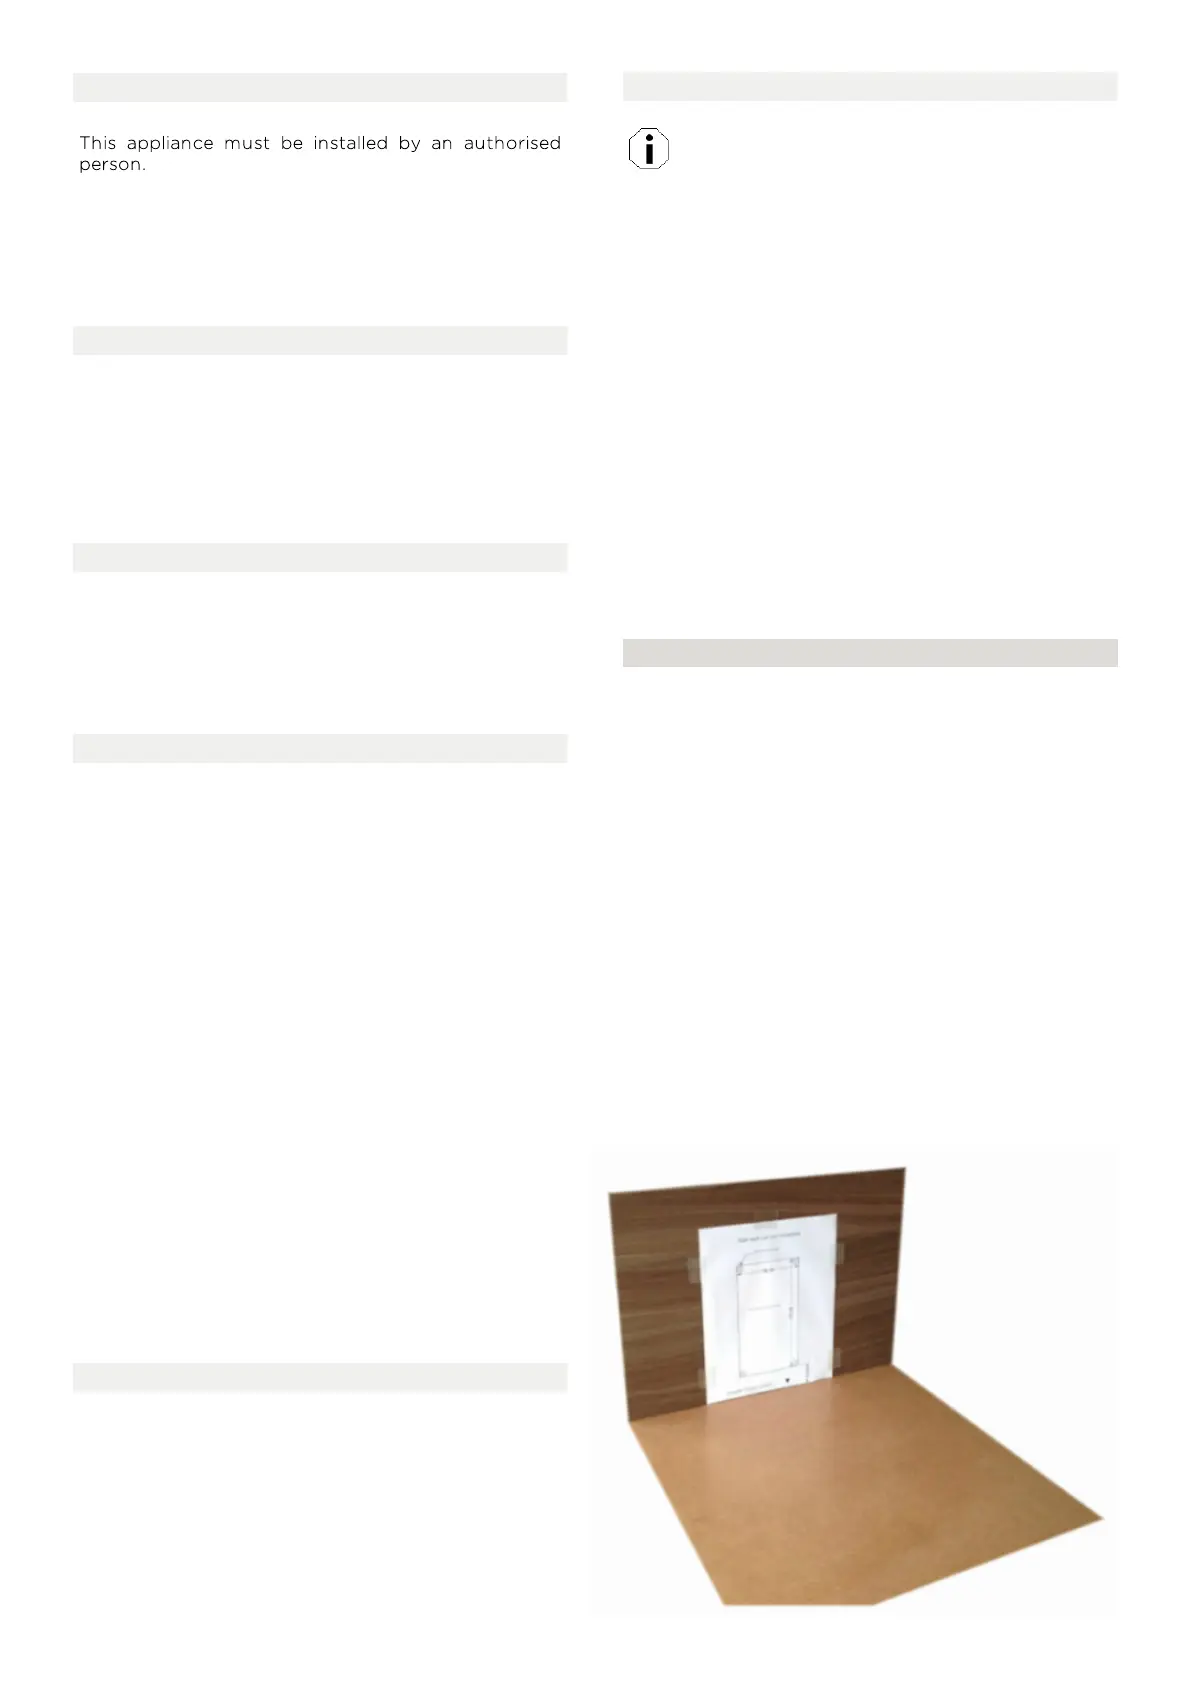
Installation of the water heater
1. Use the template provided in this manual (Pg12).
Position template on the inside of the side wall.
2. Drill 4 holes in each corner 10 mm diameter
through the wall on the markings shown.
3. Saw the cut-out section for cowl 96 x 169 mm
If the wall thickness is greater than 35 mm a you must
use the flue extension with an additional length of 50
mm.
If there are any cavities in the area of the cowl, pack
these with pieces of wood so as to be able to tighten
the screws.
The finished hole should be 169 mm high and 96 mm
wide 36 mm above the inside floor level.